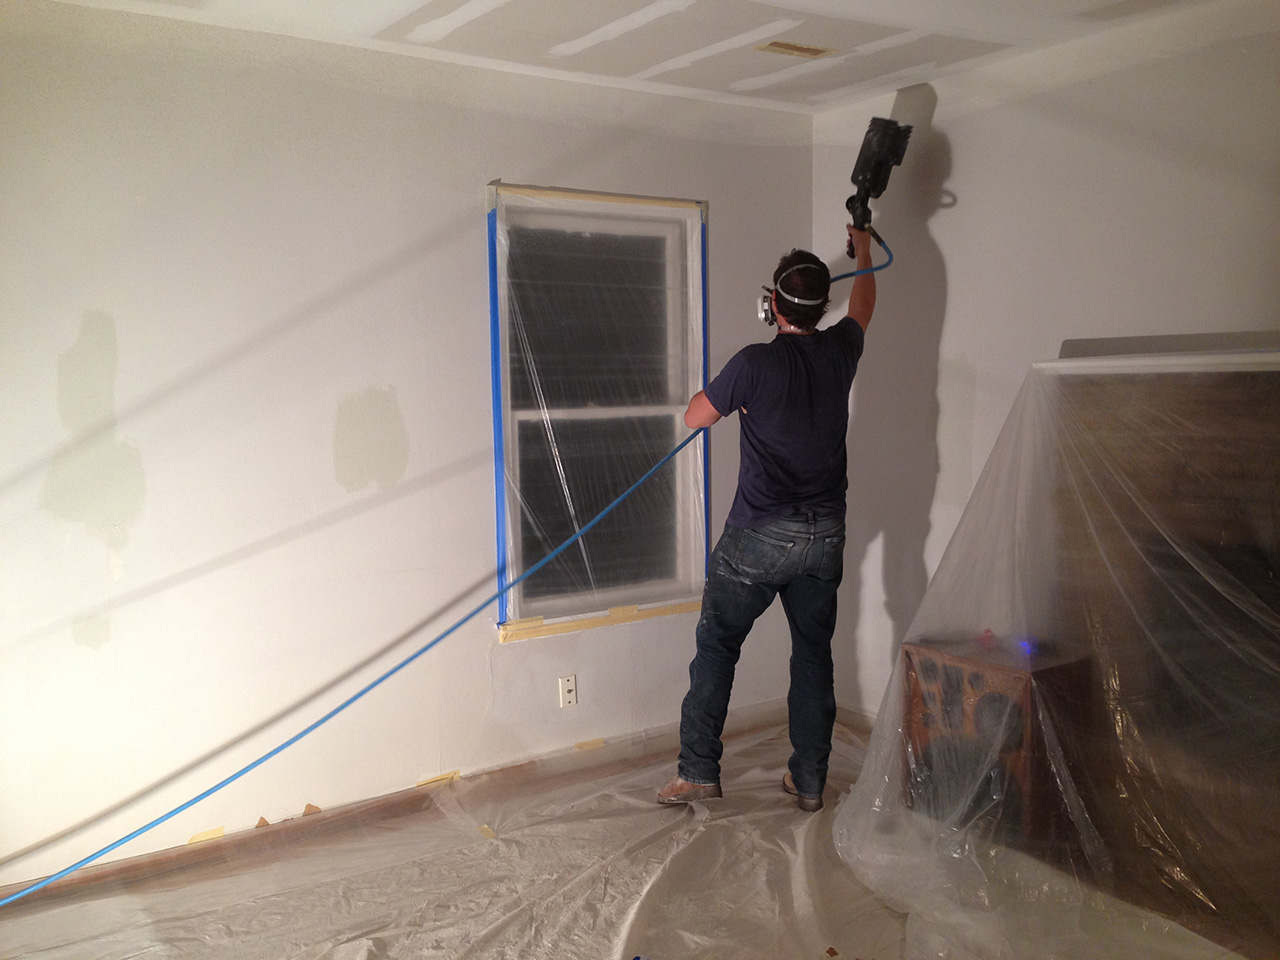
We ripped out the old backsplash ages ago because we wanted to get all the major demo out of the way before we really moved in. So we’ve been living with the innards of the walls exposed since early October. Marc couldn’t start the new backsplash until the counter was in so… we just waited.
I had a plan a long time ago to do marble subway tile – I had even purchased the tile and stored it at mom’s house (I’m still not quite sure how to thank her for all that she has done for us…oh wait…maybe we could just get all of our crap out of her house? Actually, we don’t have room for that yet…maybe just a really nice card.)
With all the waiting, came doubting.
Should we just go with white subway tile? It’s so classic yet at the same time so cool right now.
I went back and forth and back and forth and back and forth.
I also hacked in the colors that someday I’d like to paint the cabinets and that that might give me clarity.

I was perfectly decisive for every decision on the house… except THIS ONE.
And so it wasn’t until the morning that Marc was going to start the install that we decided. Or rather, went back to our original plan.
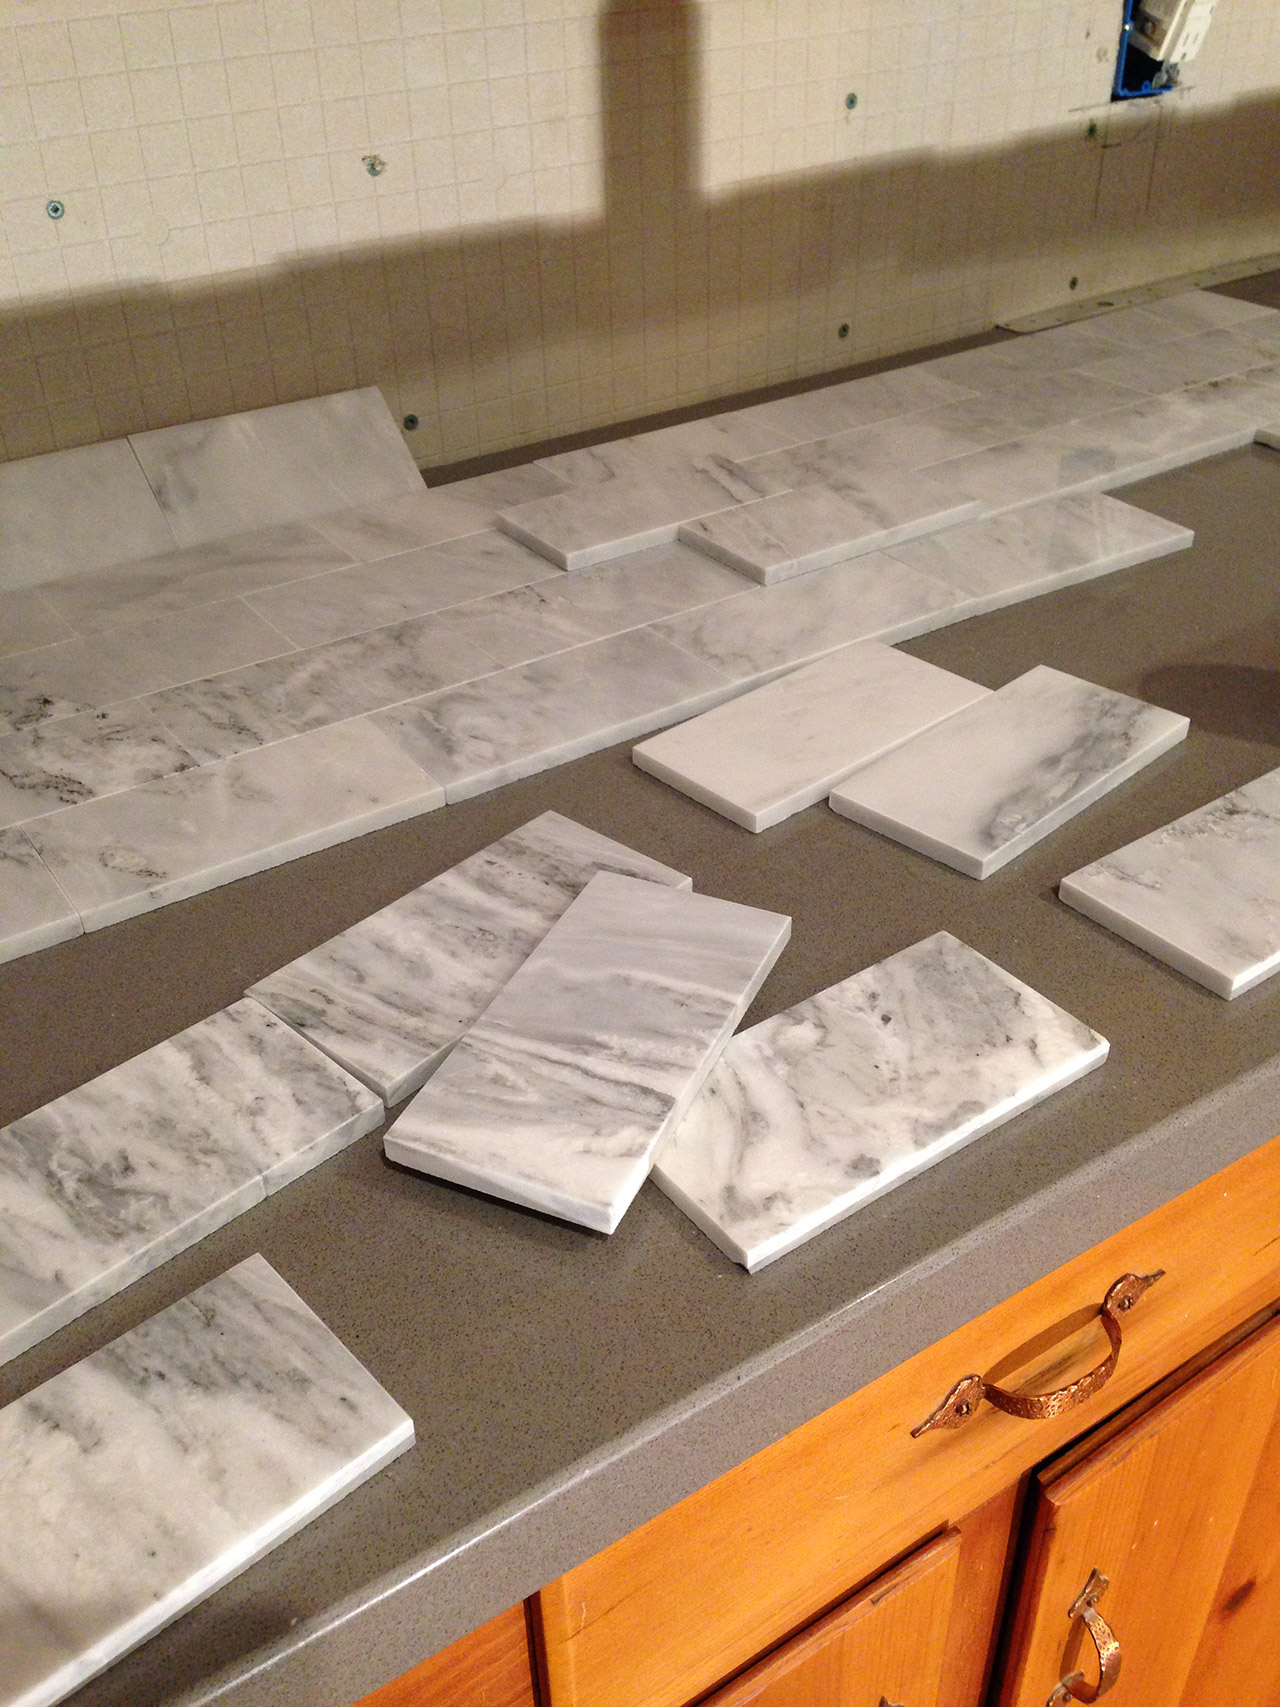
The marble is scary because while it’s pricier than plain white subway tile, it is made of the stuff that doesn’t get made into stunning slab marble. So you get a lot of variation in color and pattern. I decided that to do this right I would need to lay out every tile into a design that put similar marble pieces together and subtly transitioned from one to the other, rather than just letting Marc open up boxes willy-nilly and pop the tiles up on the wall. It was an awesomely excruciating puzzle. But, I’m happy that I did. I was able to find pieces that actually fit together to create larger striations and patterns in the wall.
I was apprehensive and asked for a lot of folks’ advice, but, I’m really happy that we stuck to our guns. This will be unique but, still classic; interesting but, subtle. And I’m pretty sure that when we redo the bathroom that it will be floor to ceiling white subway tile. Which feels like a better fit for that tile and this house to me.
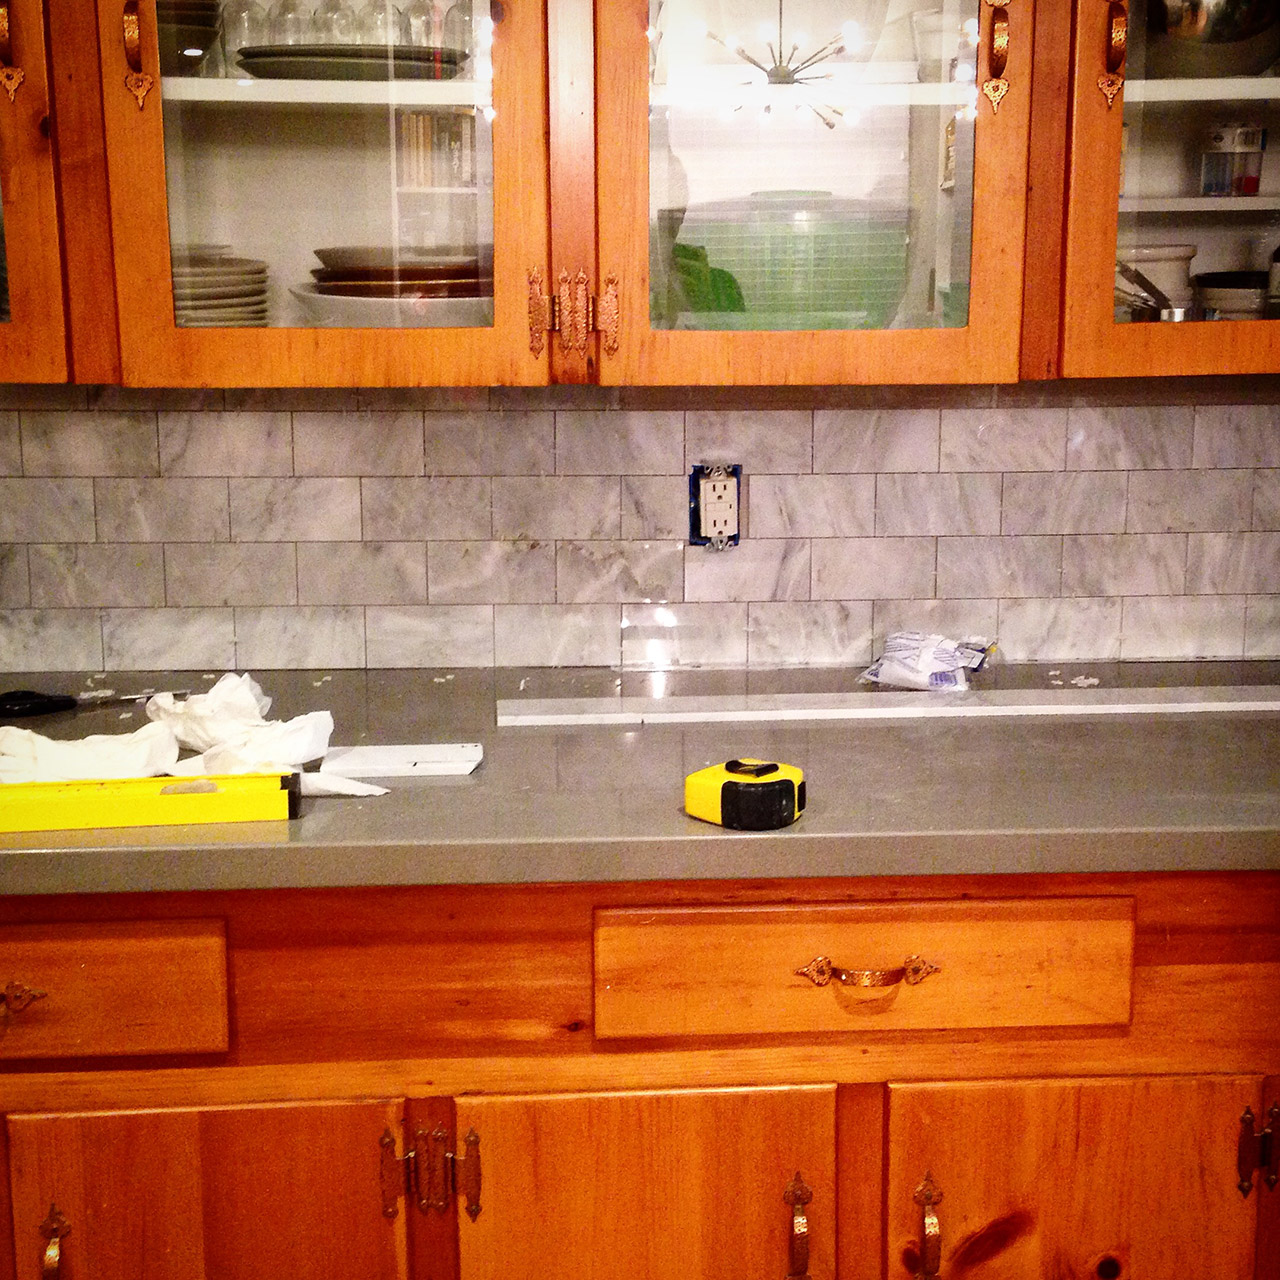
(Note: the backsplash isn’t even close to done. Marc still needs to do the wall behind the sink and stove and grout it all. But, we do what we can when we can.)
[nggallery id=23]
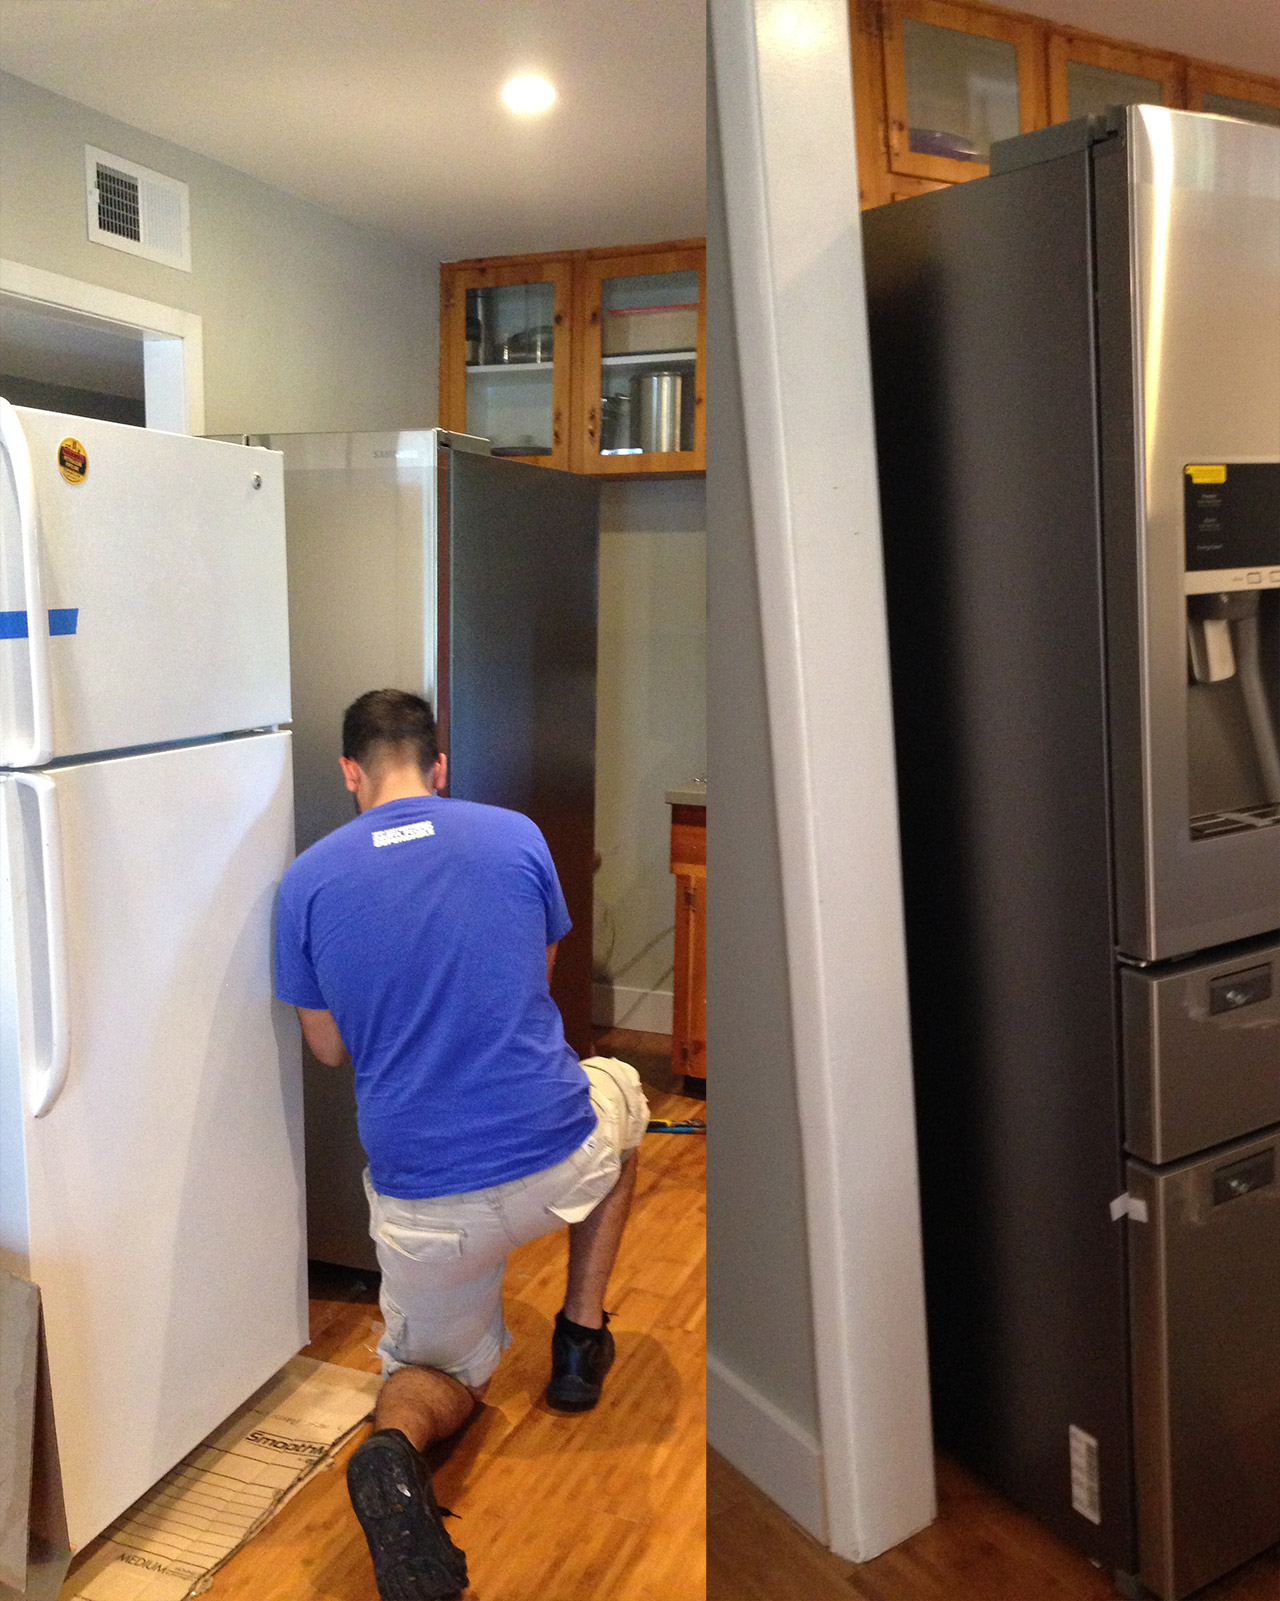


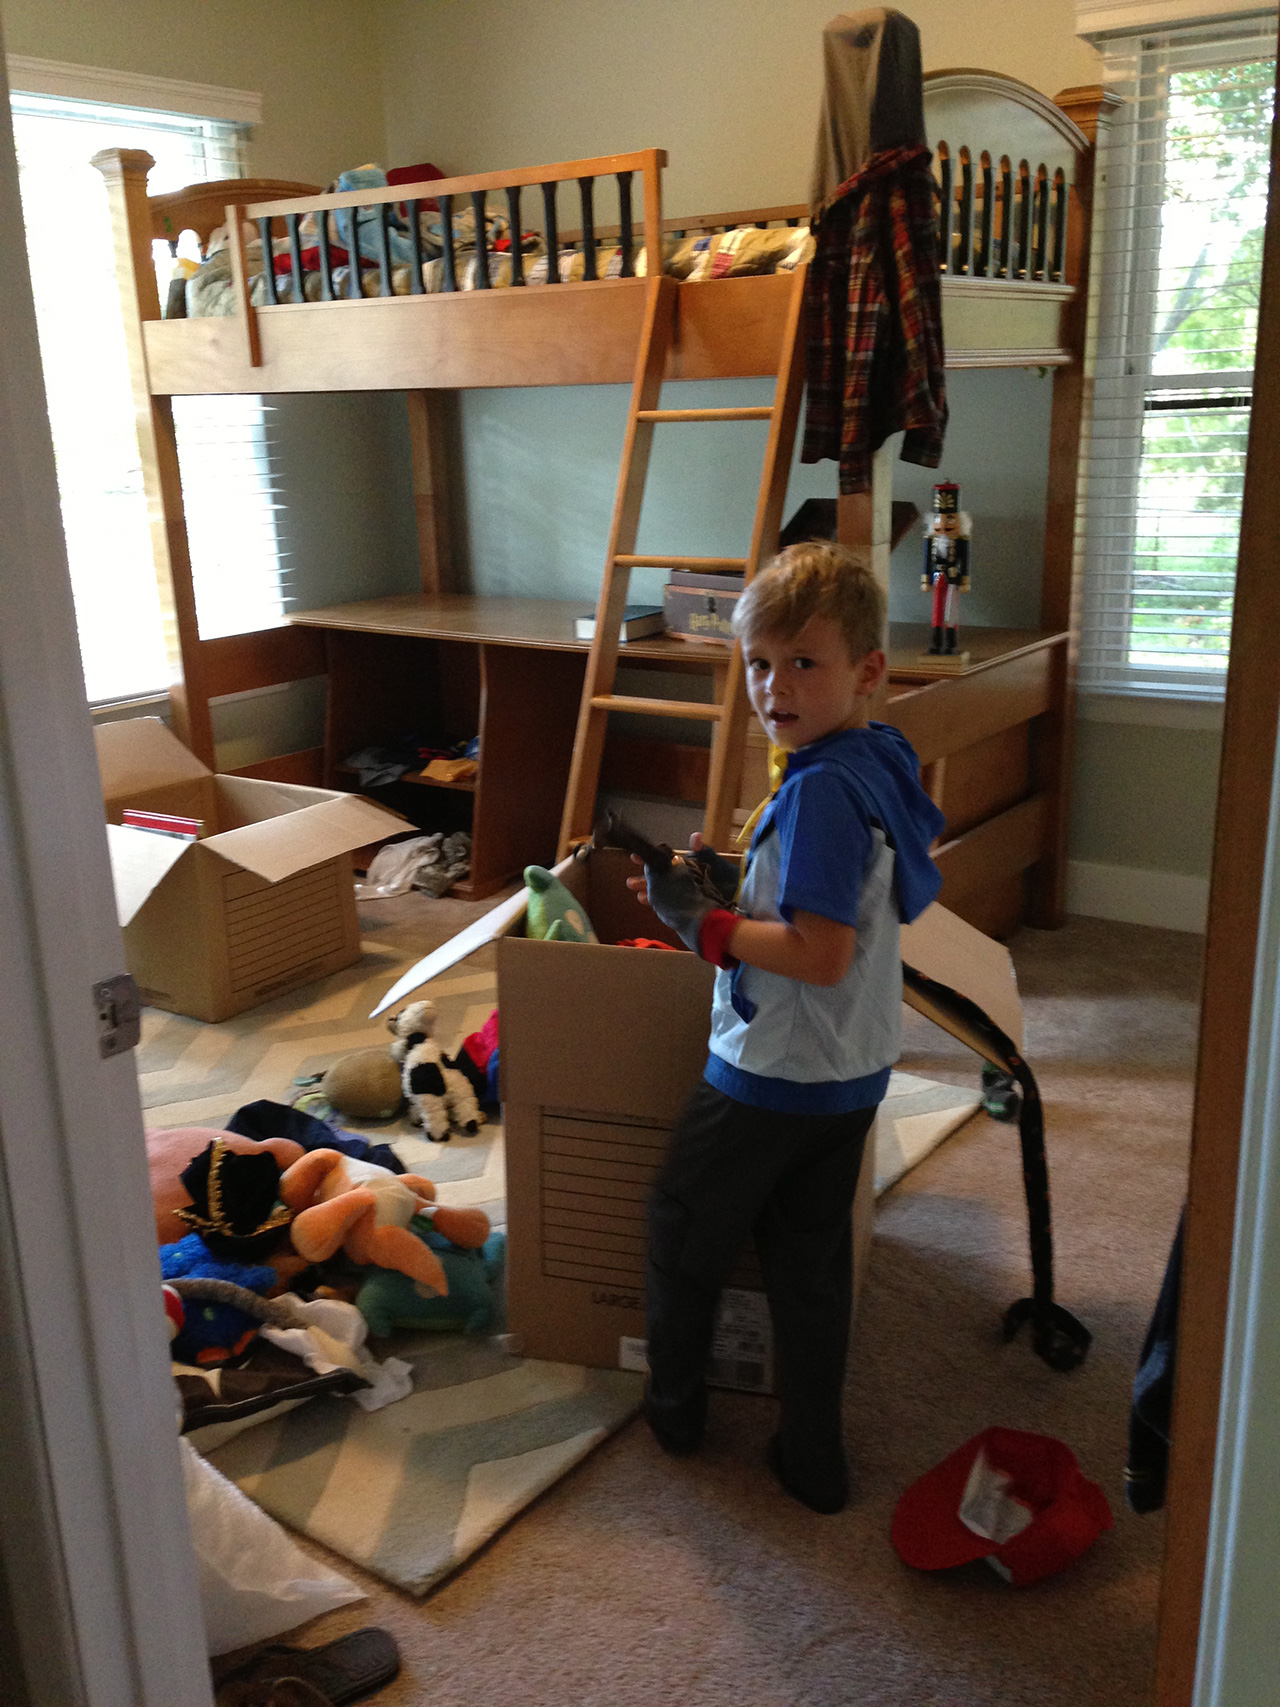
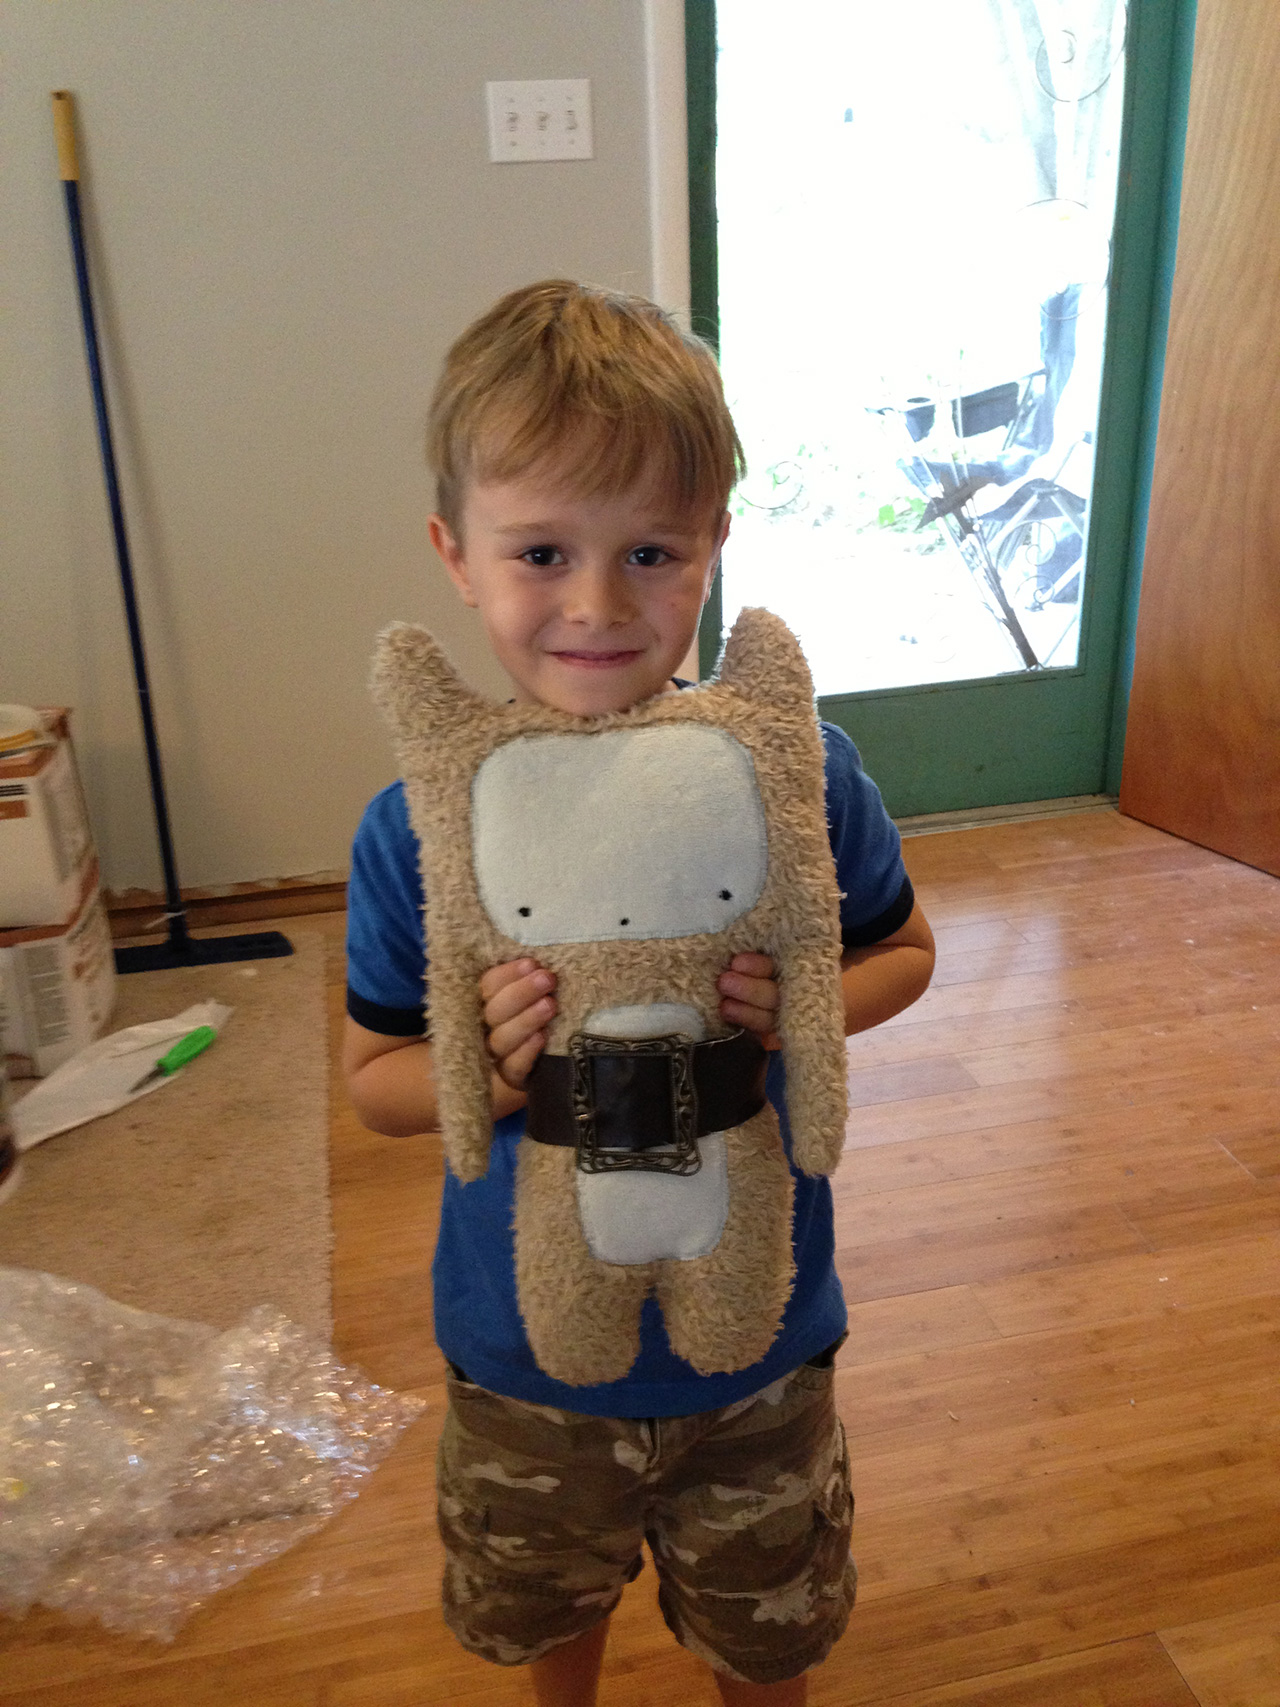


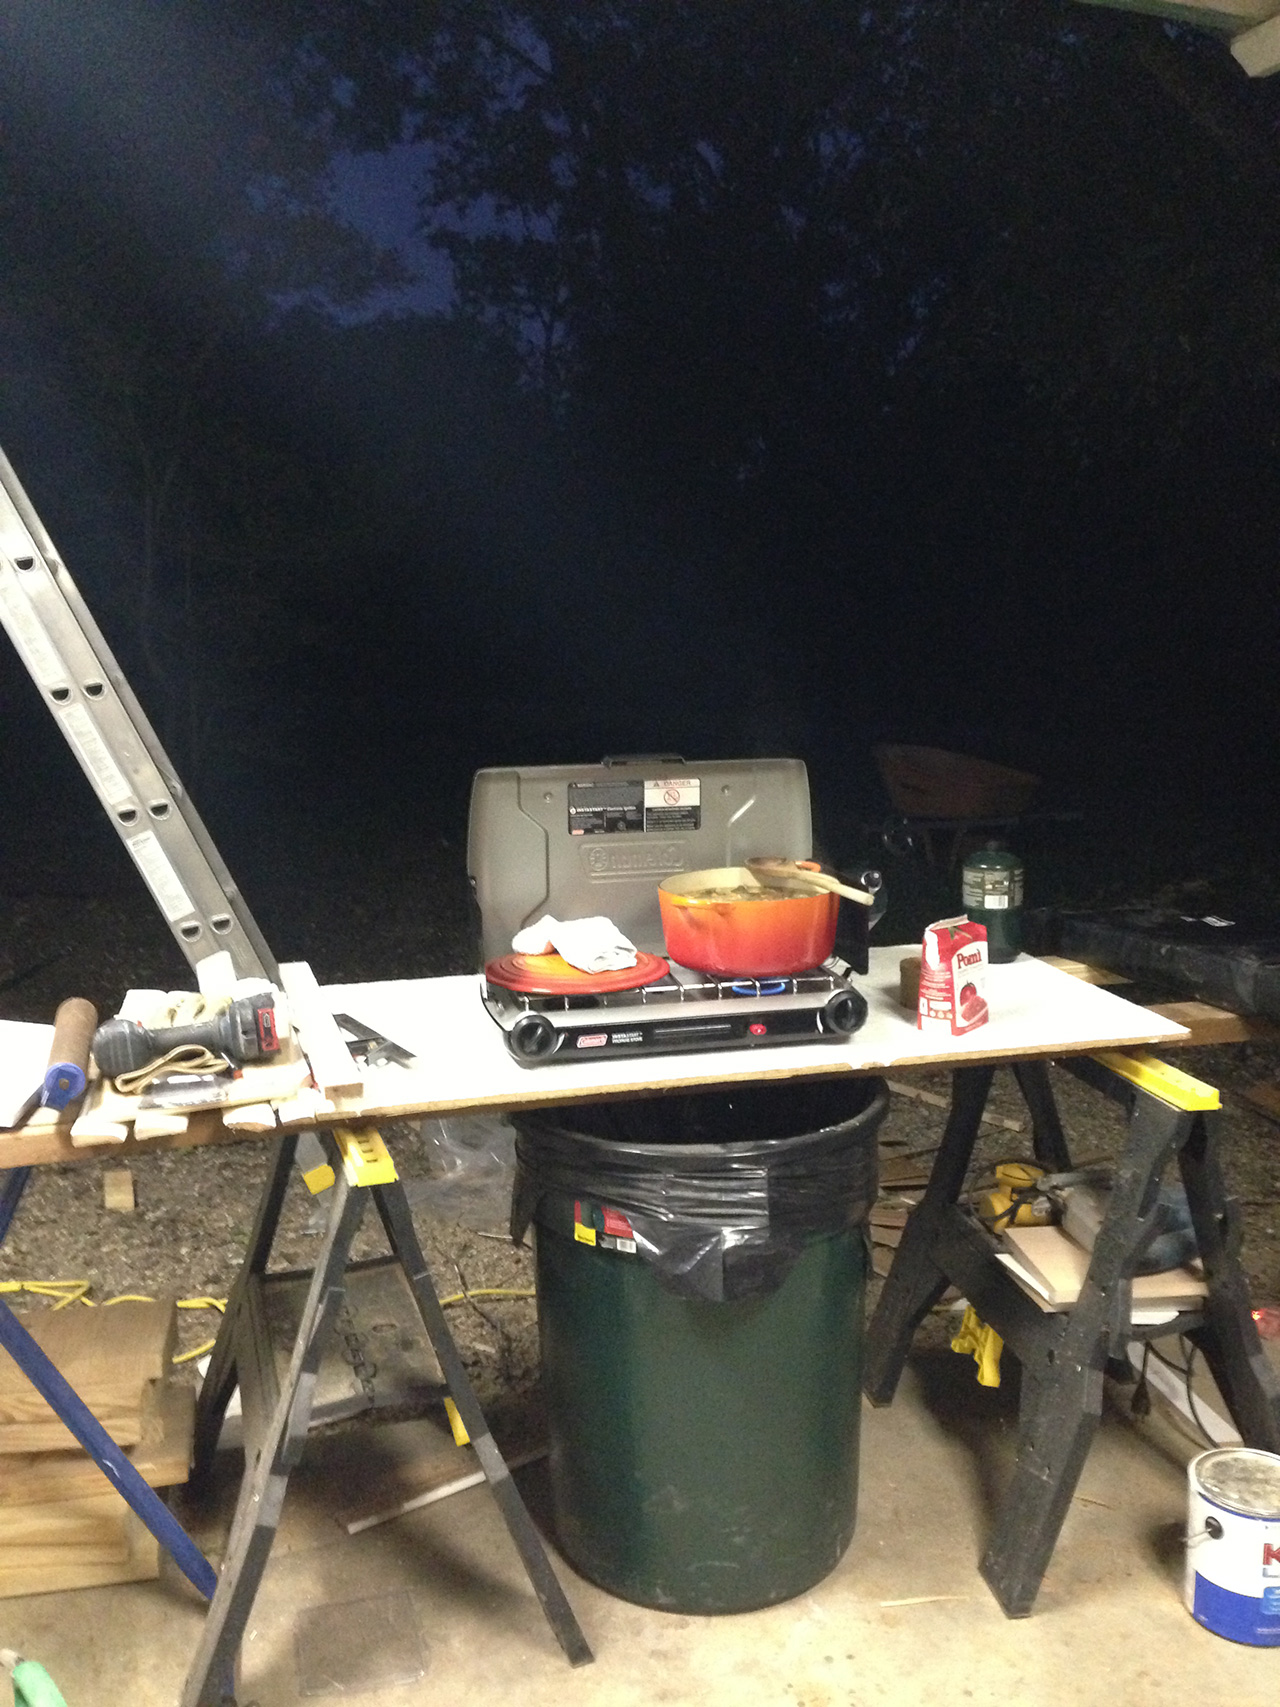

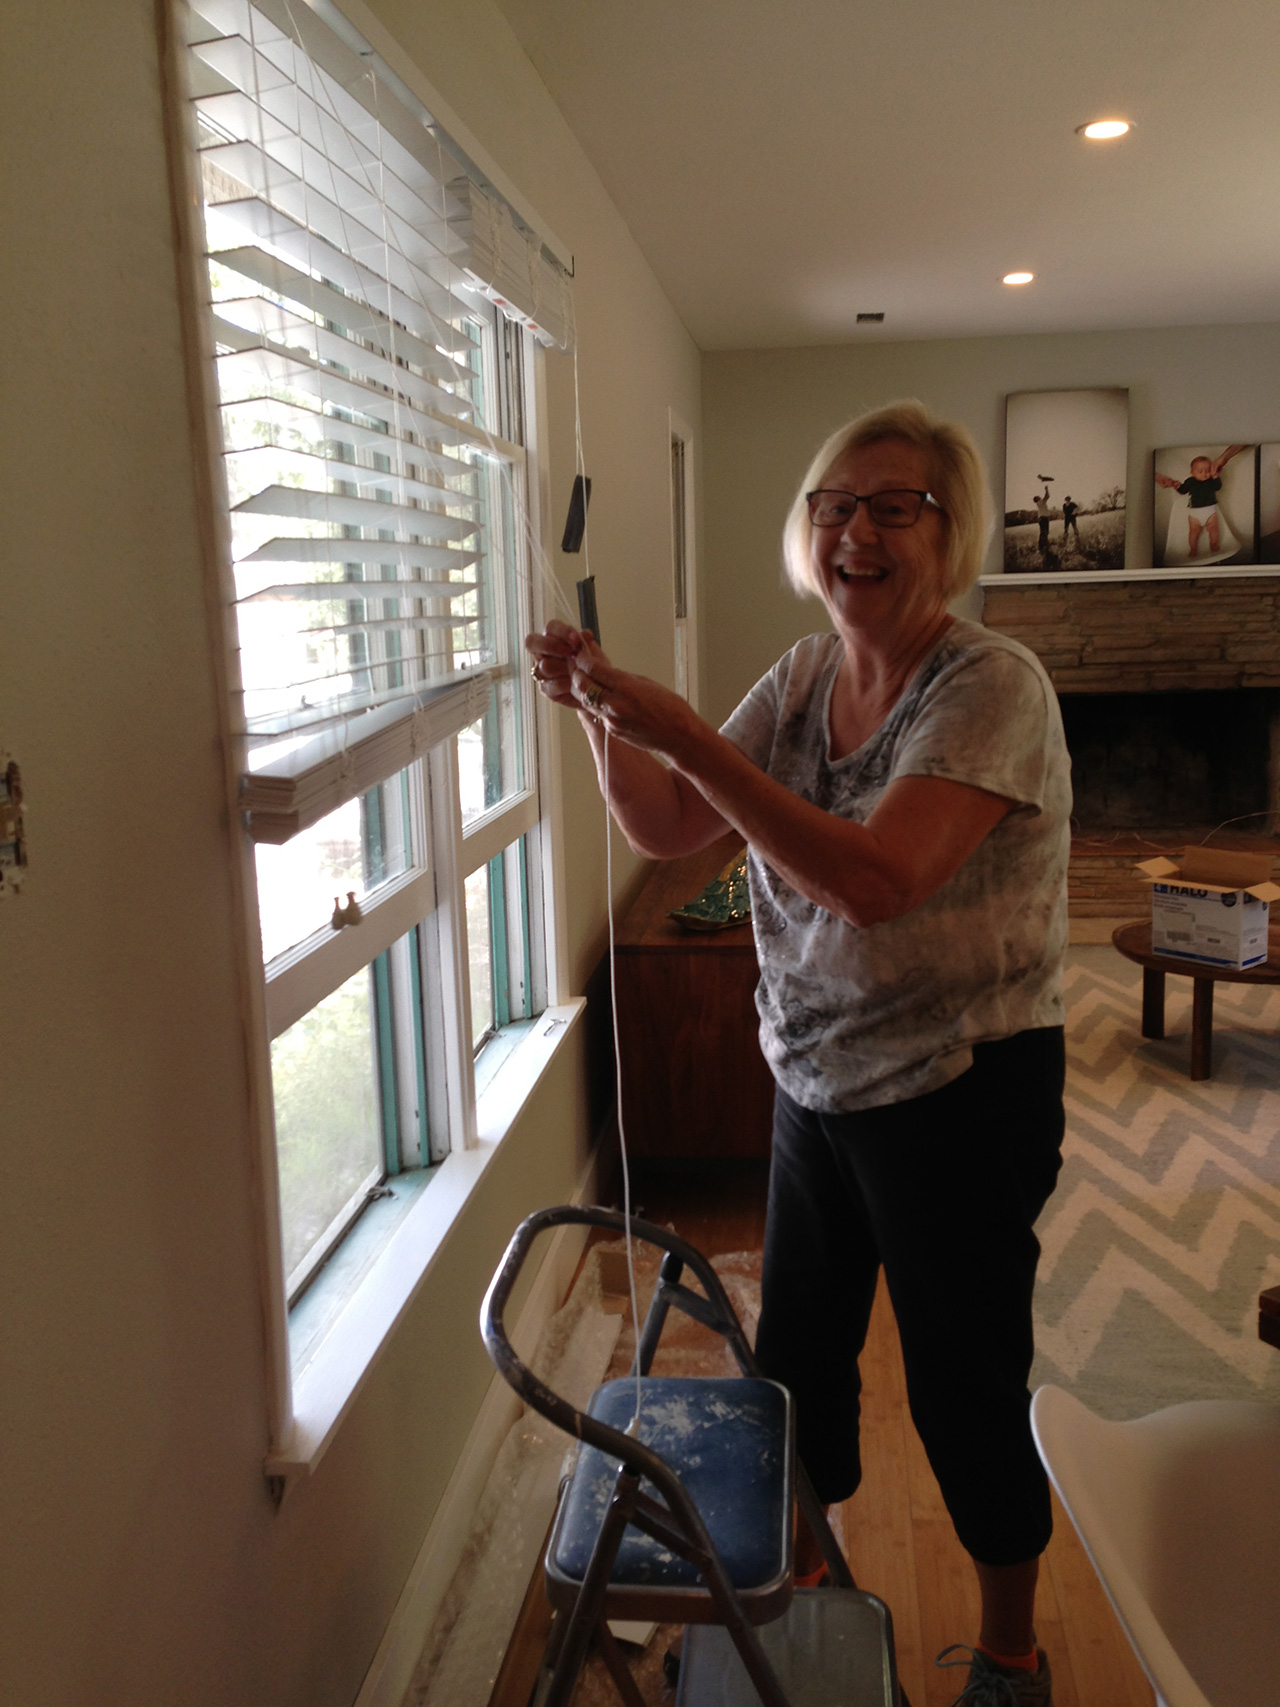
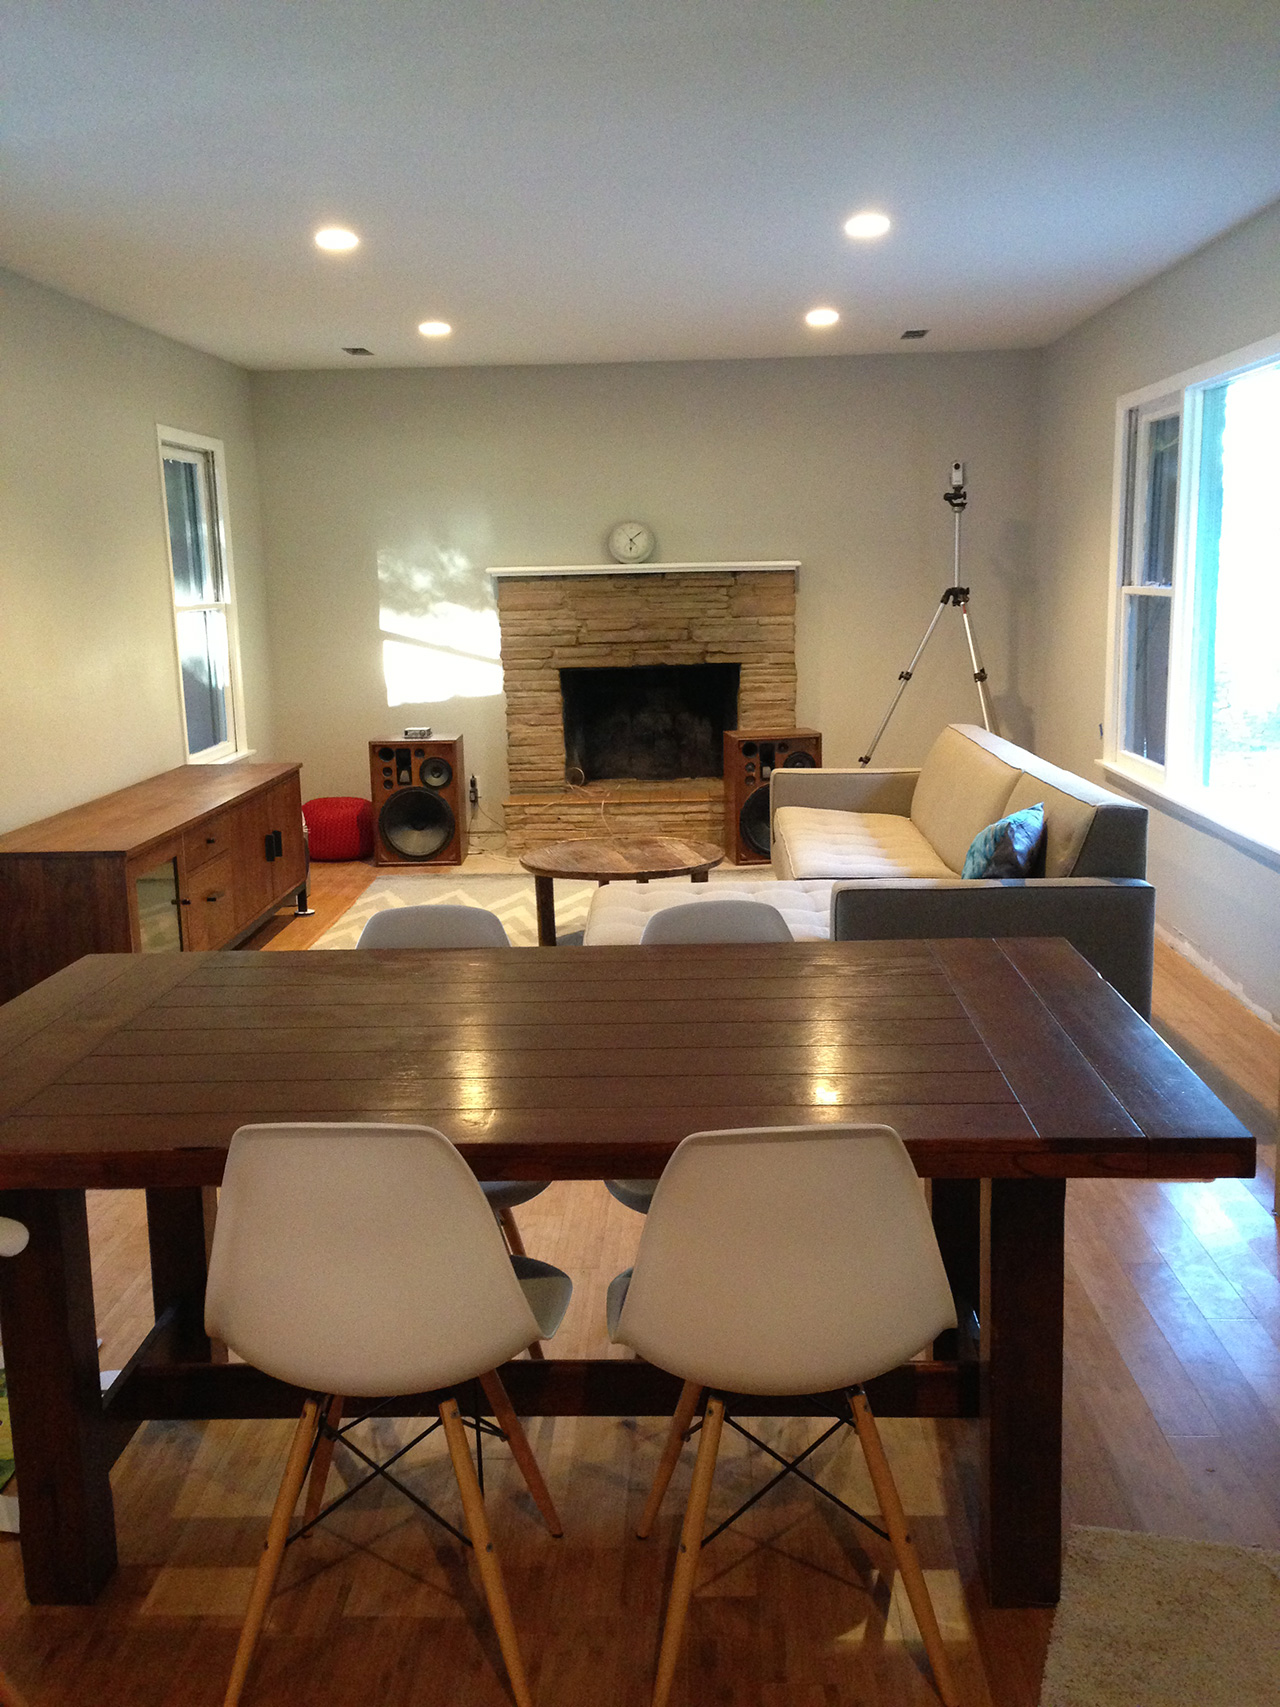
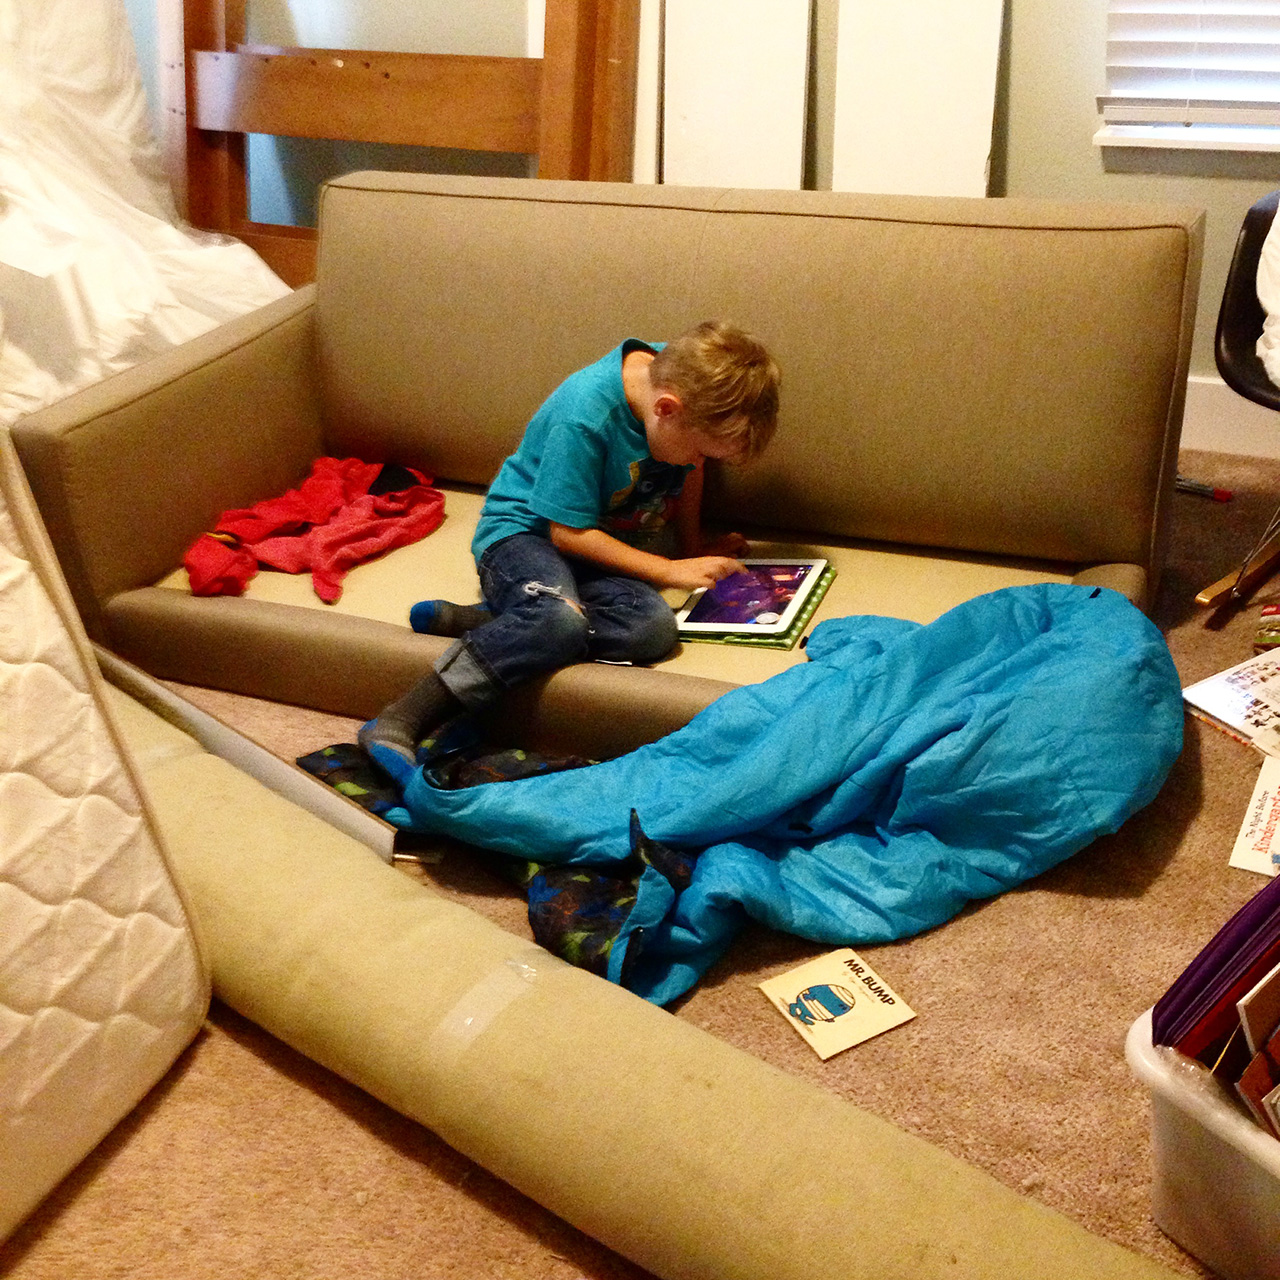
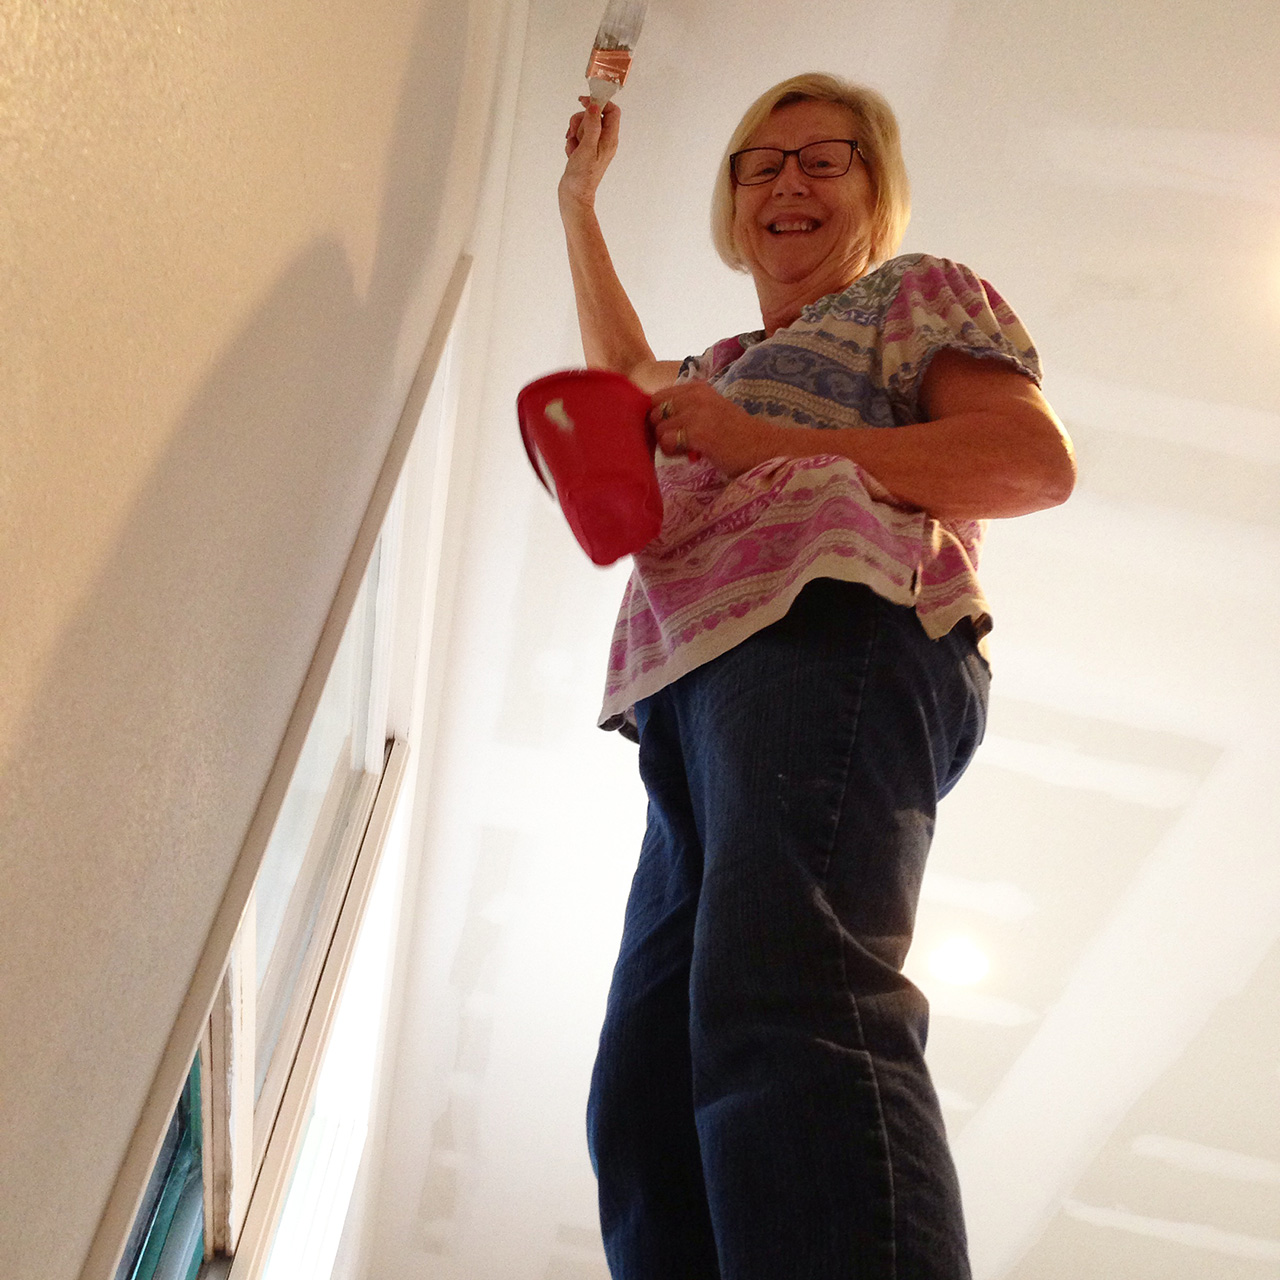
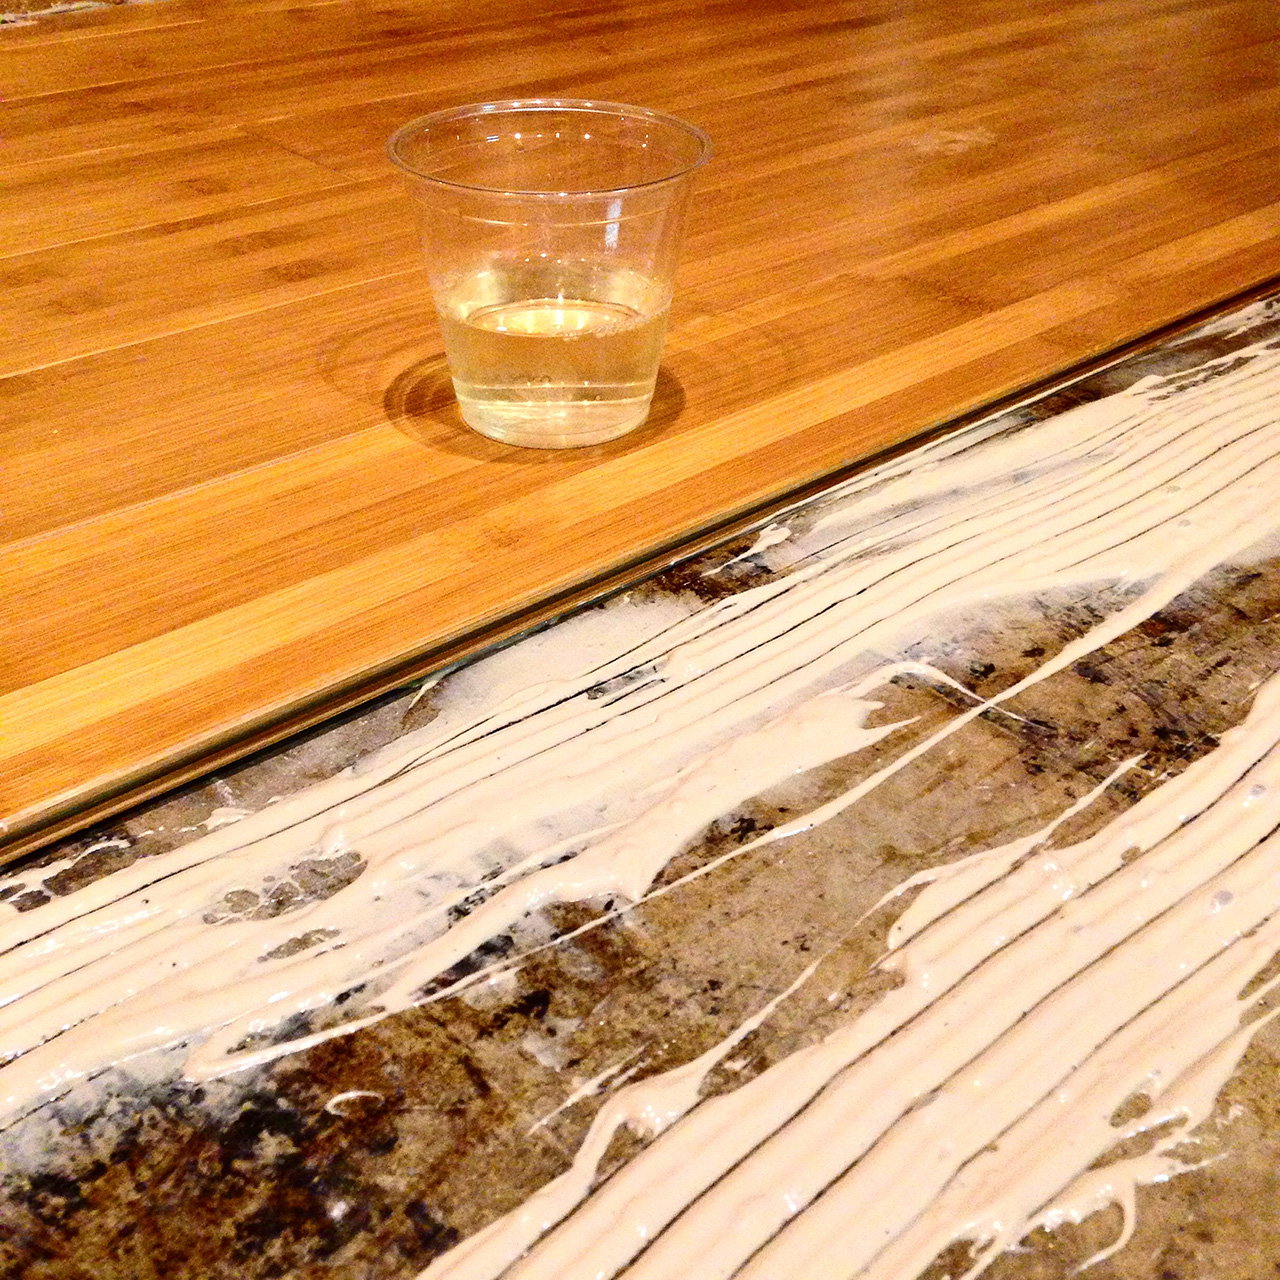
 Such a momentous occasion calls for celebration – good thing some friends stopped by that night to help us.
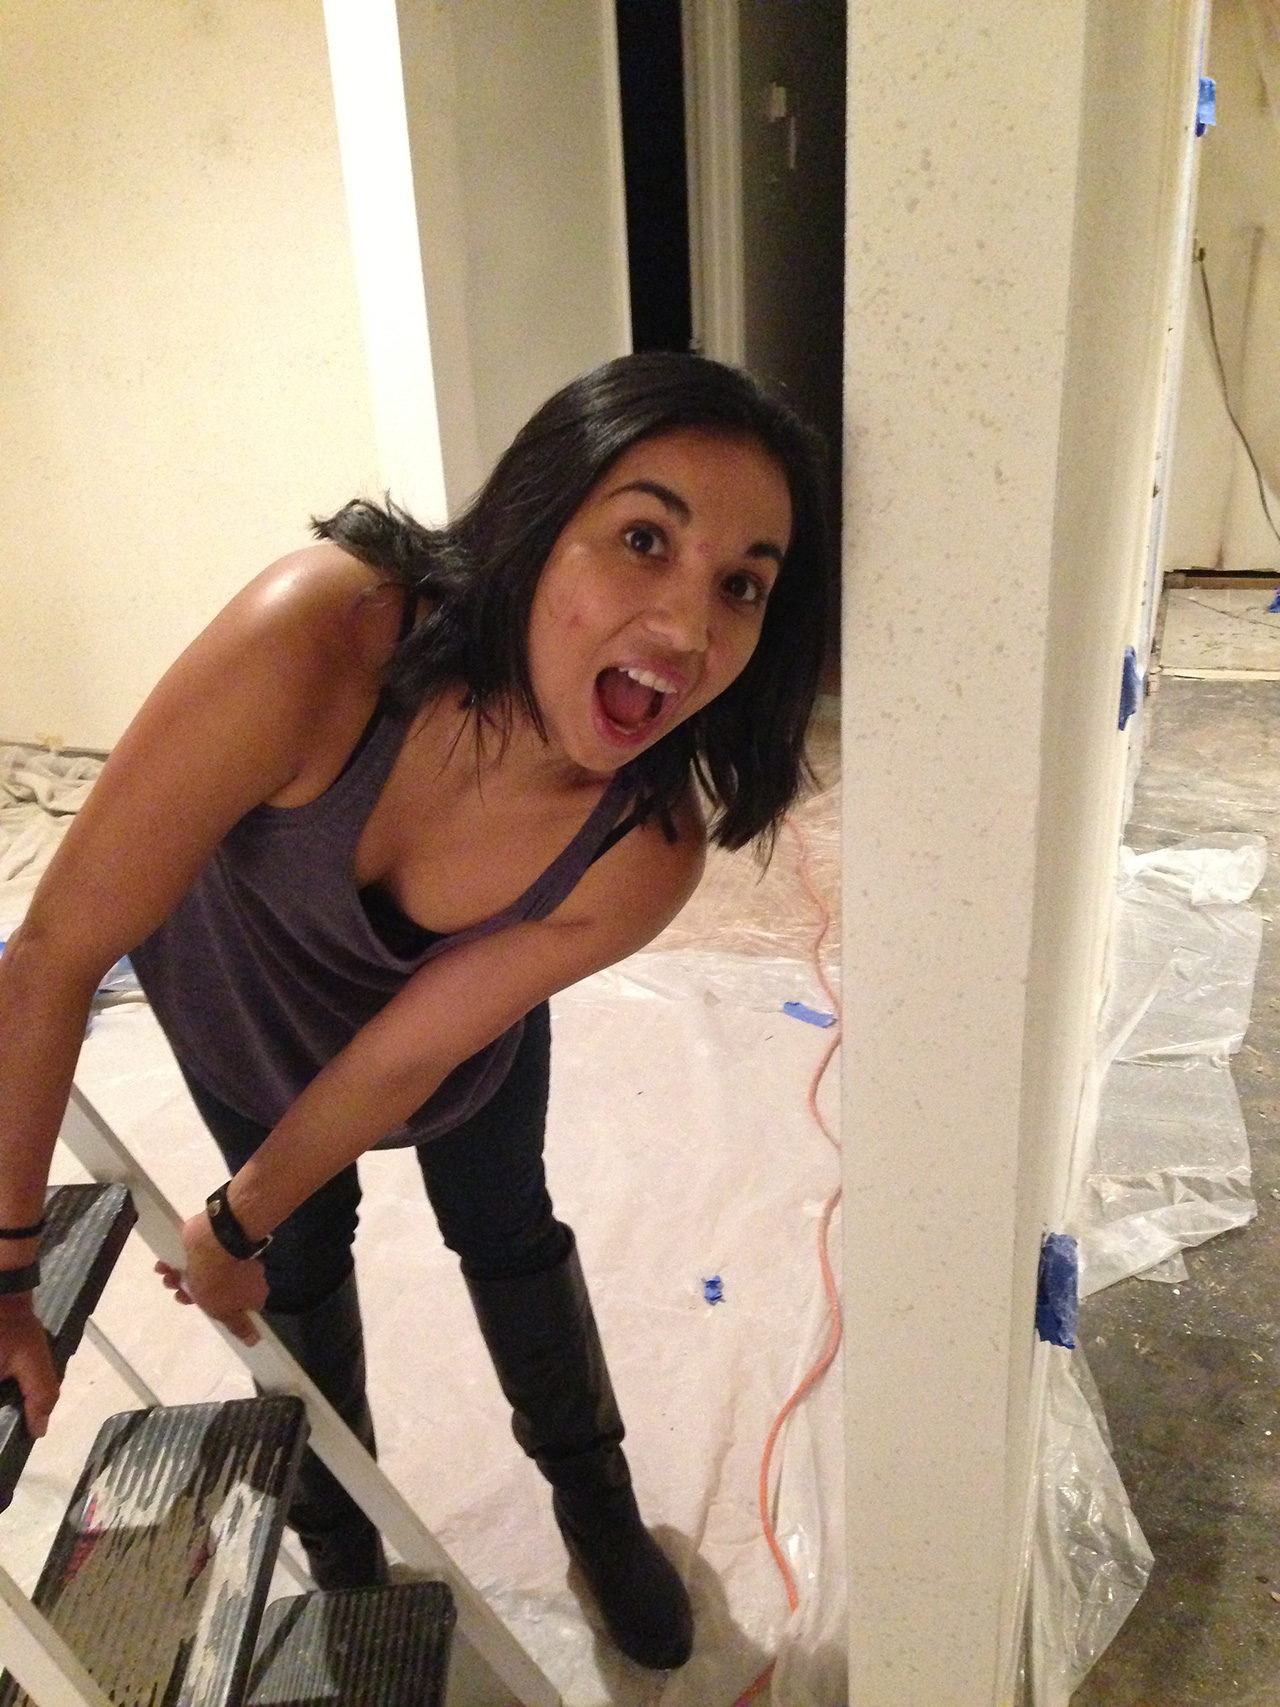
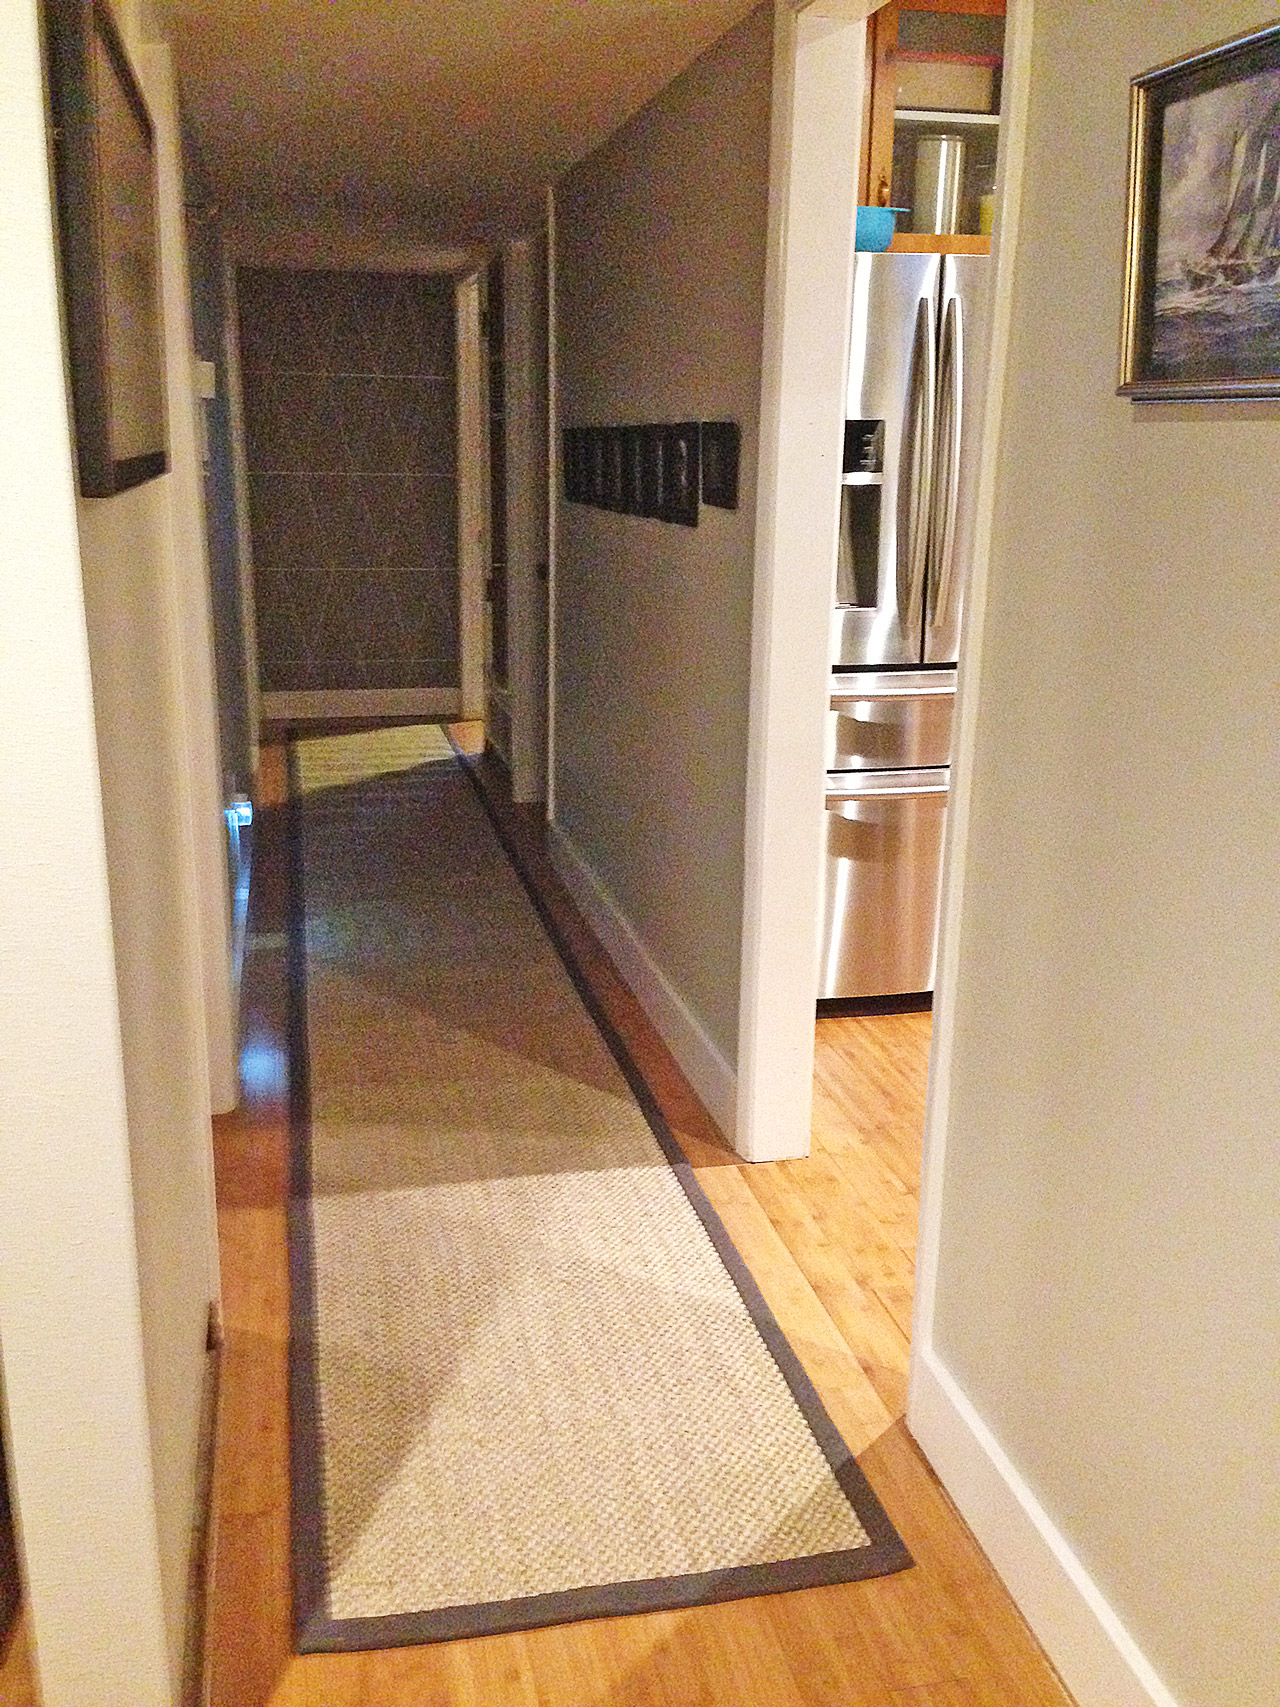
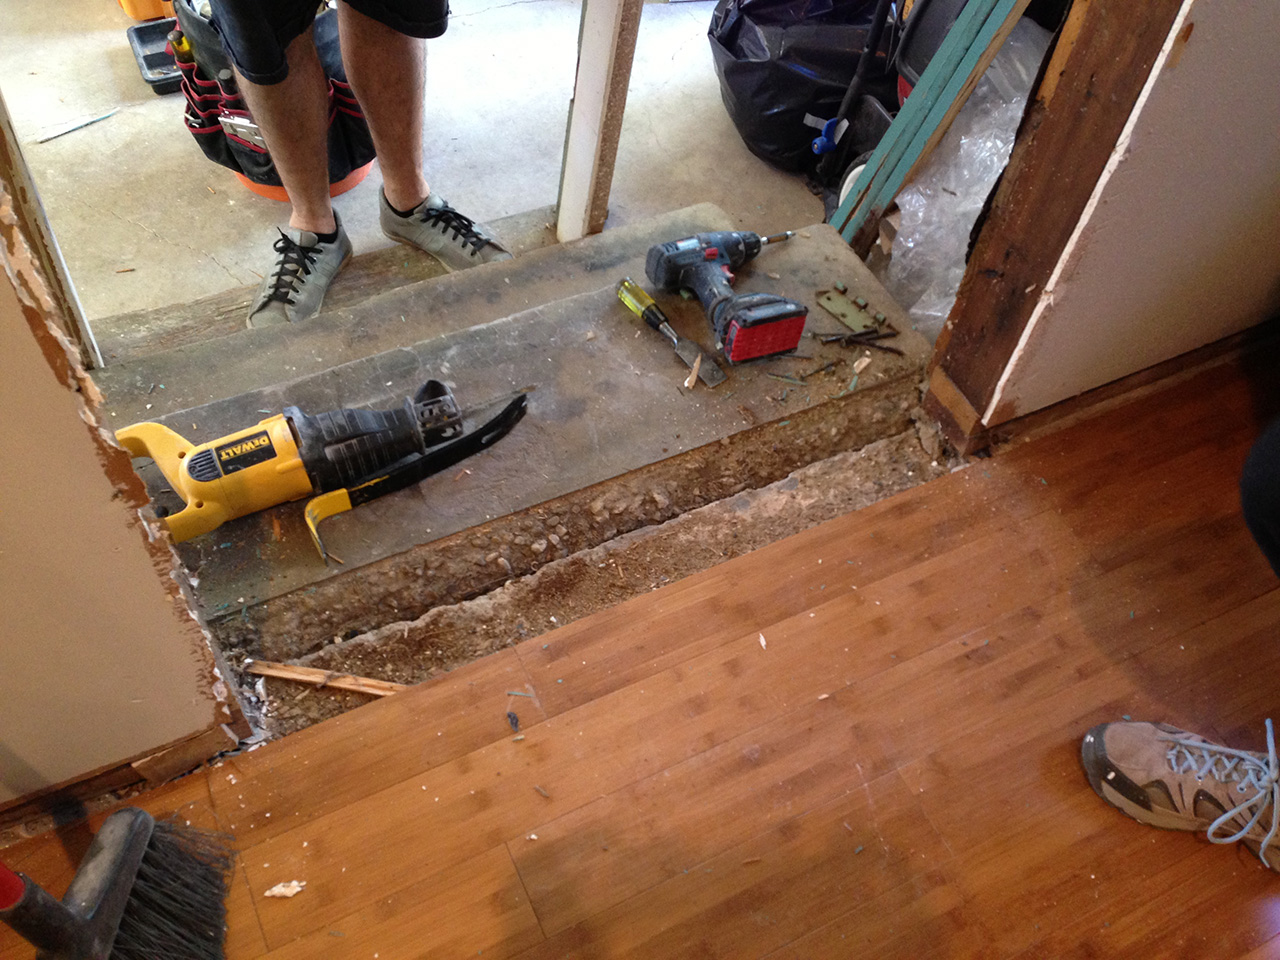
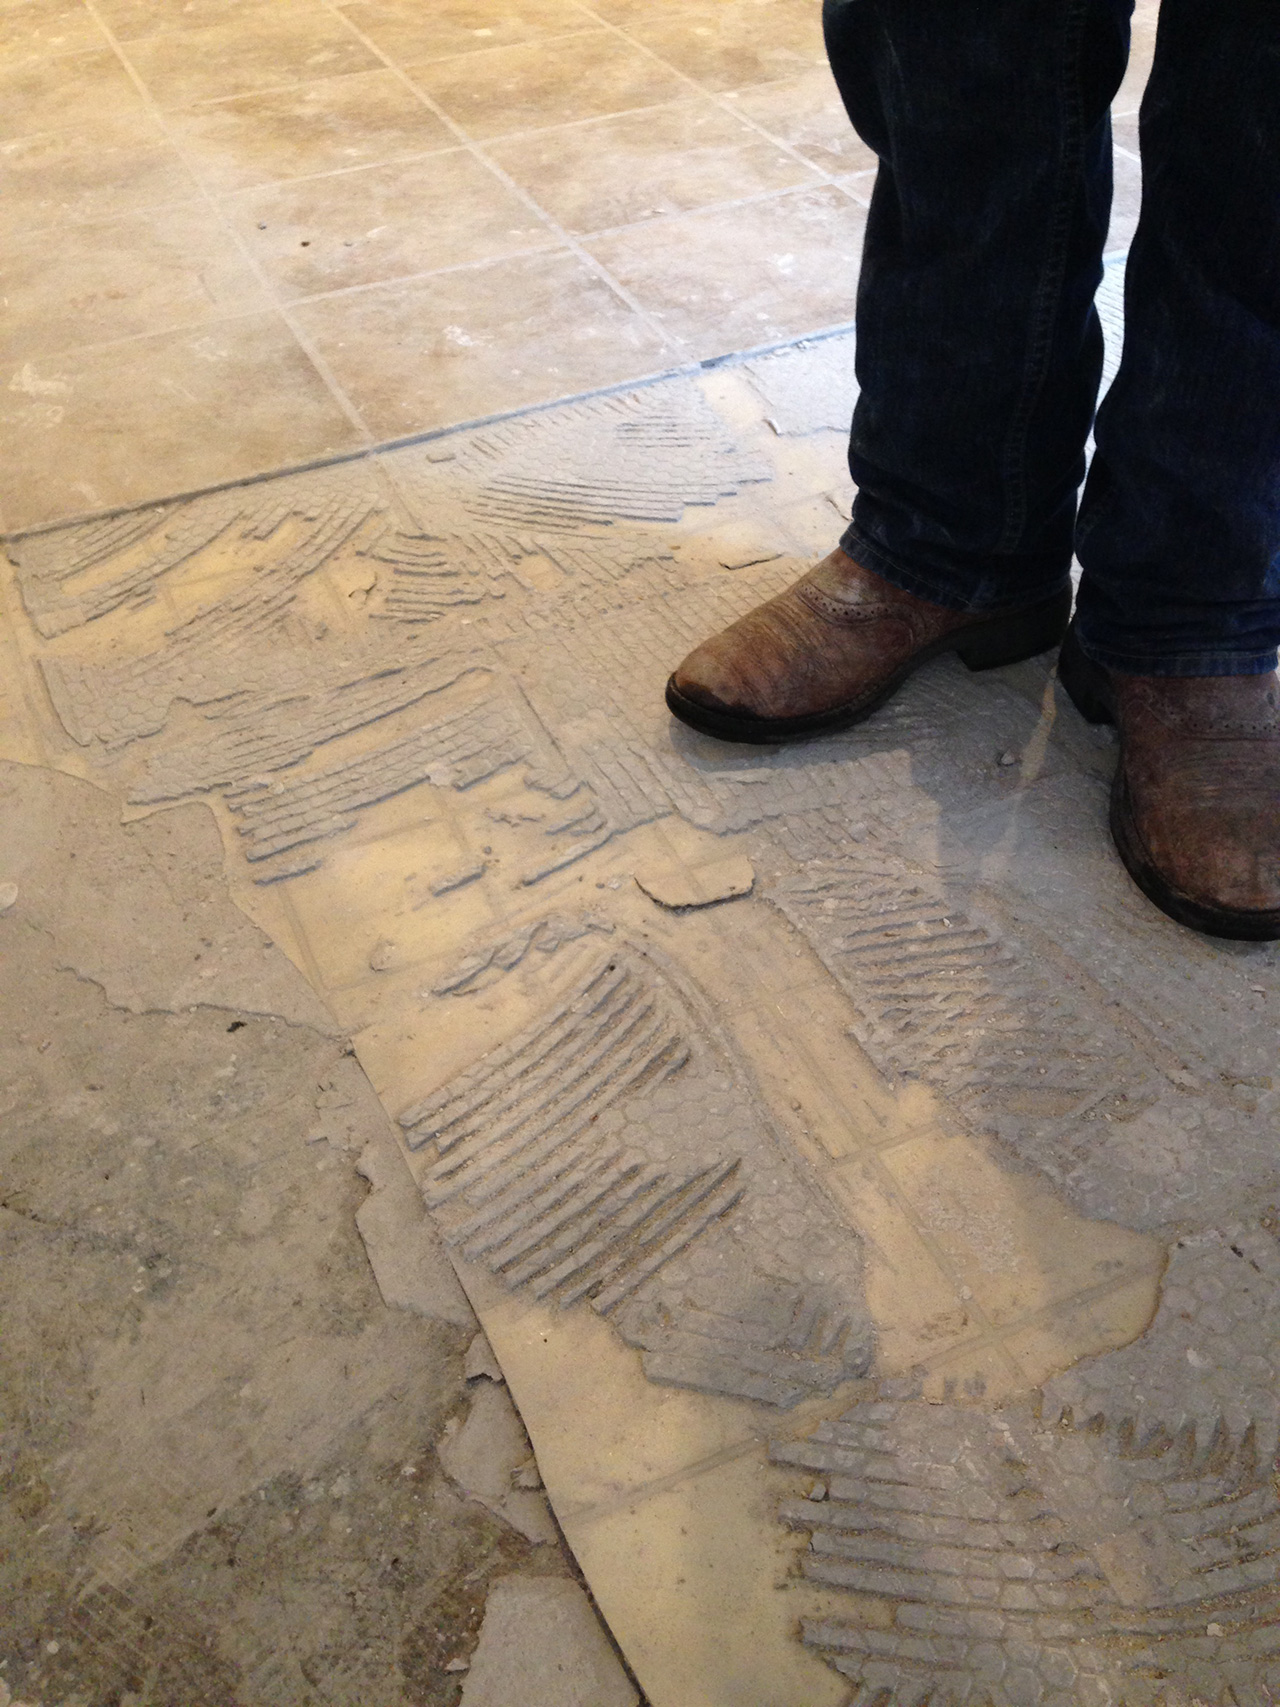
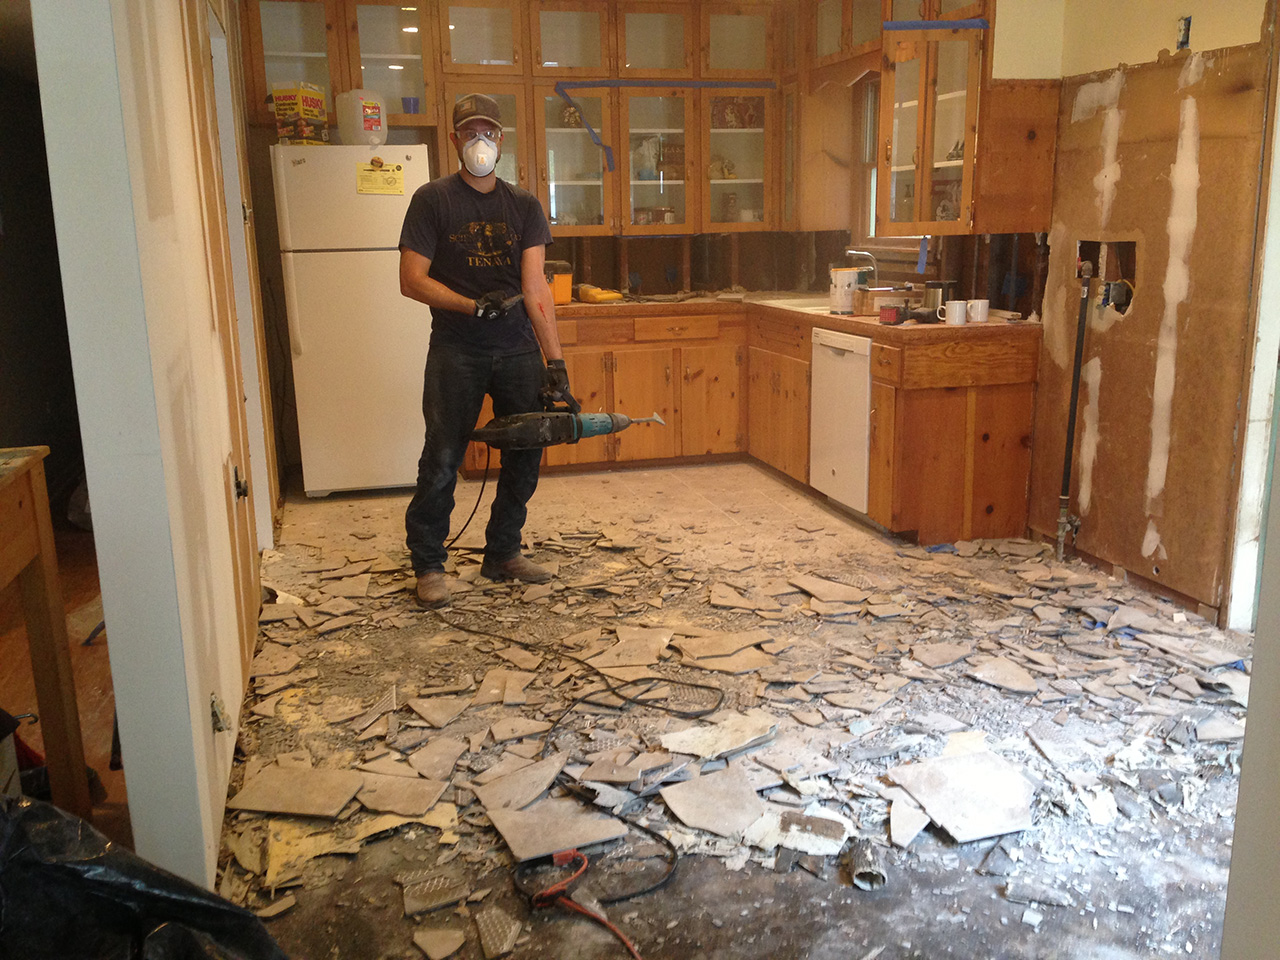
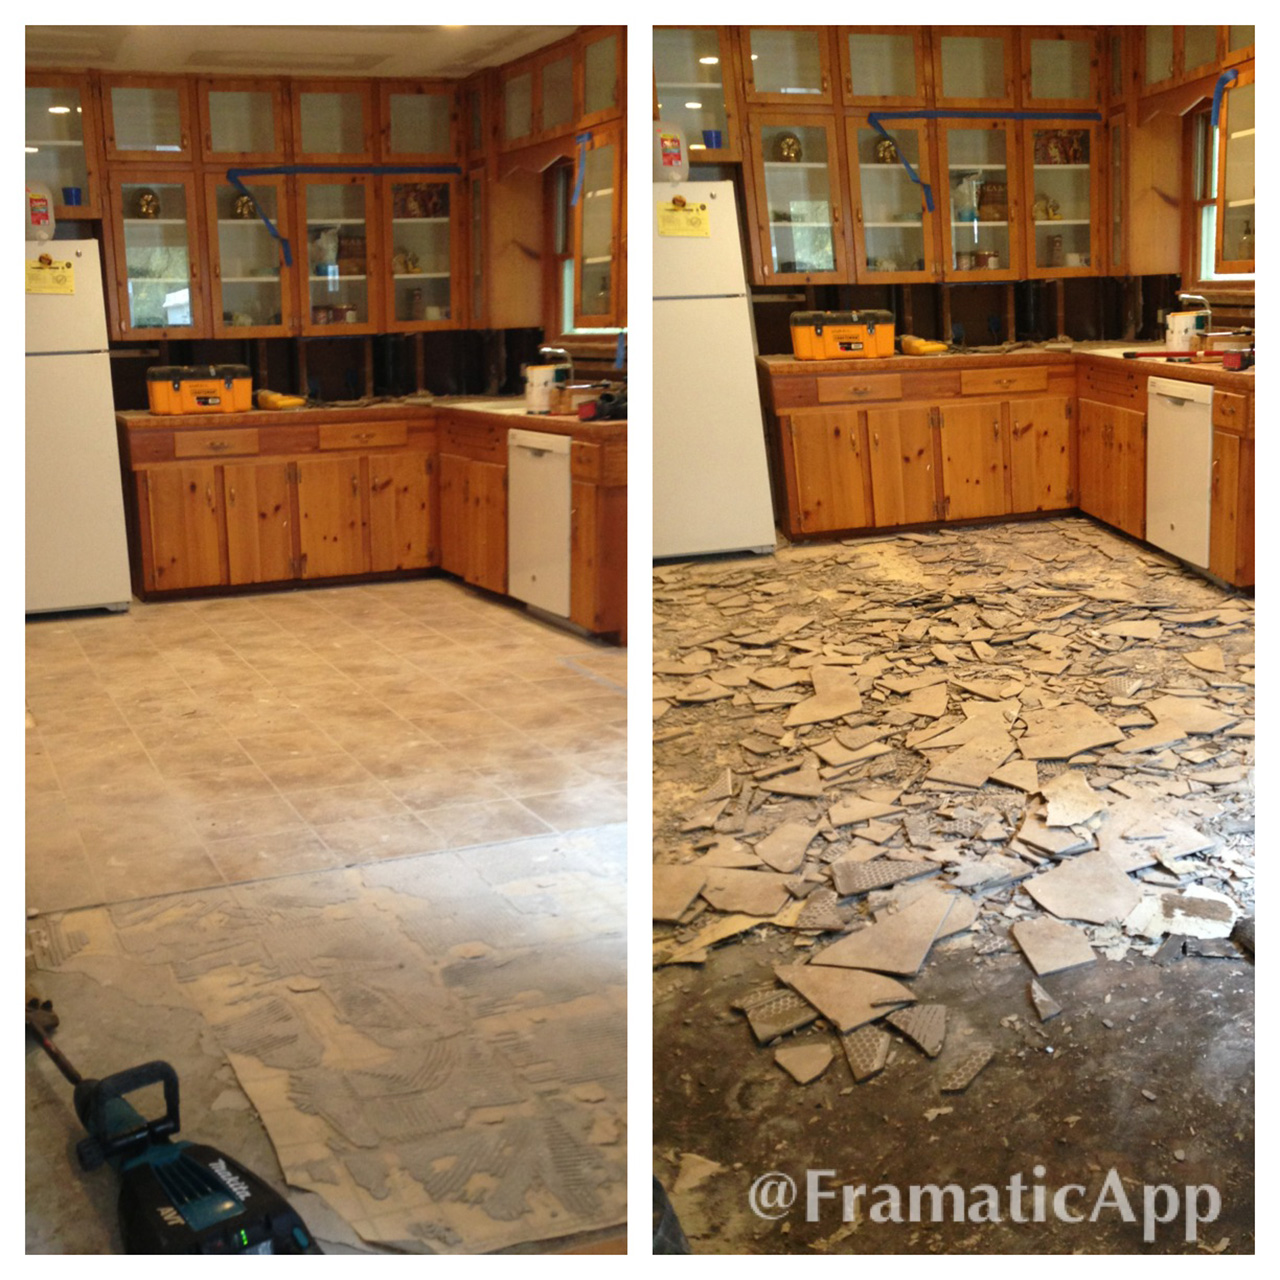
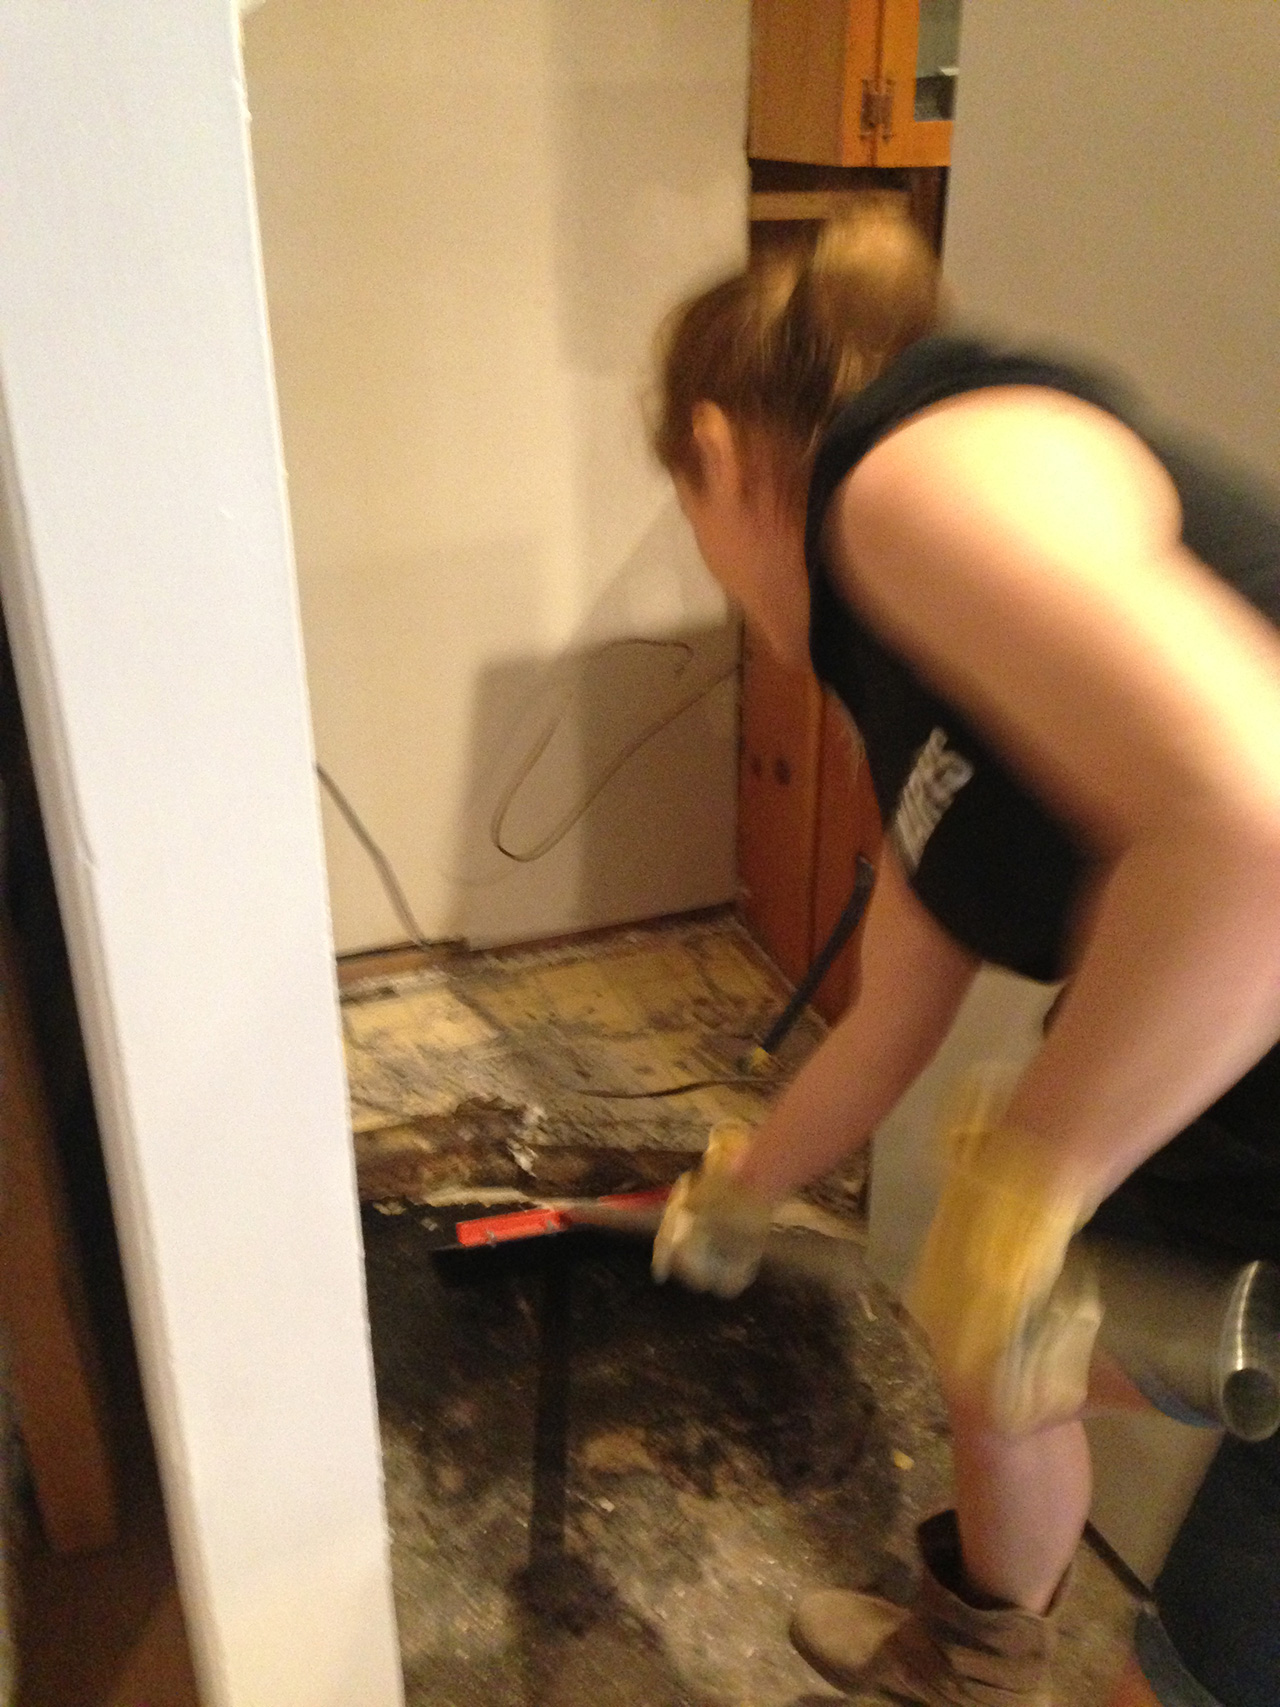
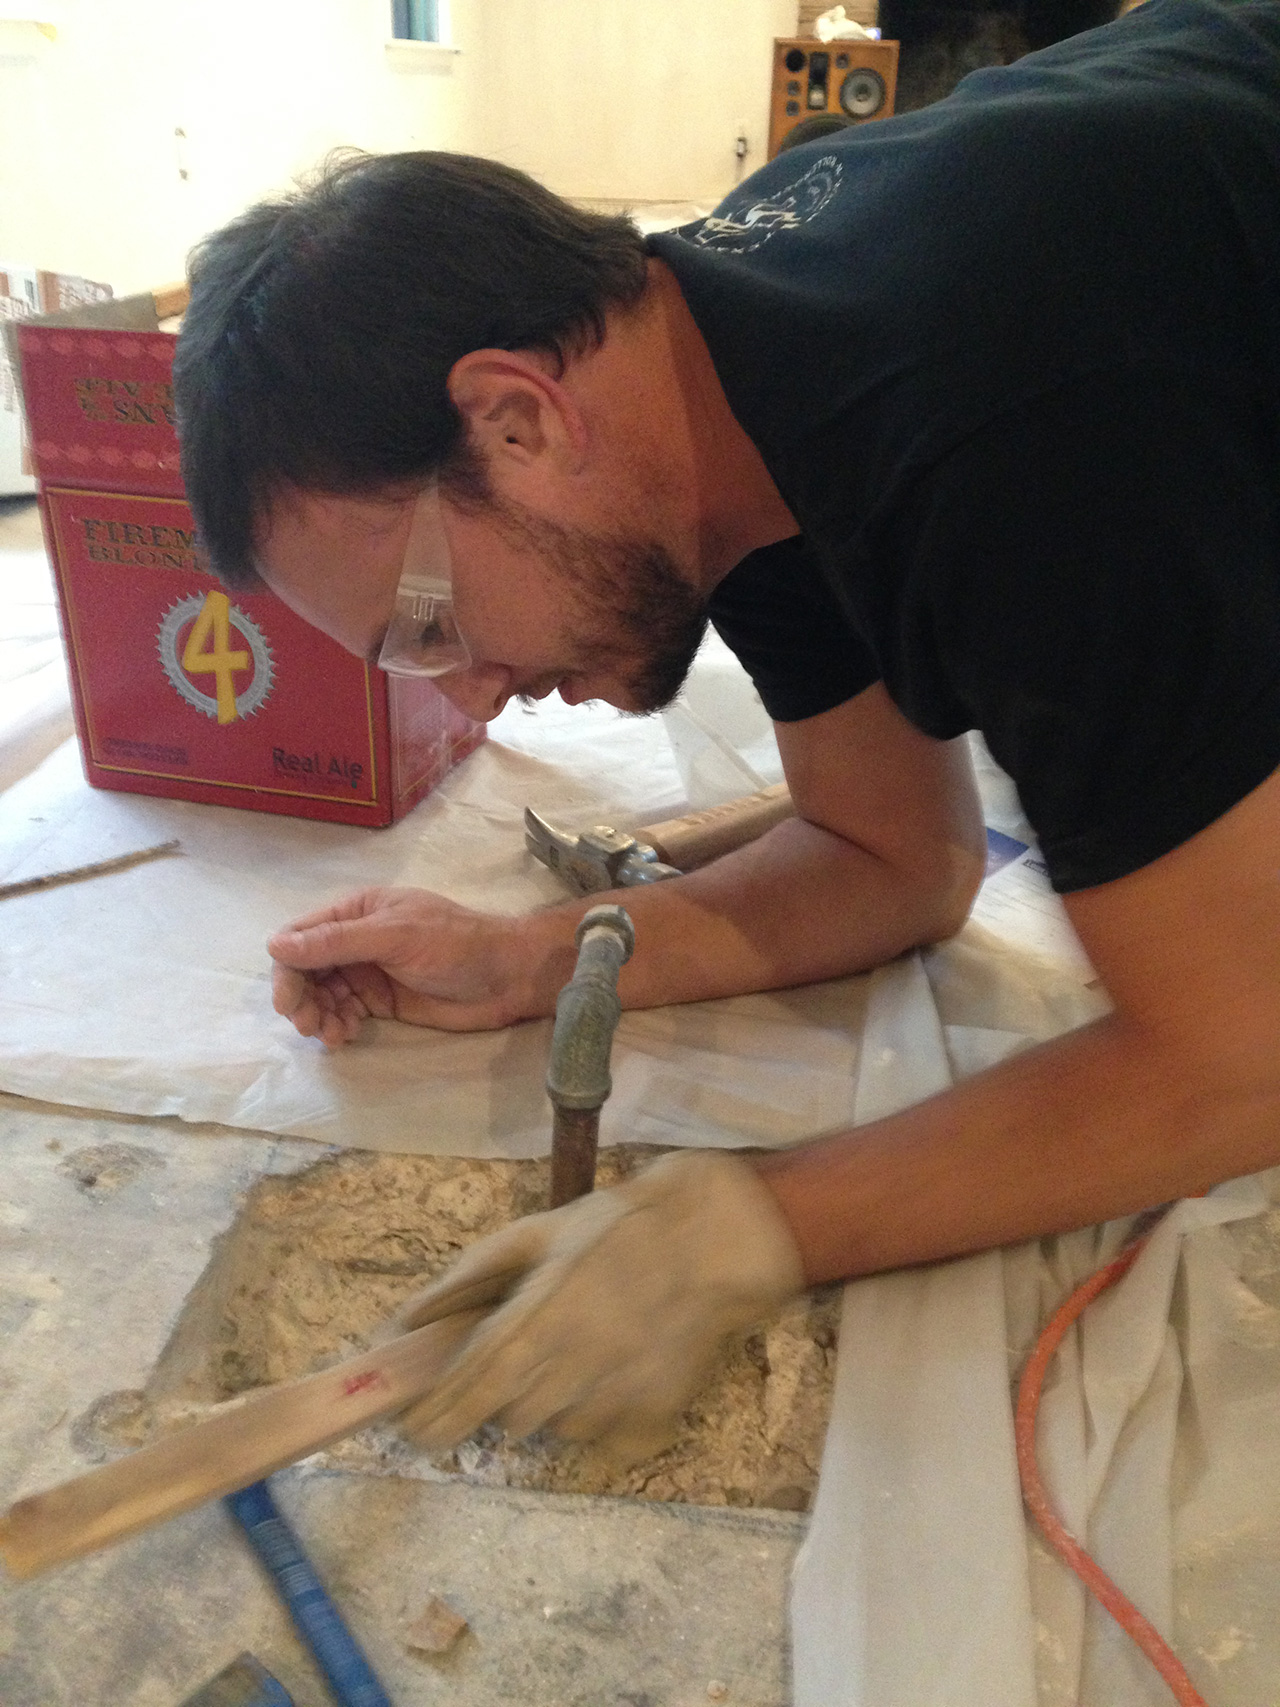
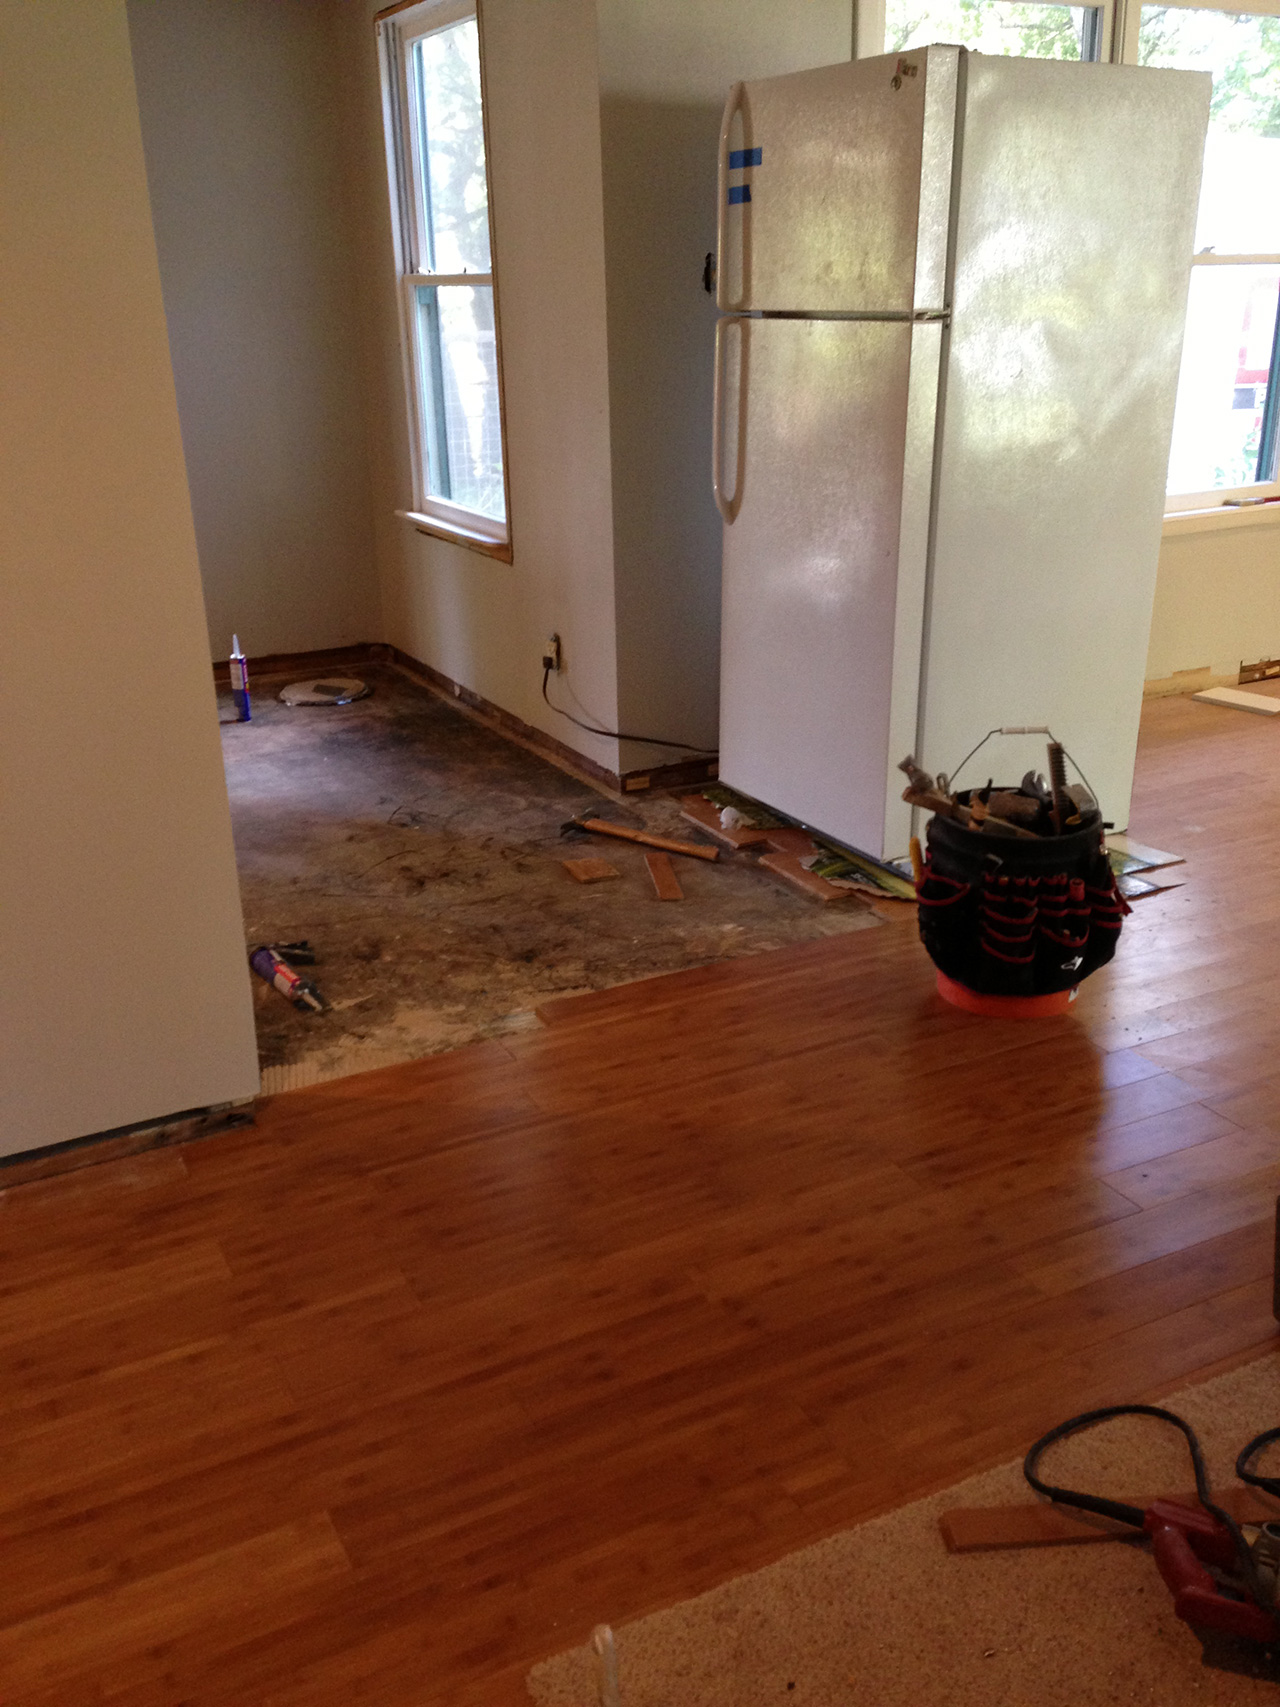
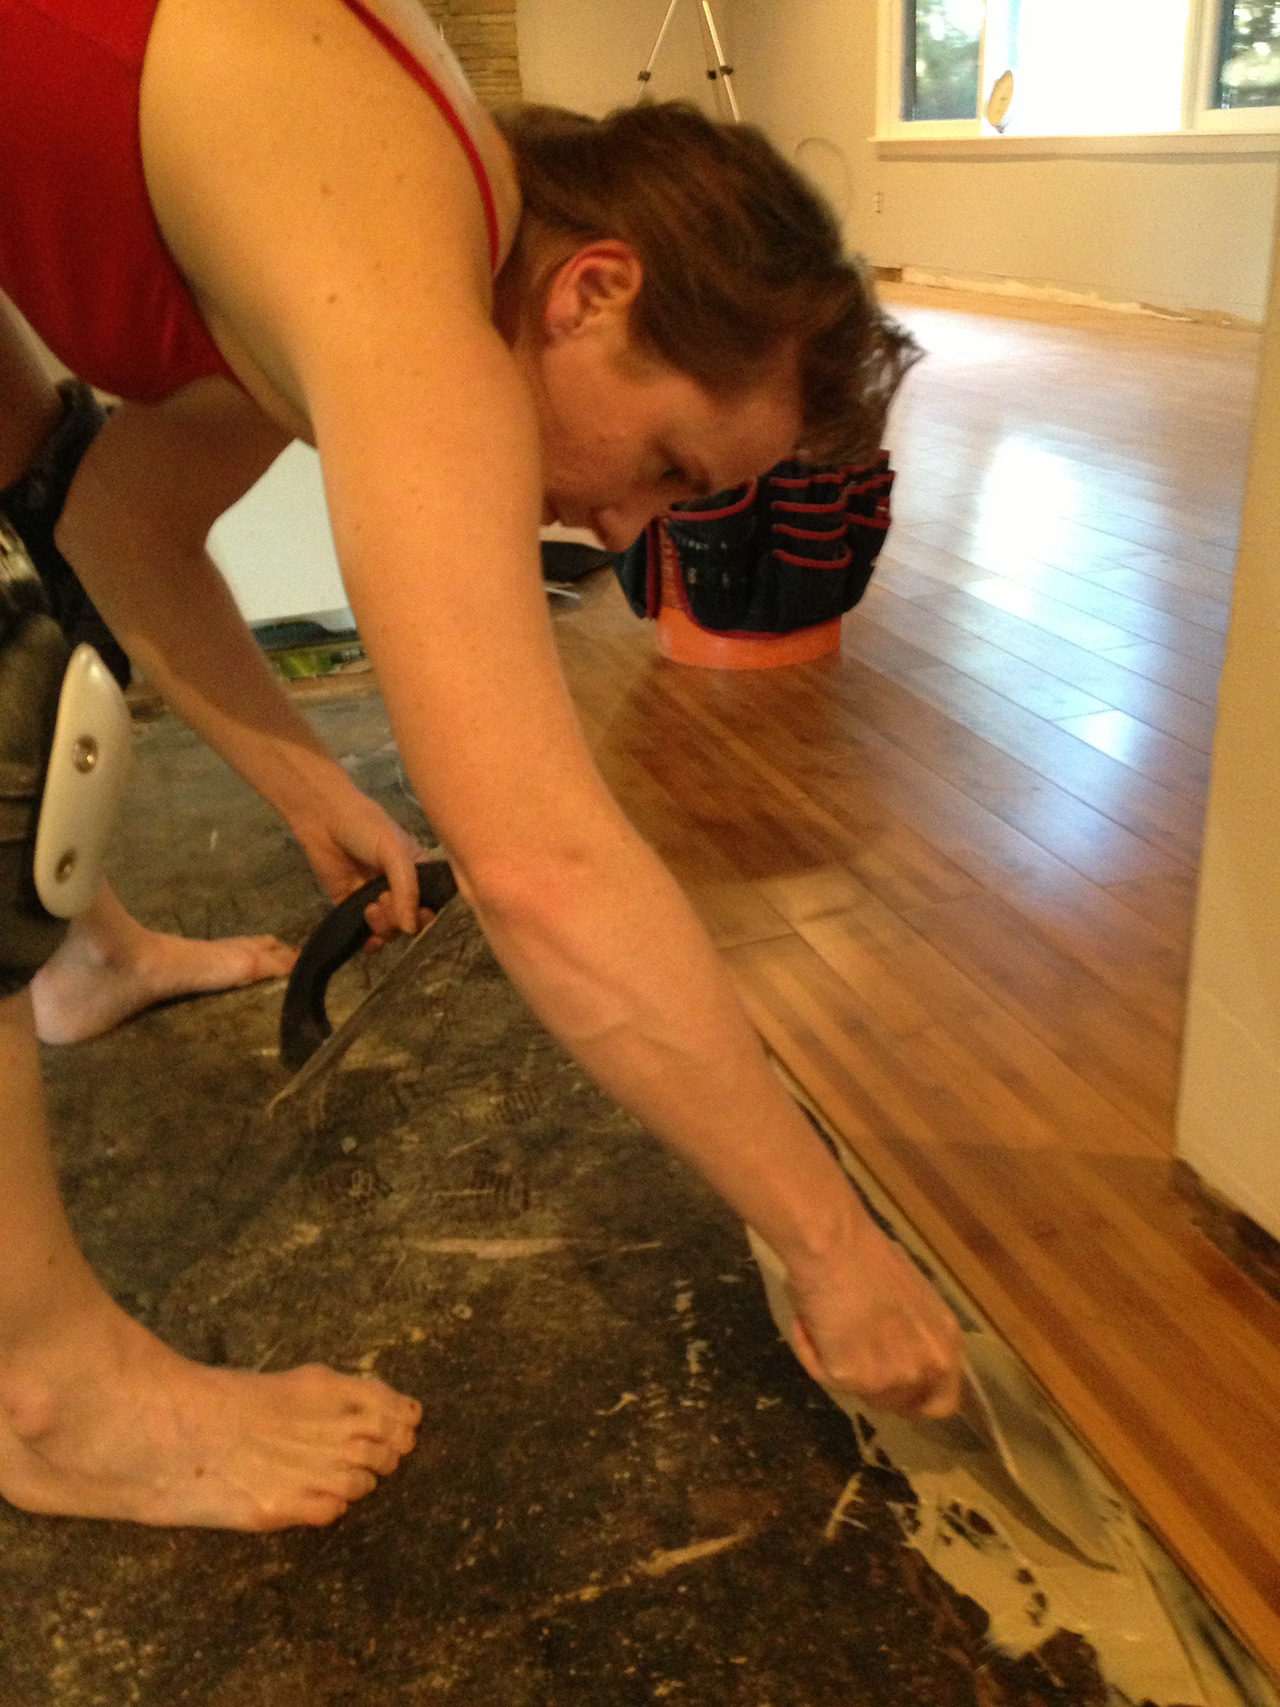
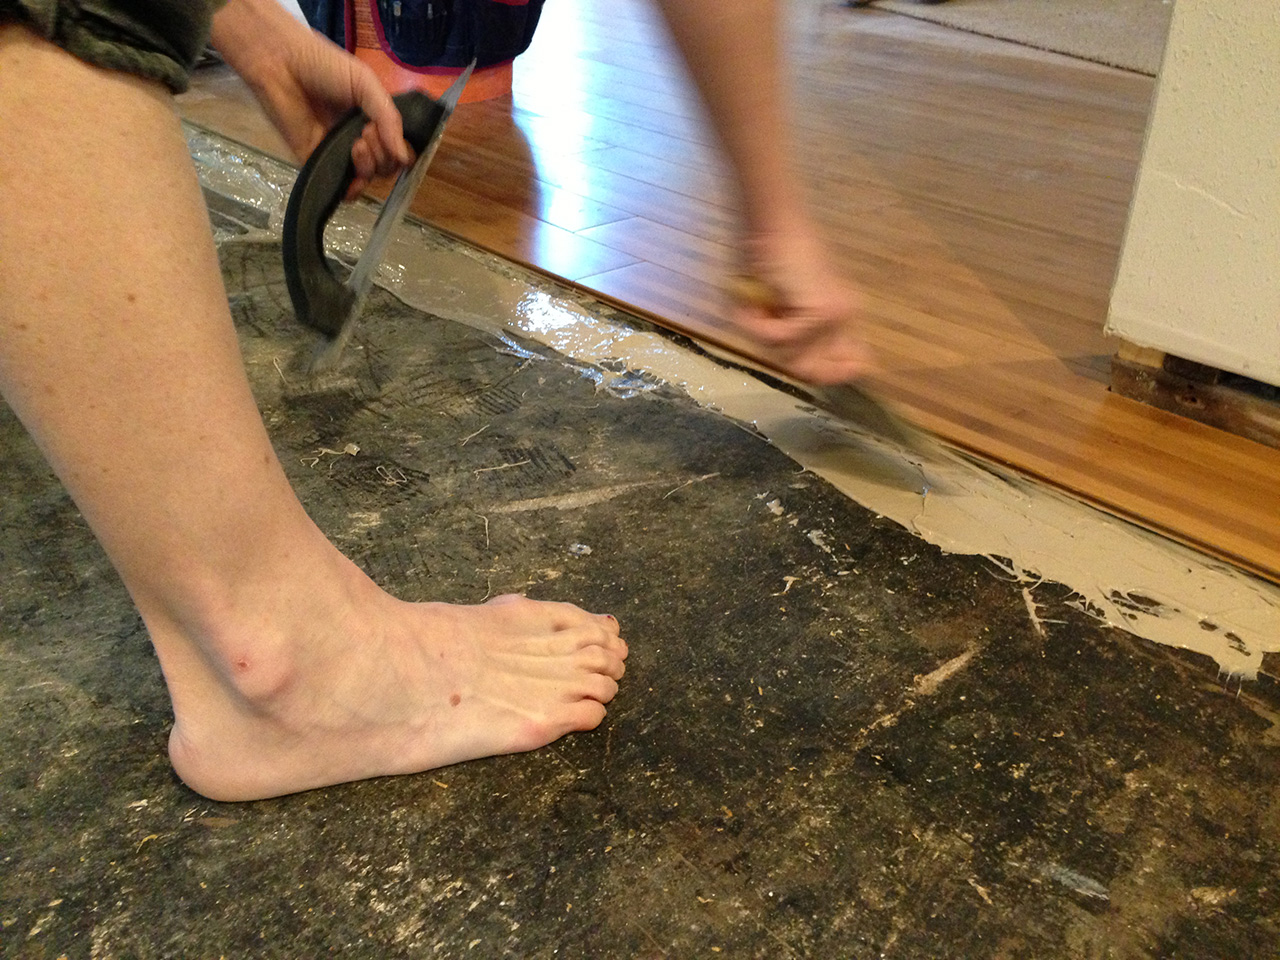
 The next morning – ACK! – I discovered that we forgot a section of floor under the fridge and because we had already returned the demo-hammer so me and my brute strength removed it by hand.
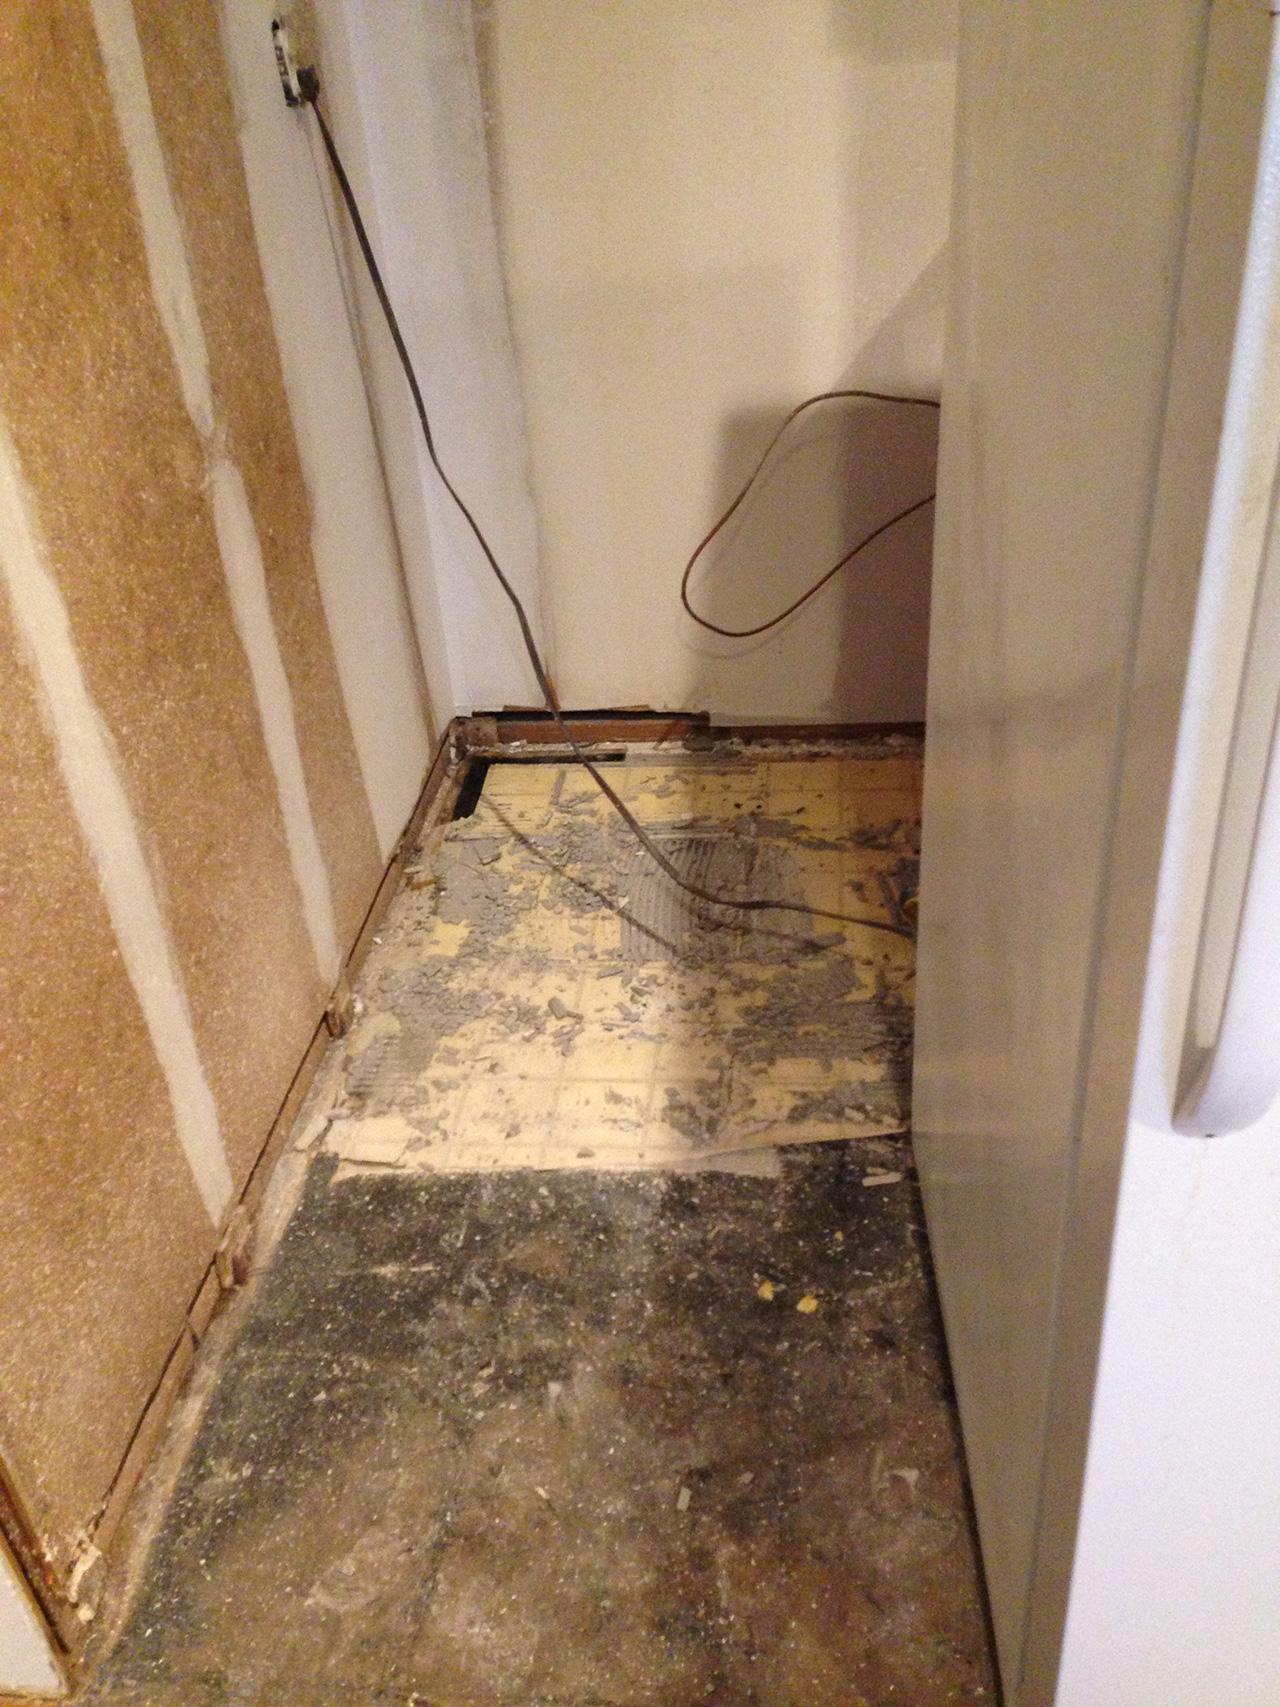
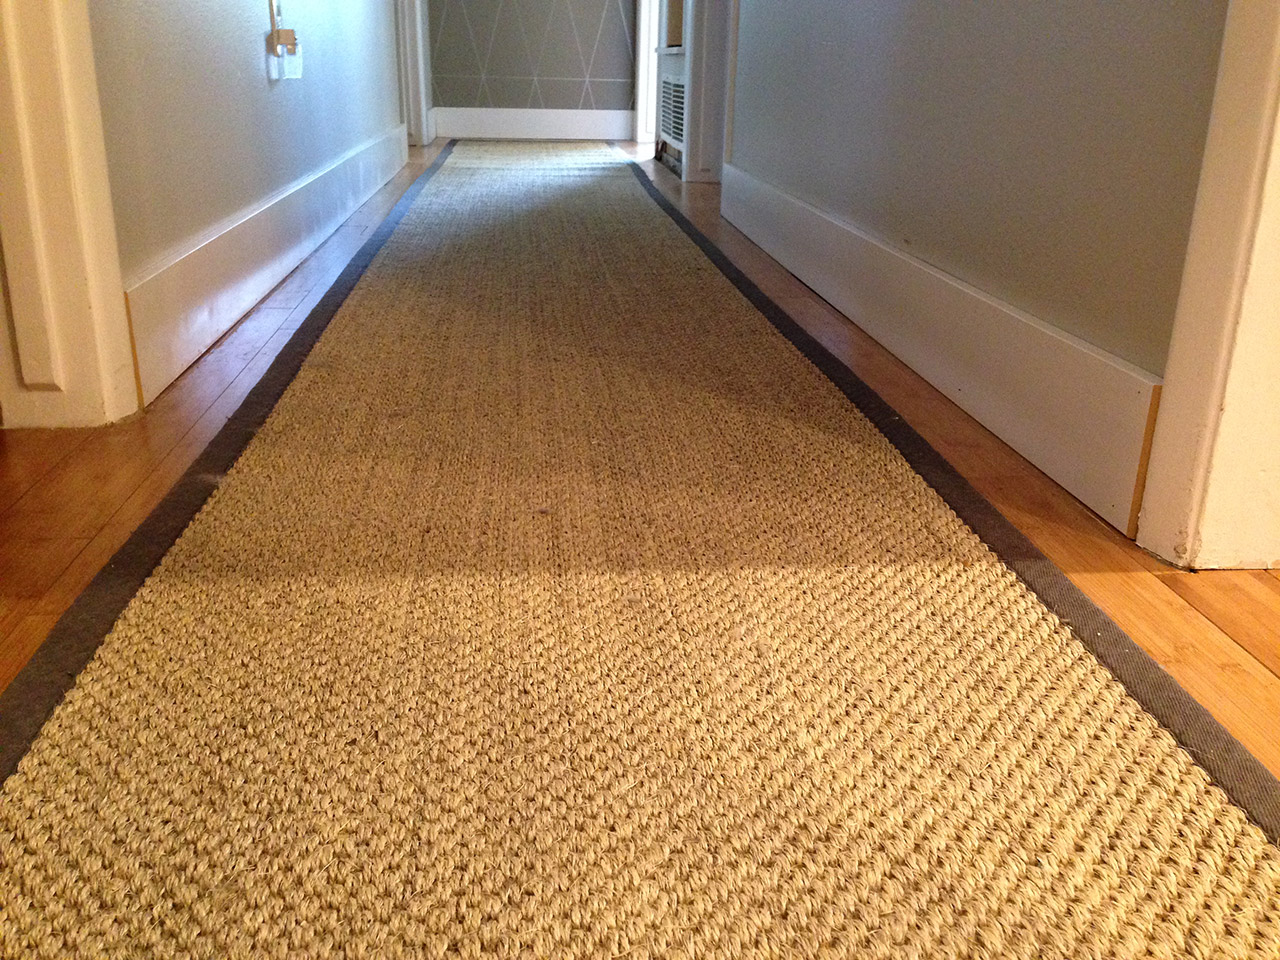
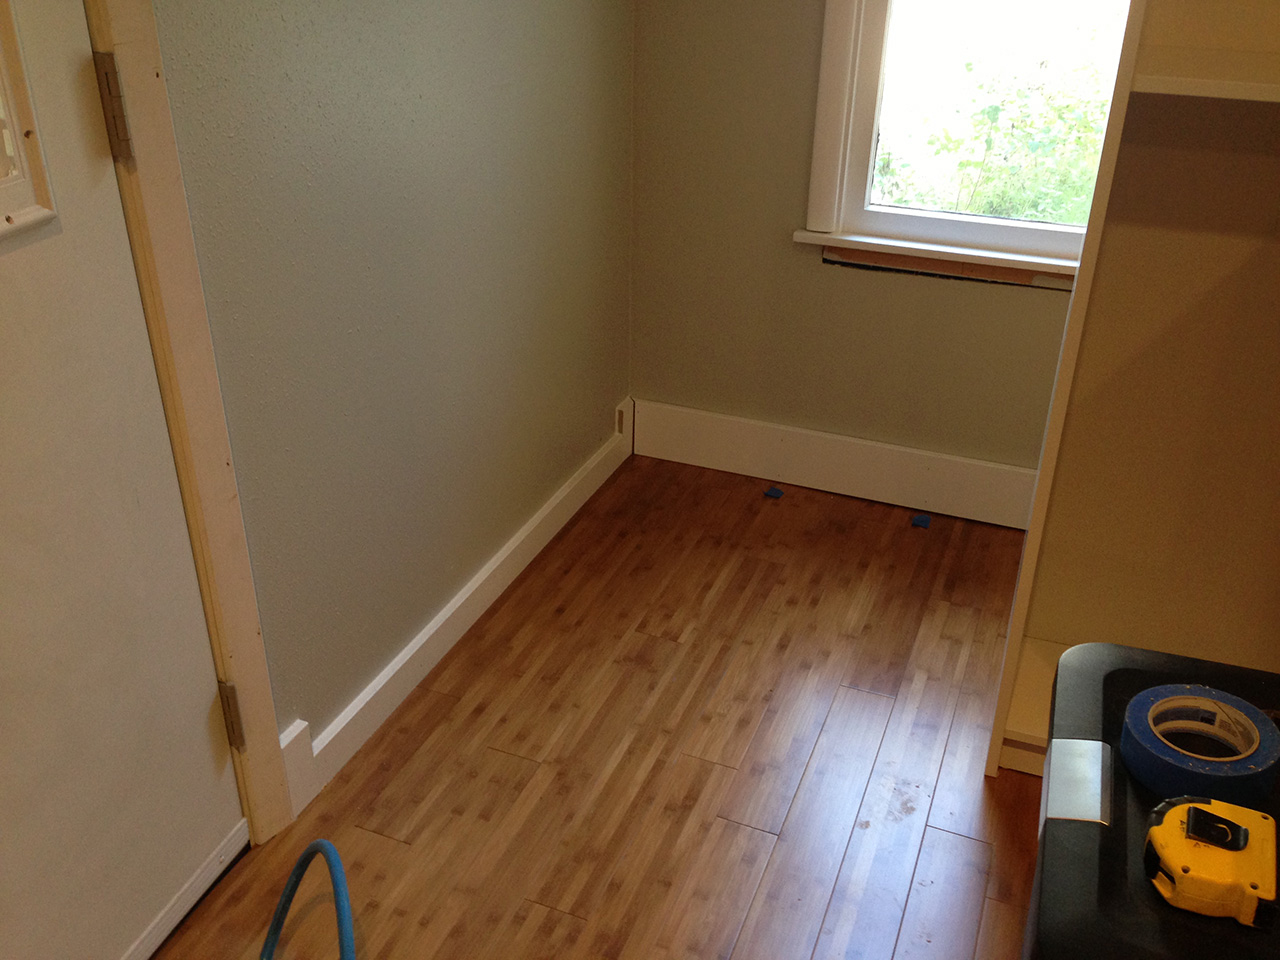
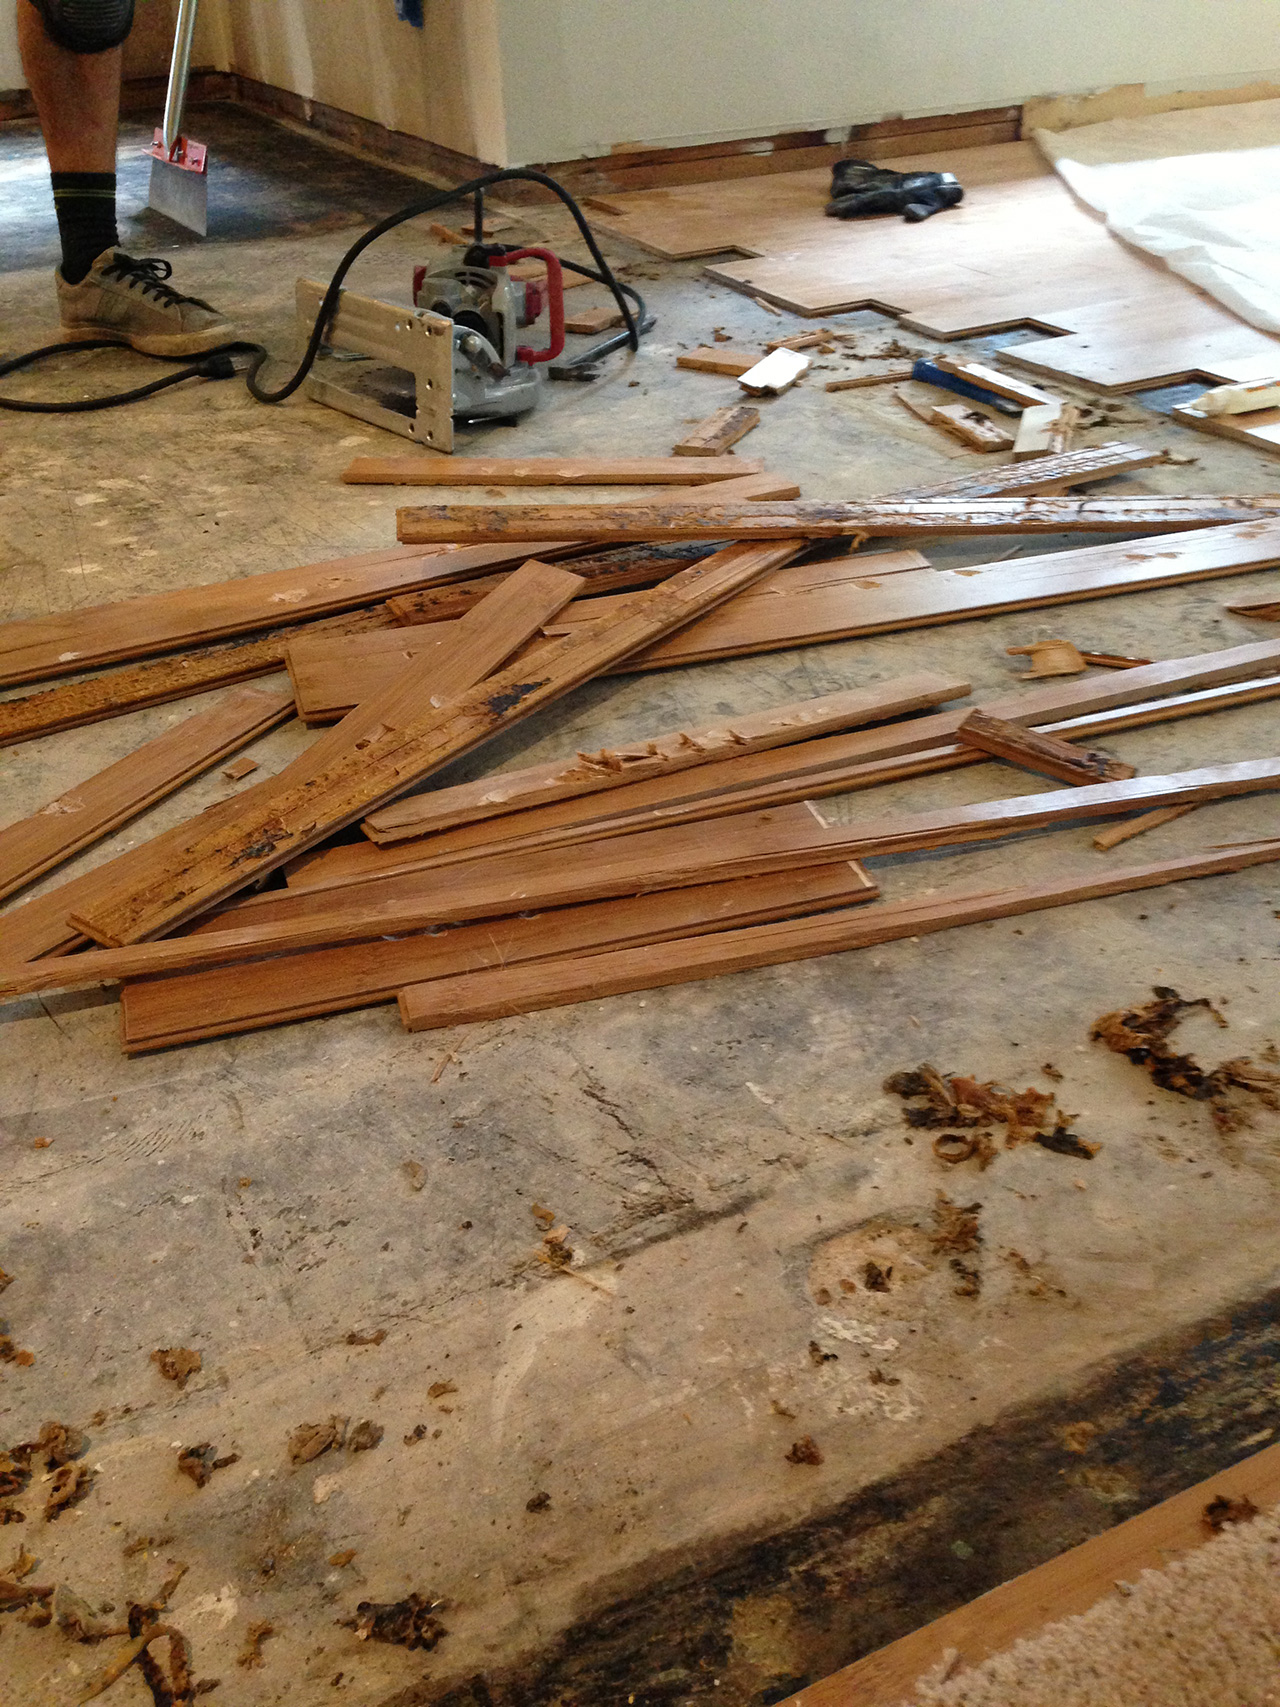
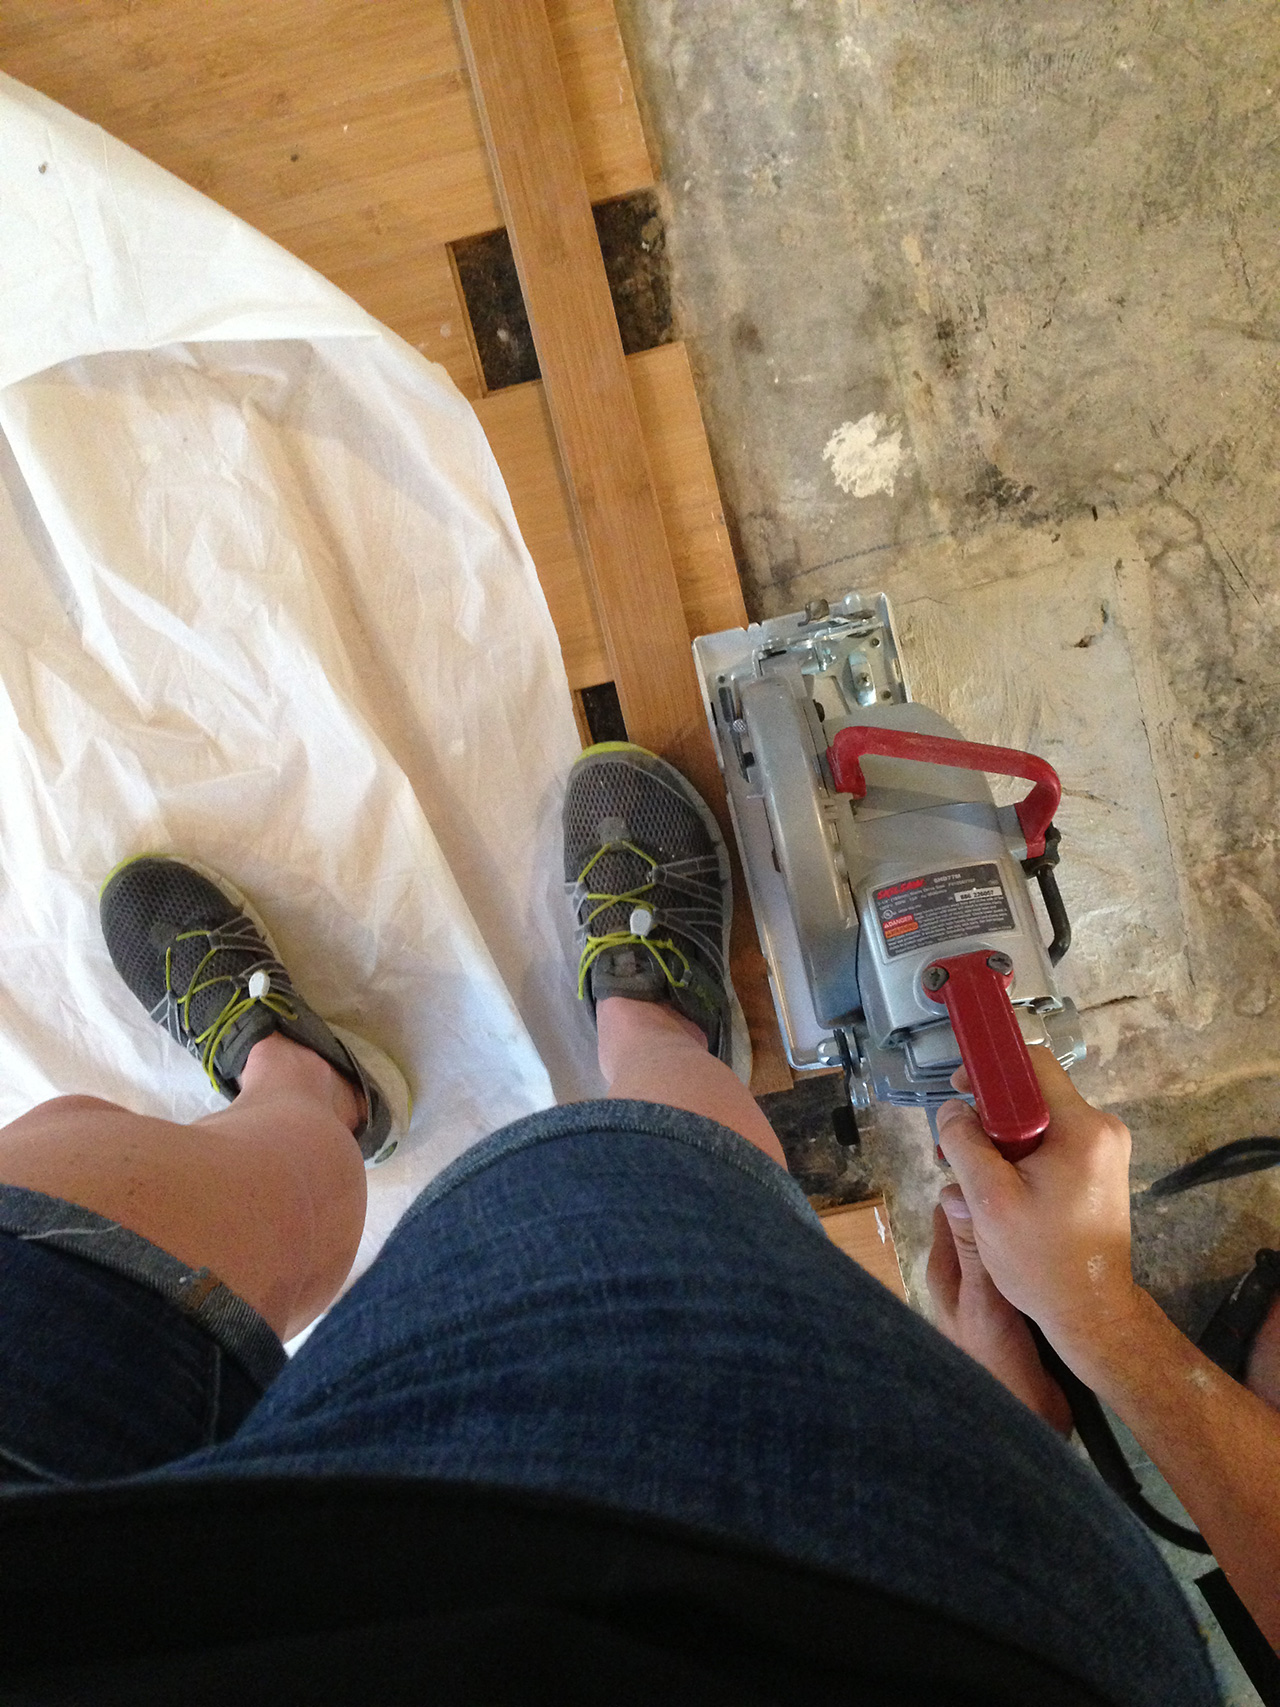
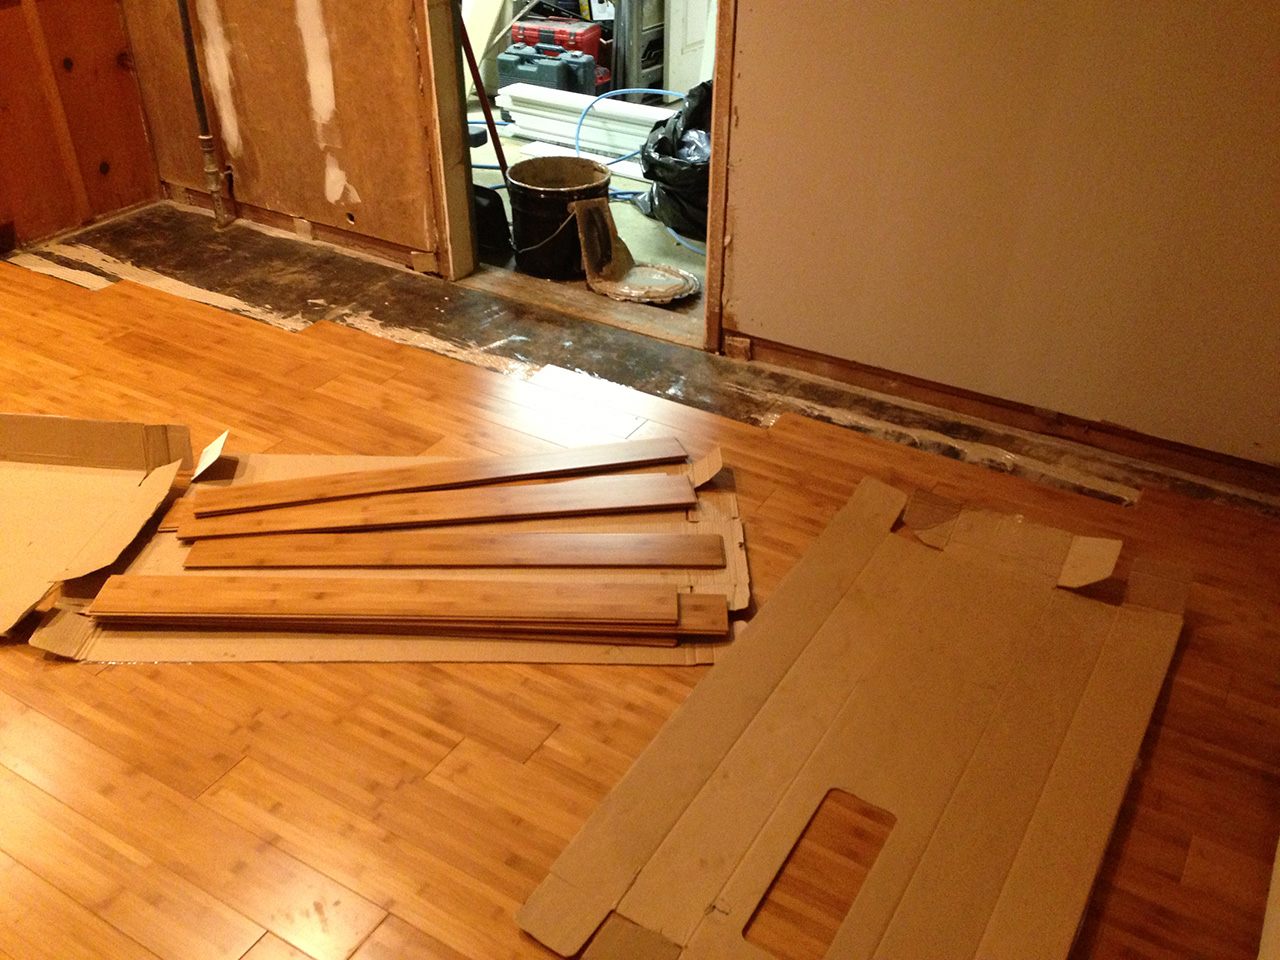
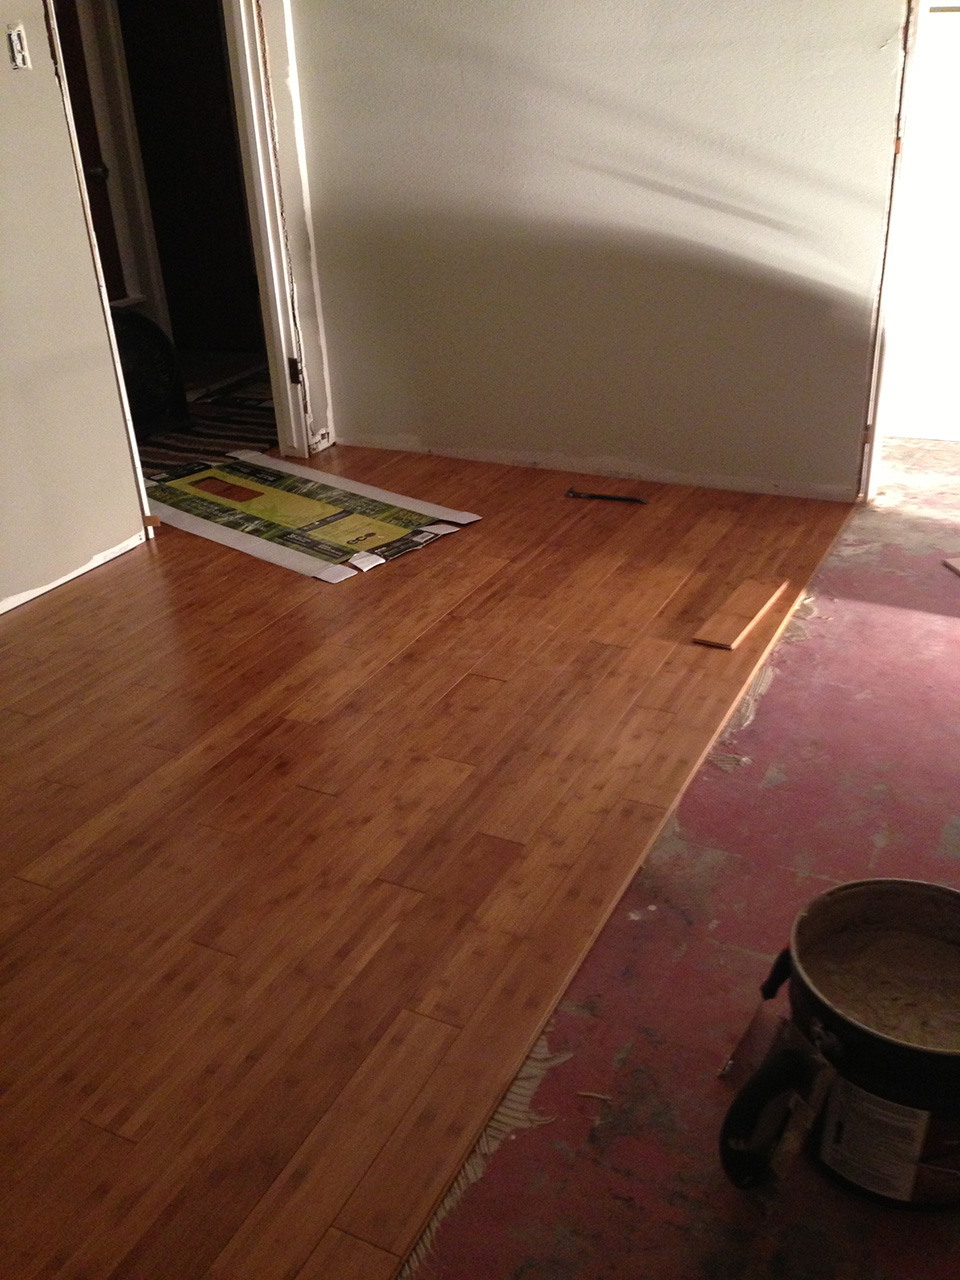
 So the floor was ready for install… almost.
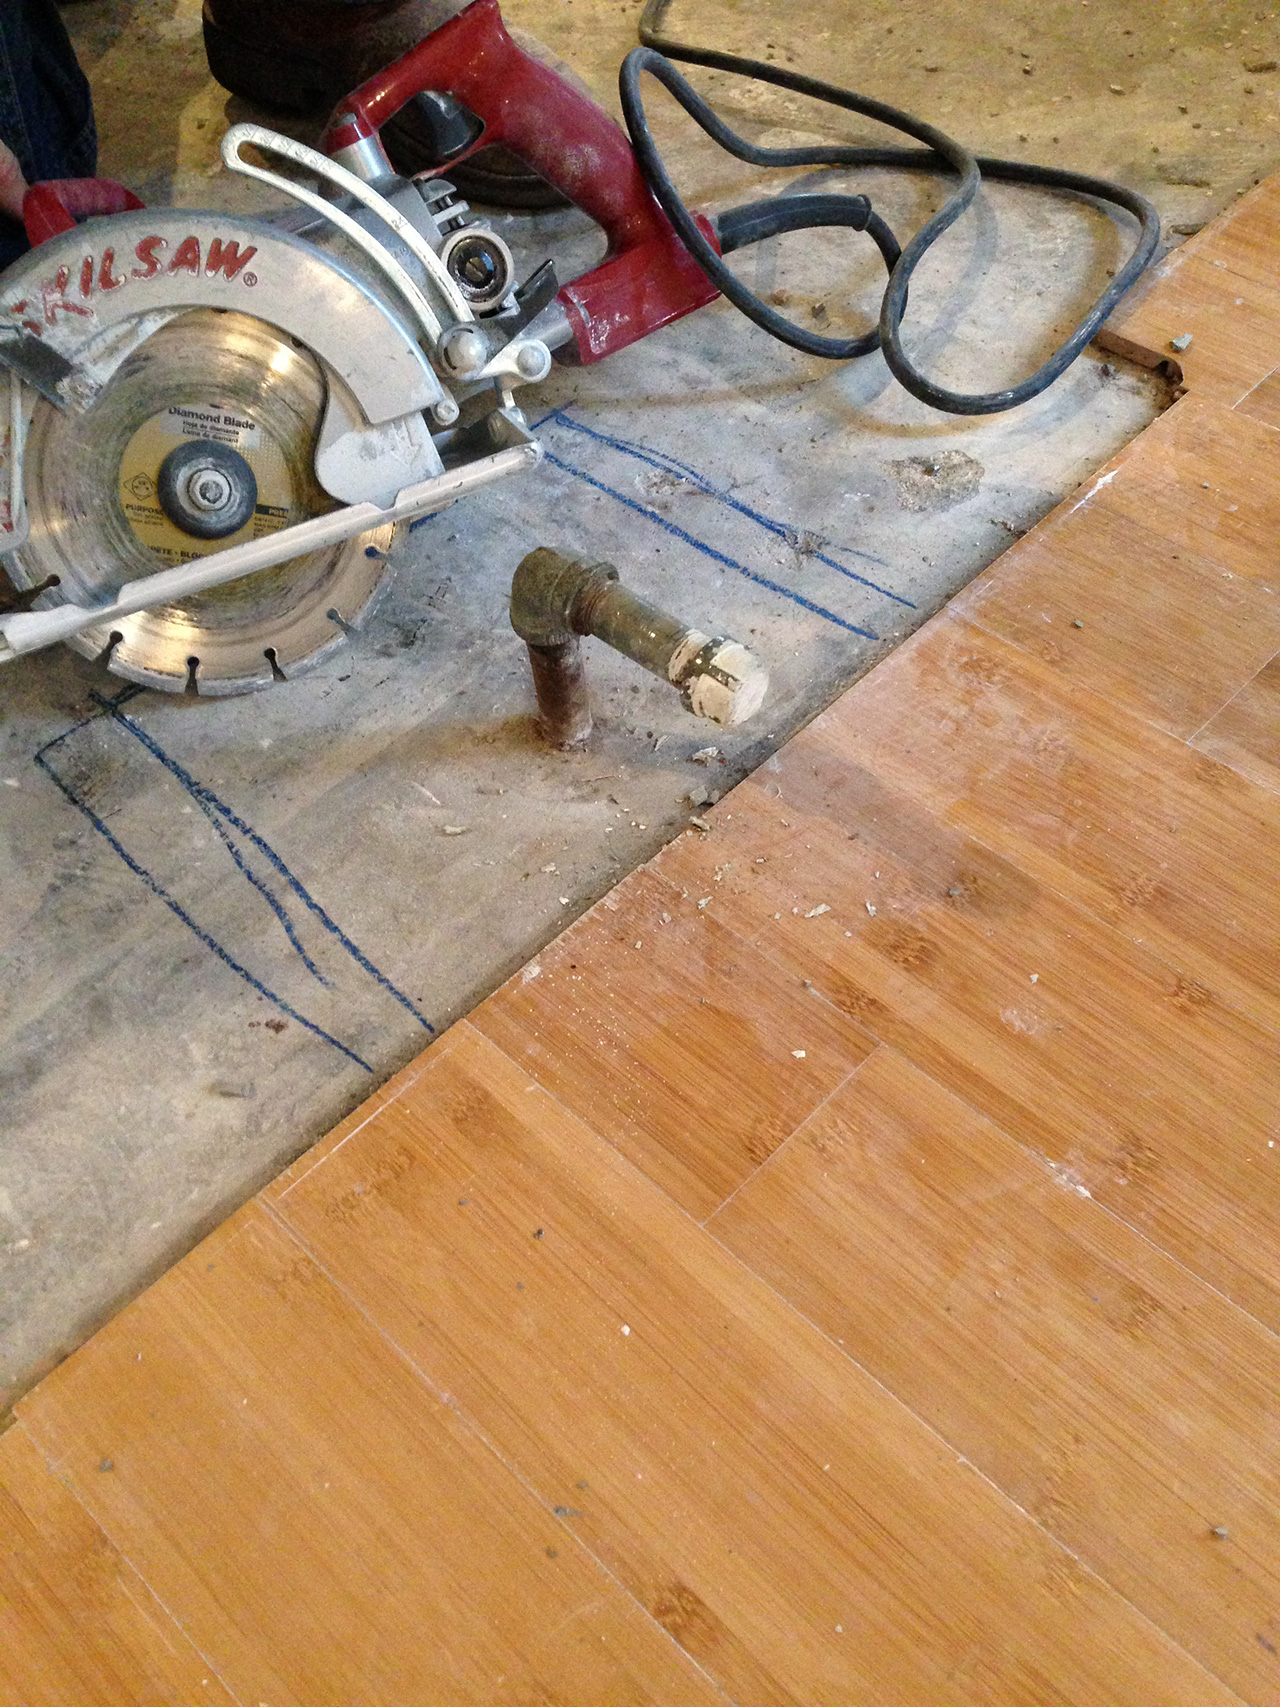
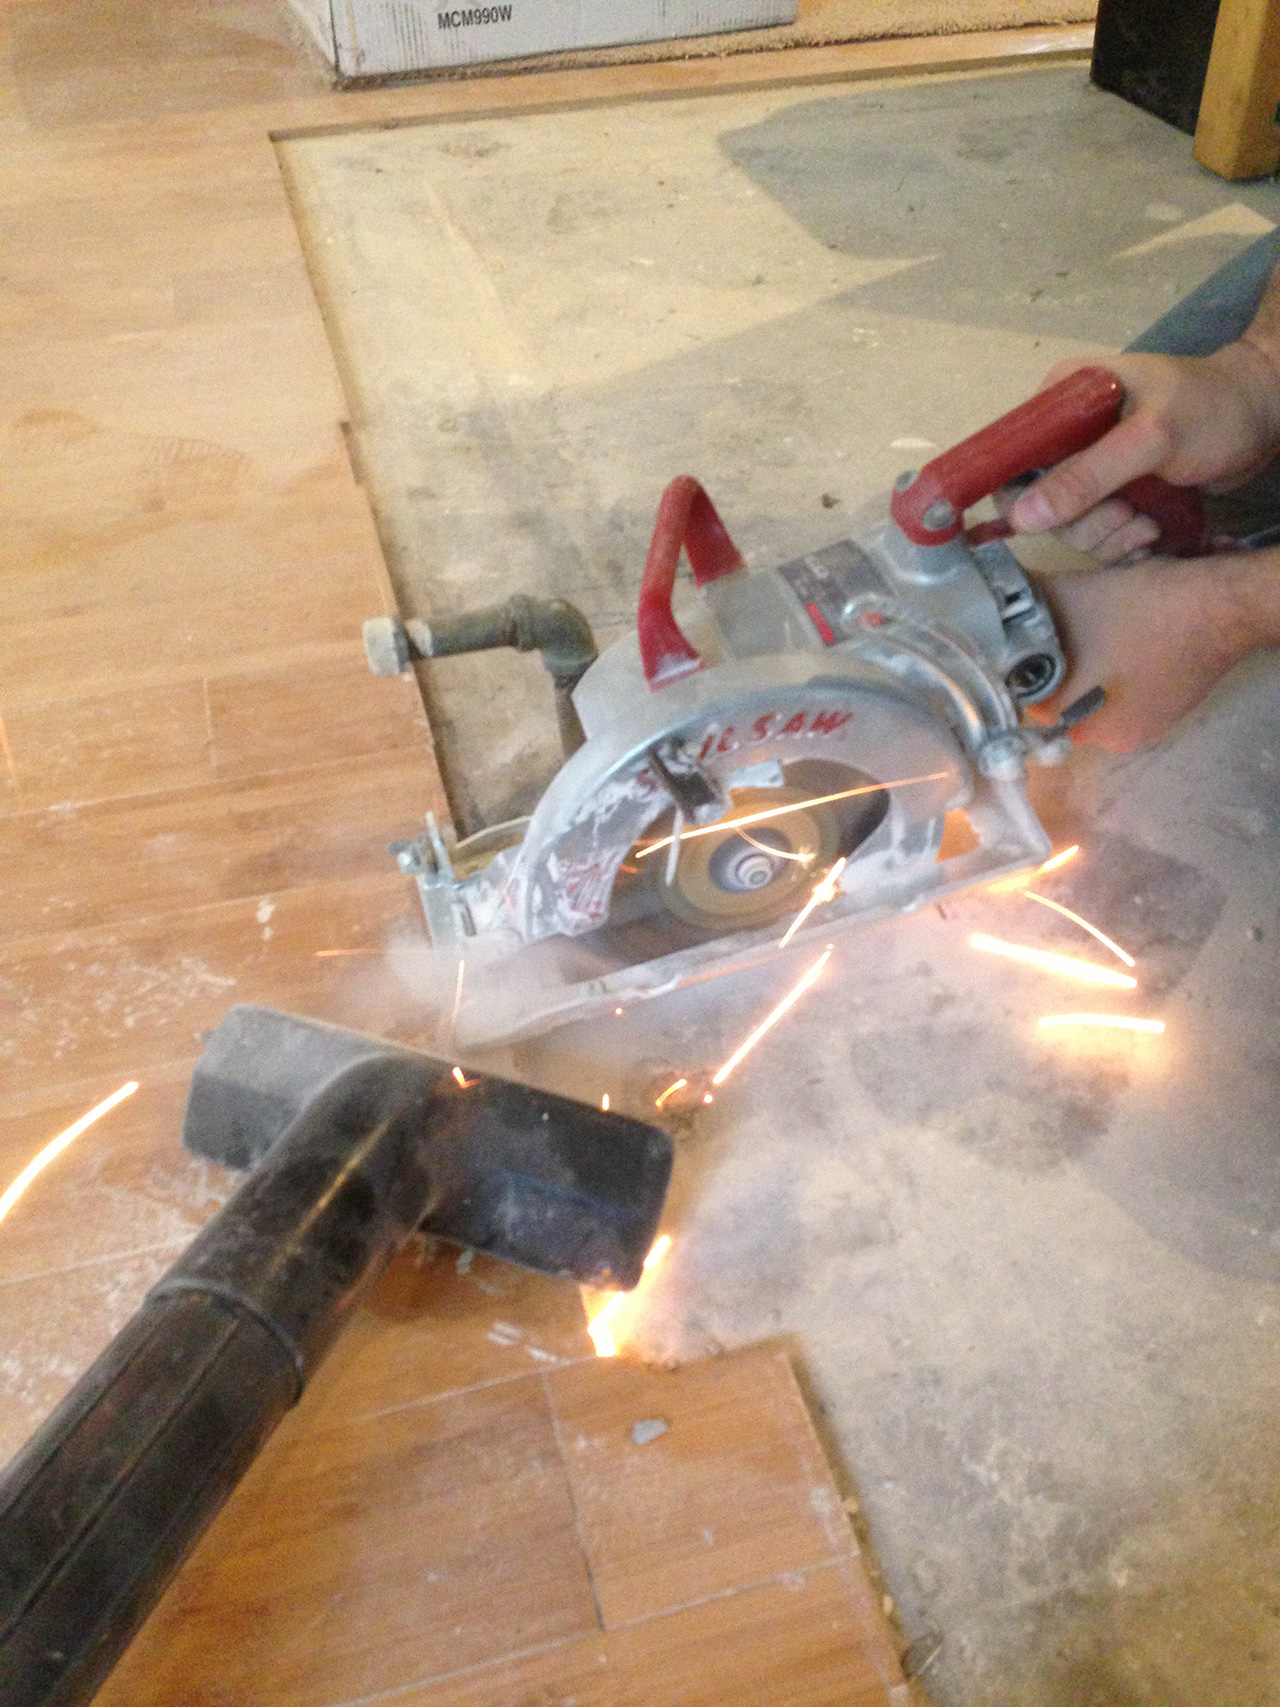
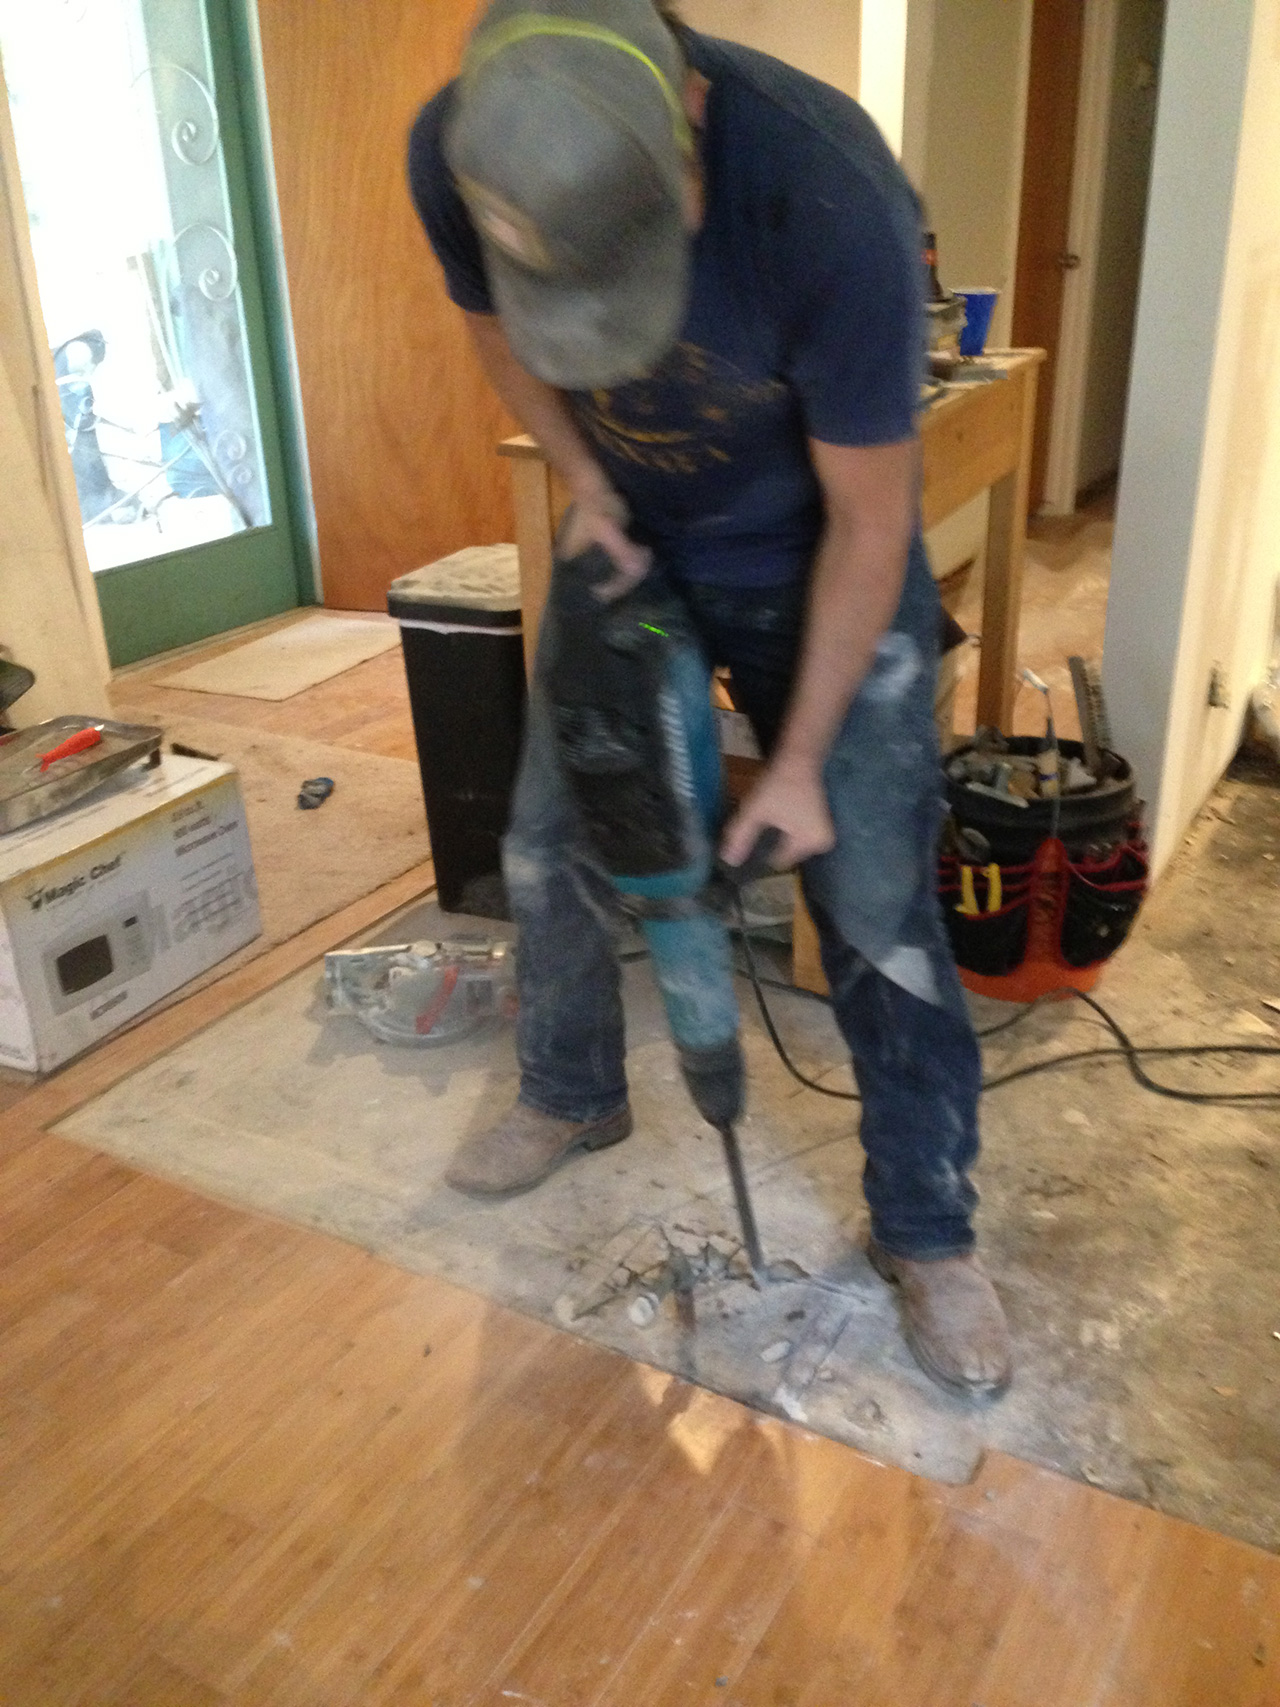

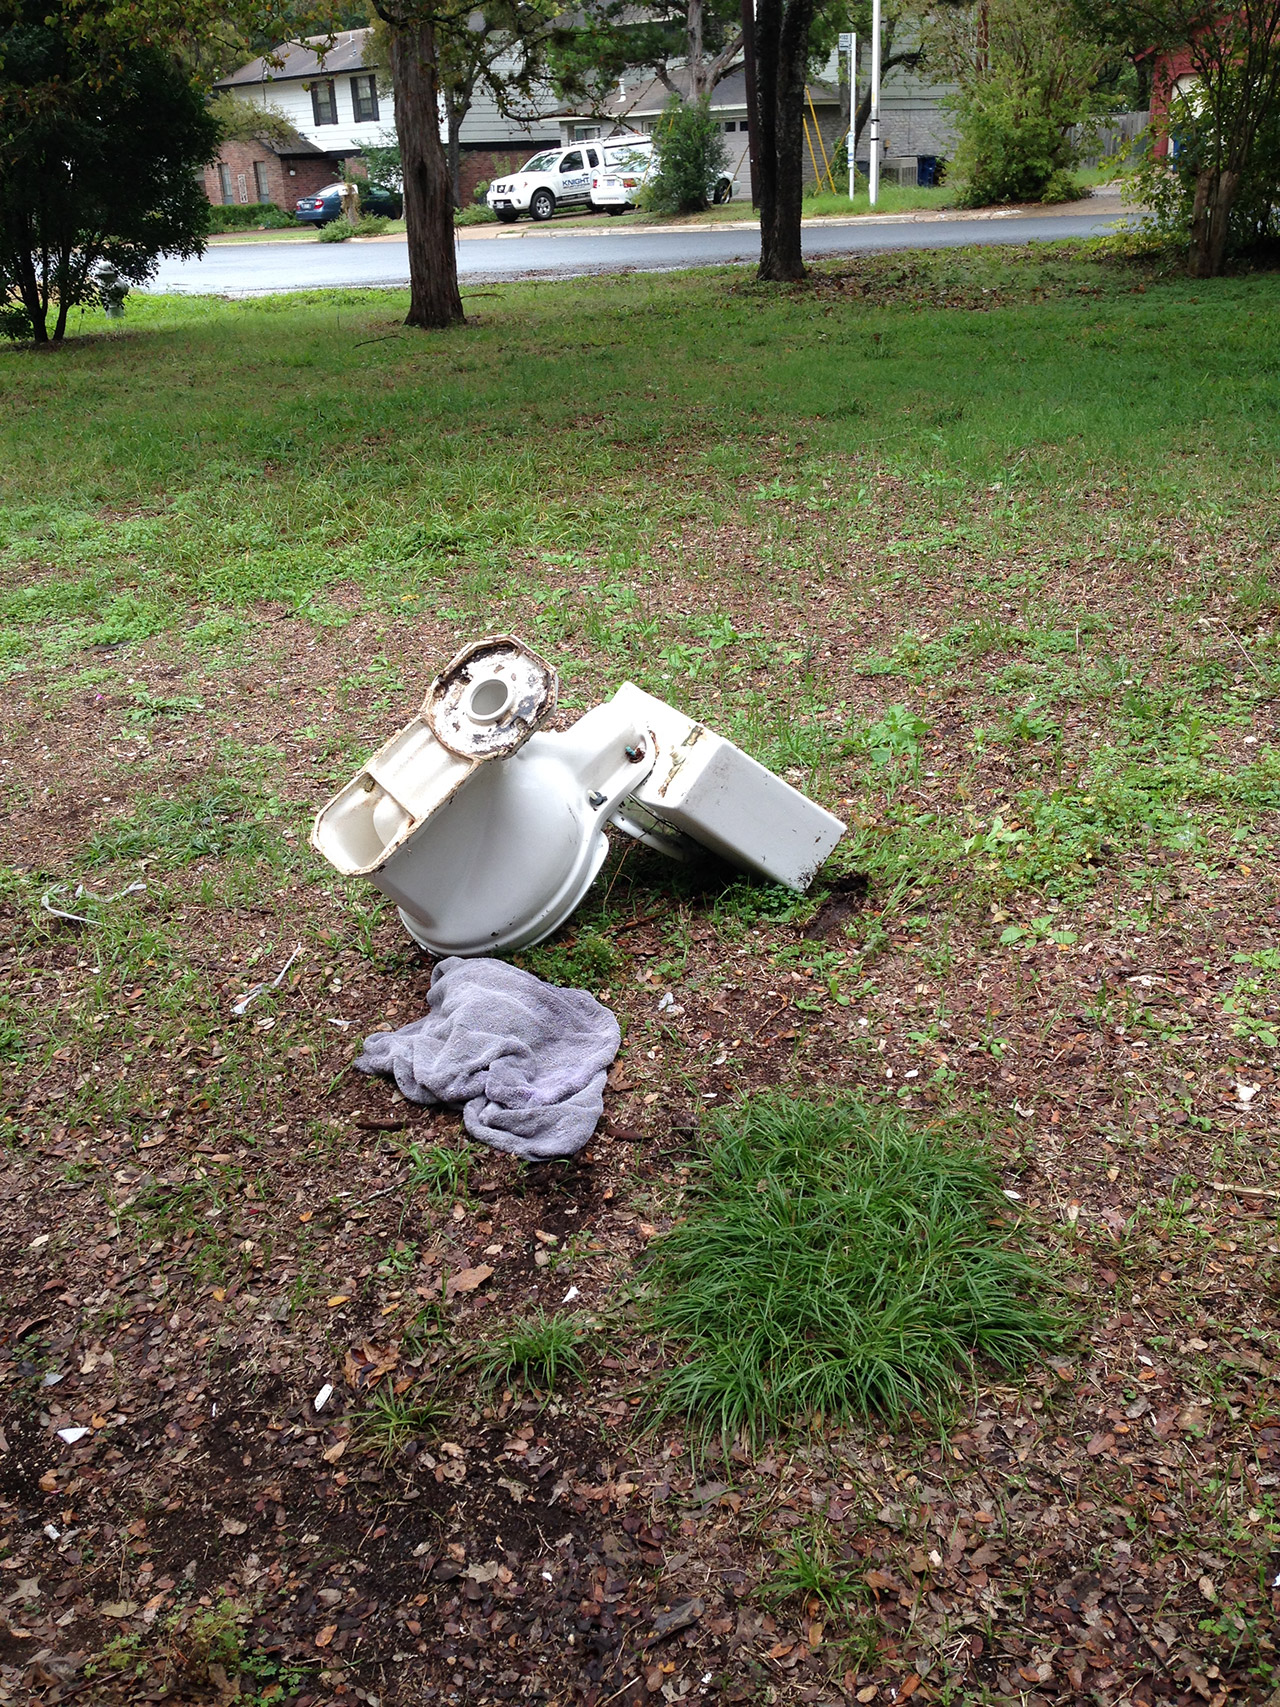
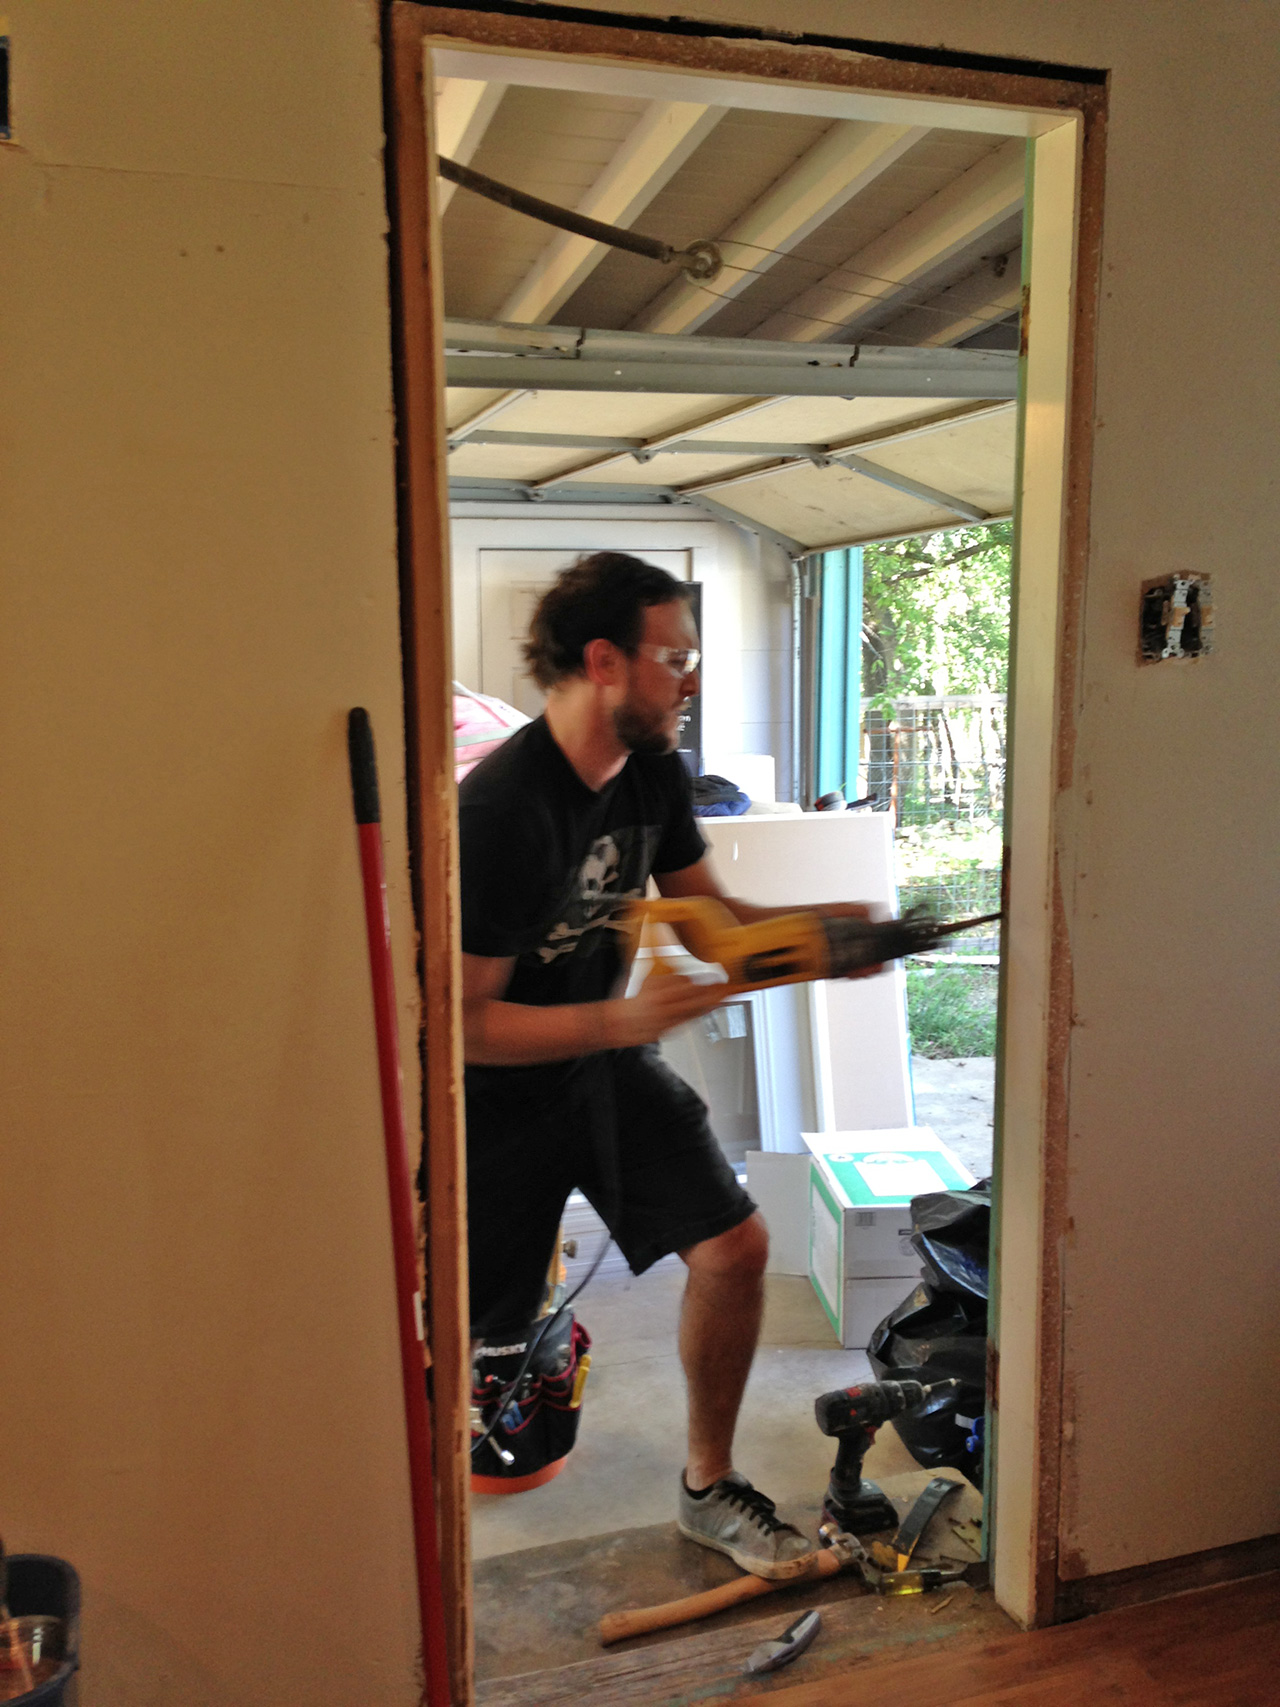
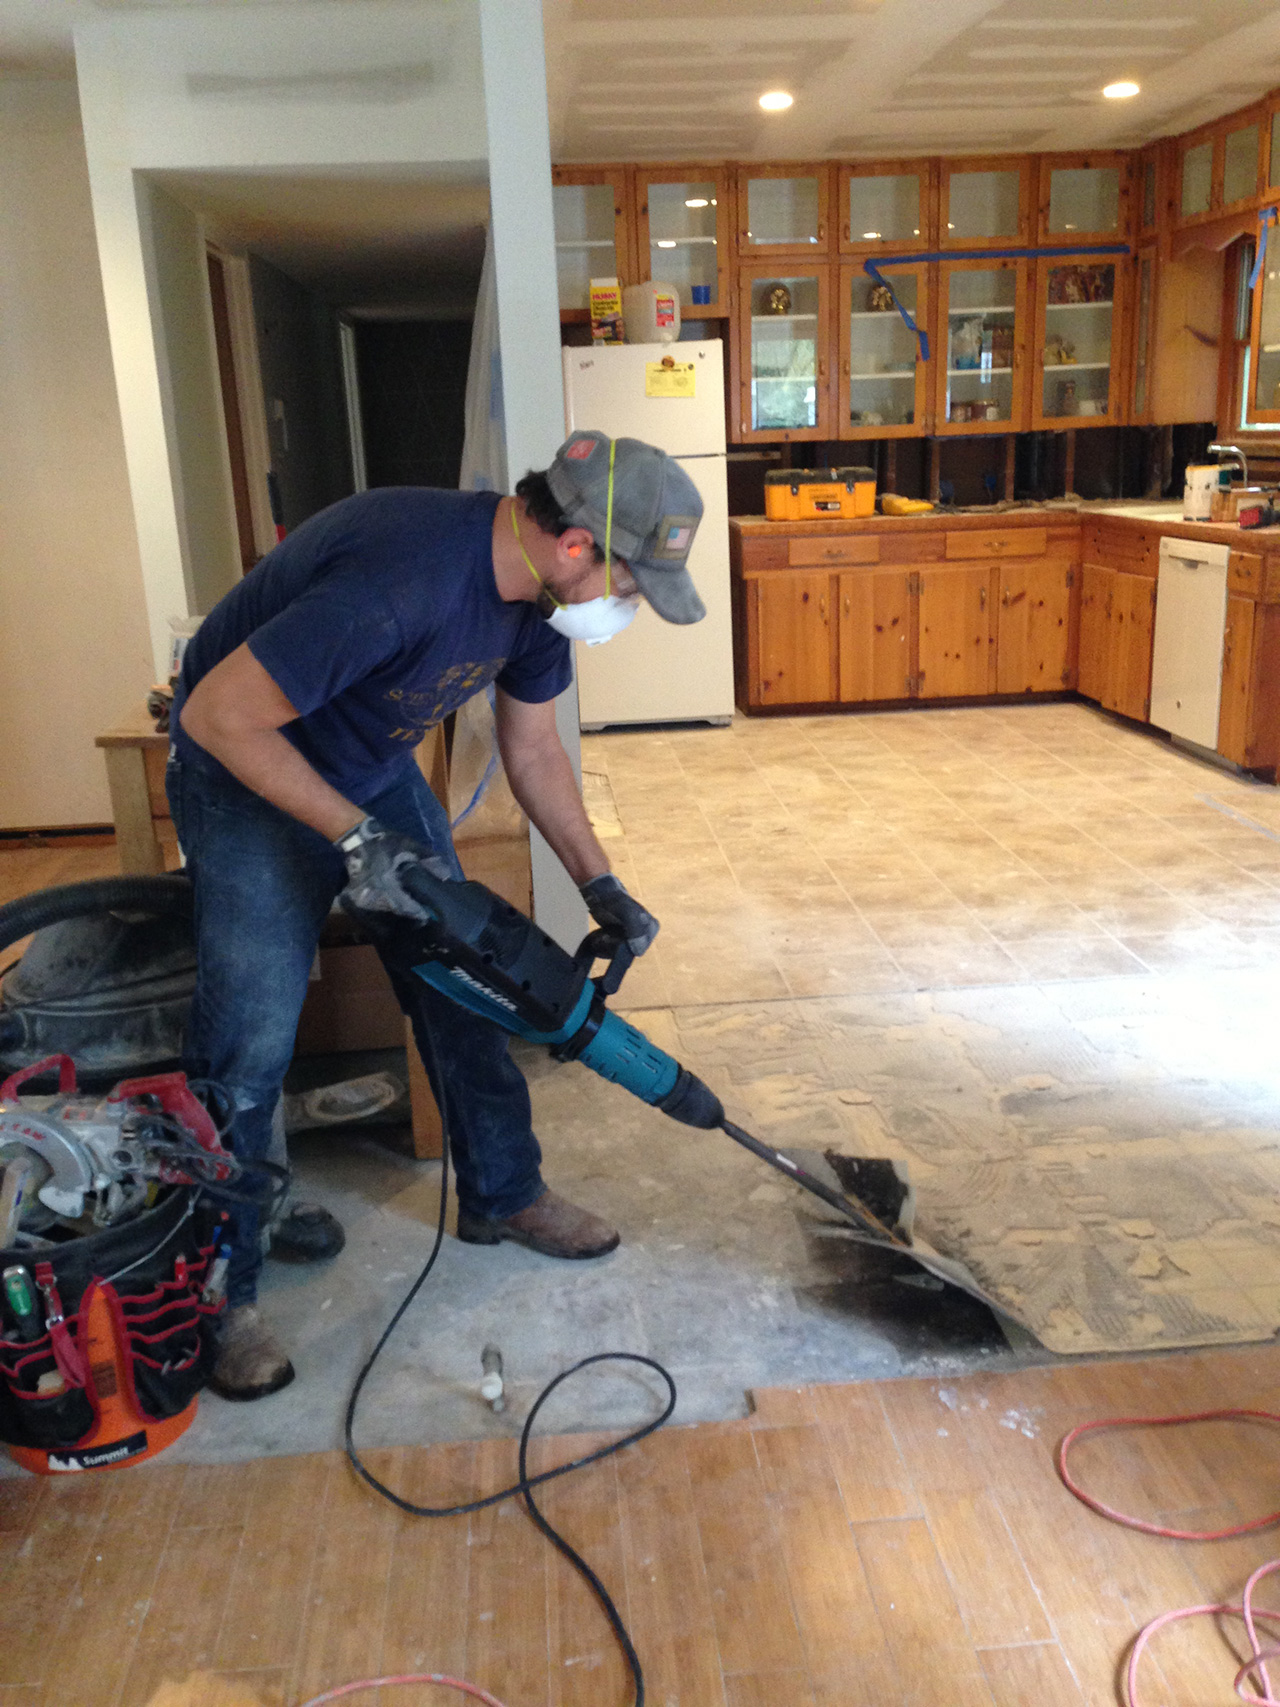
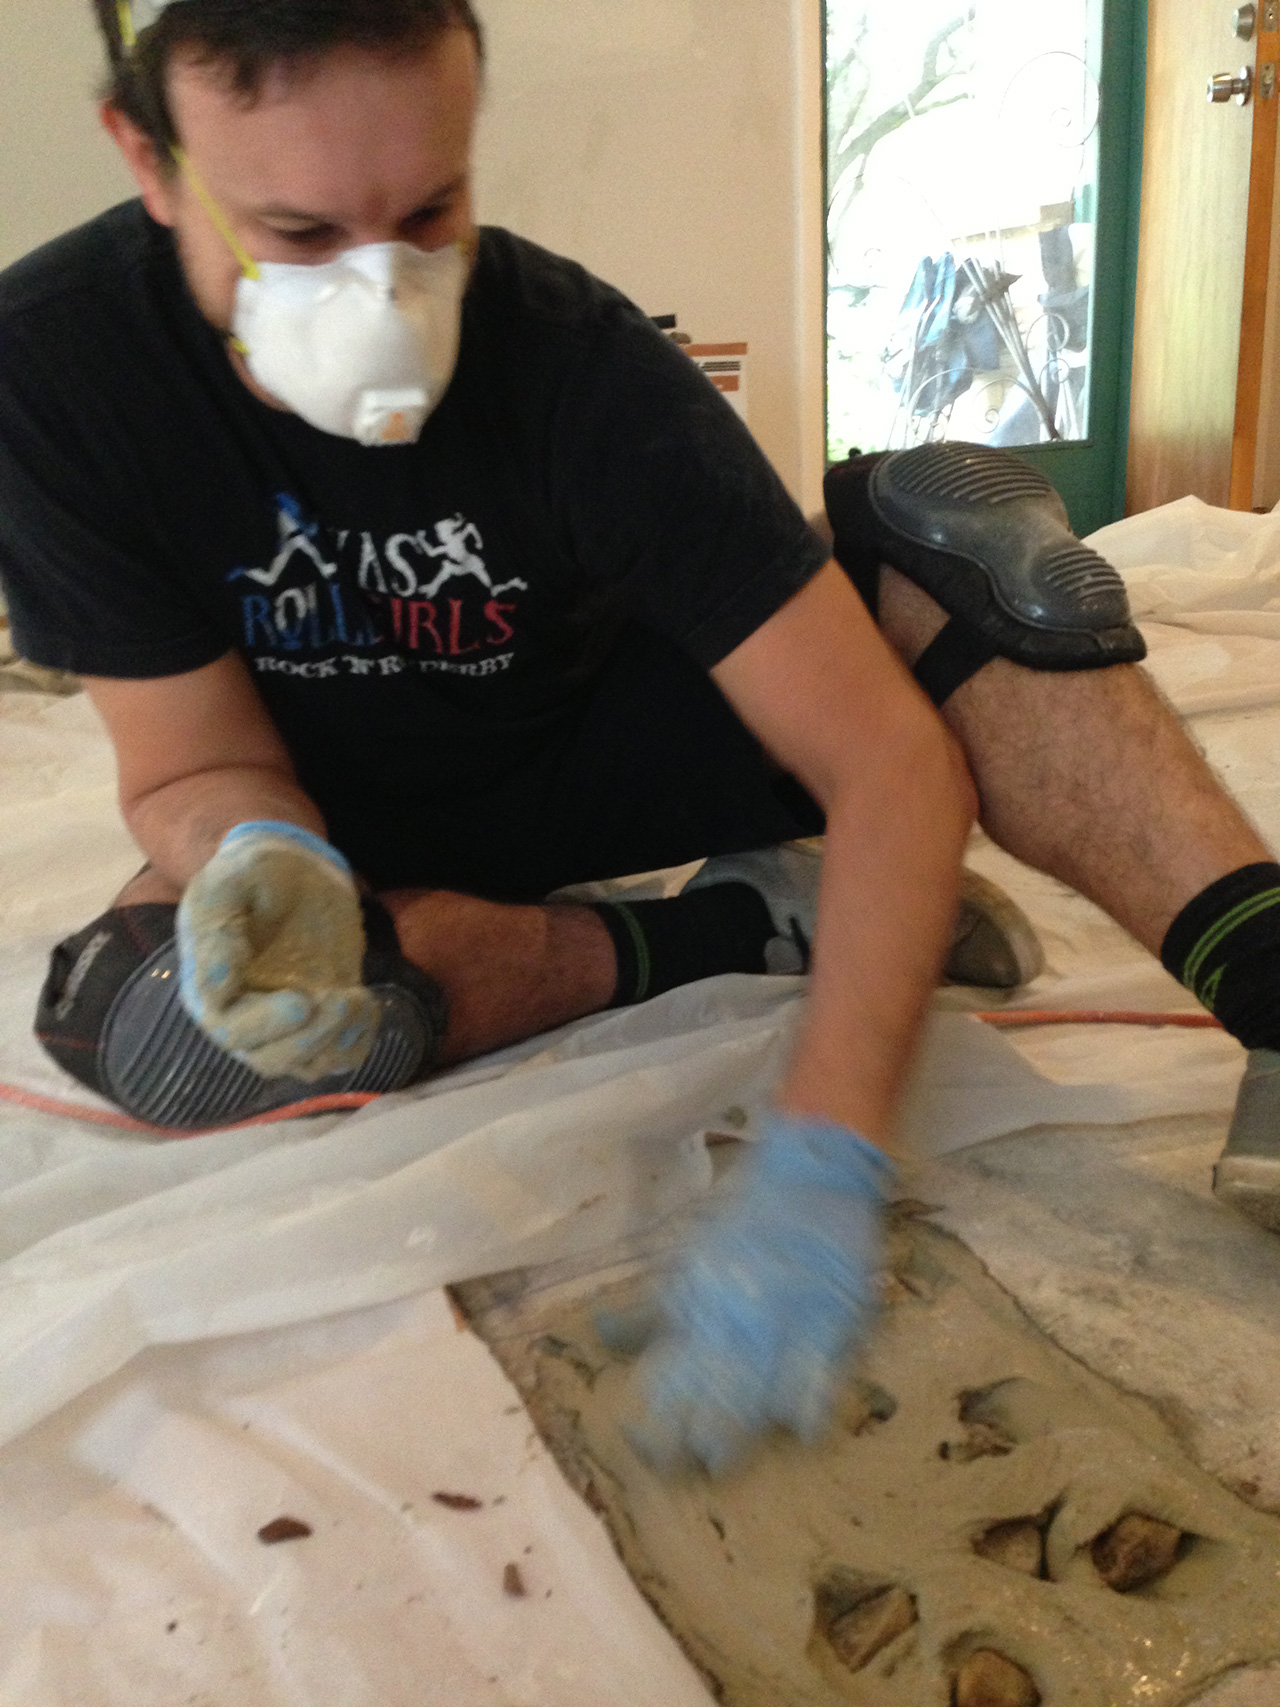
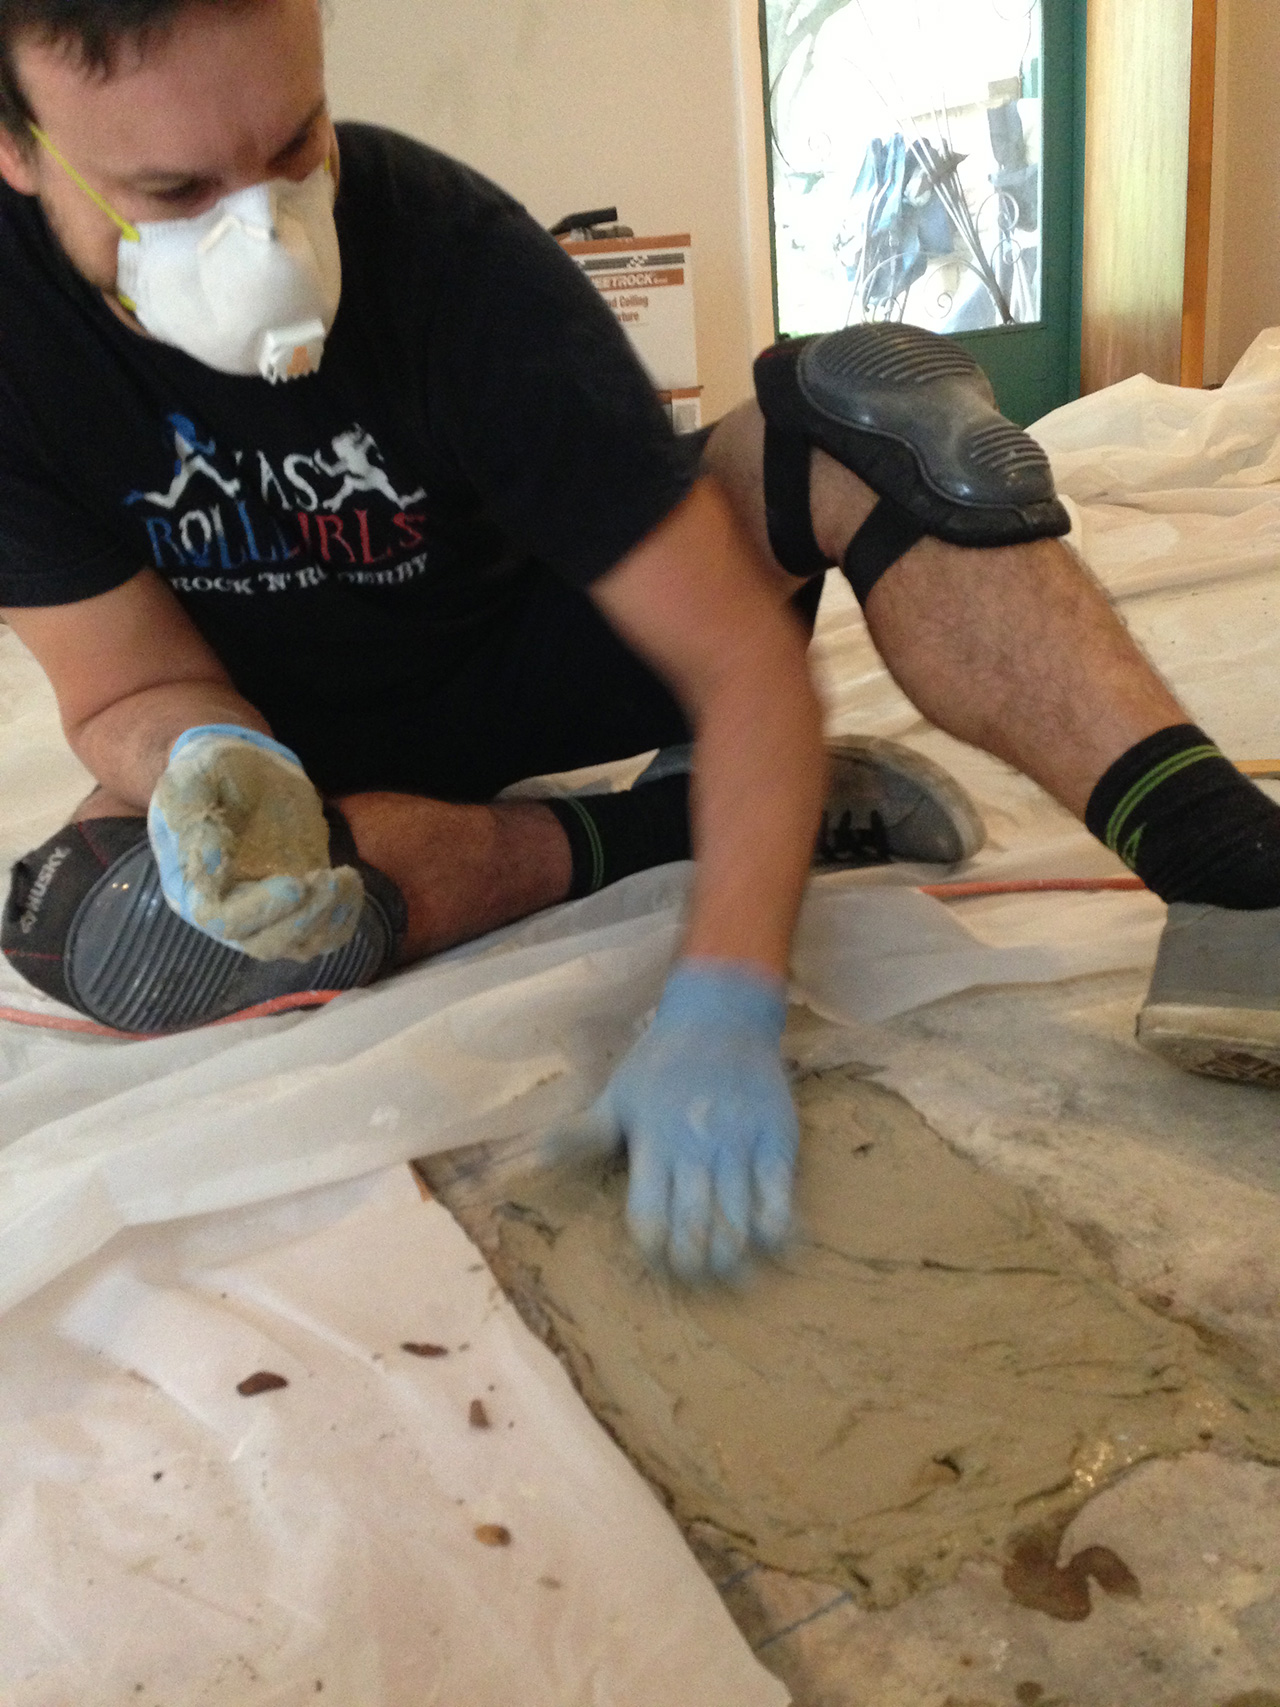
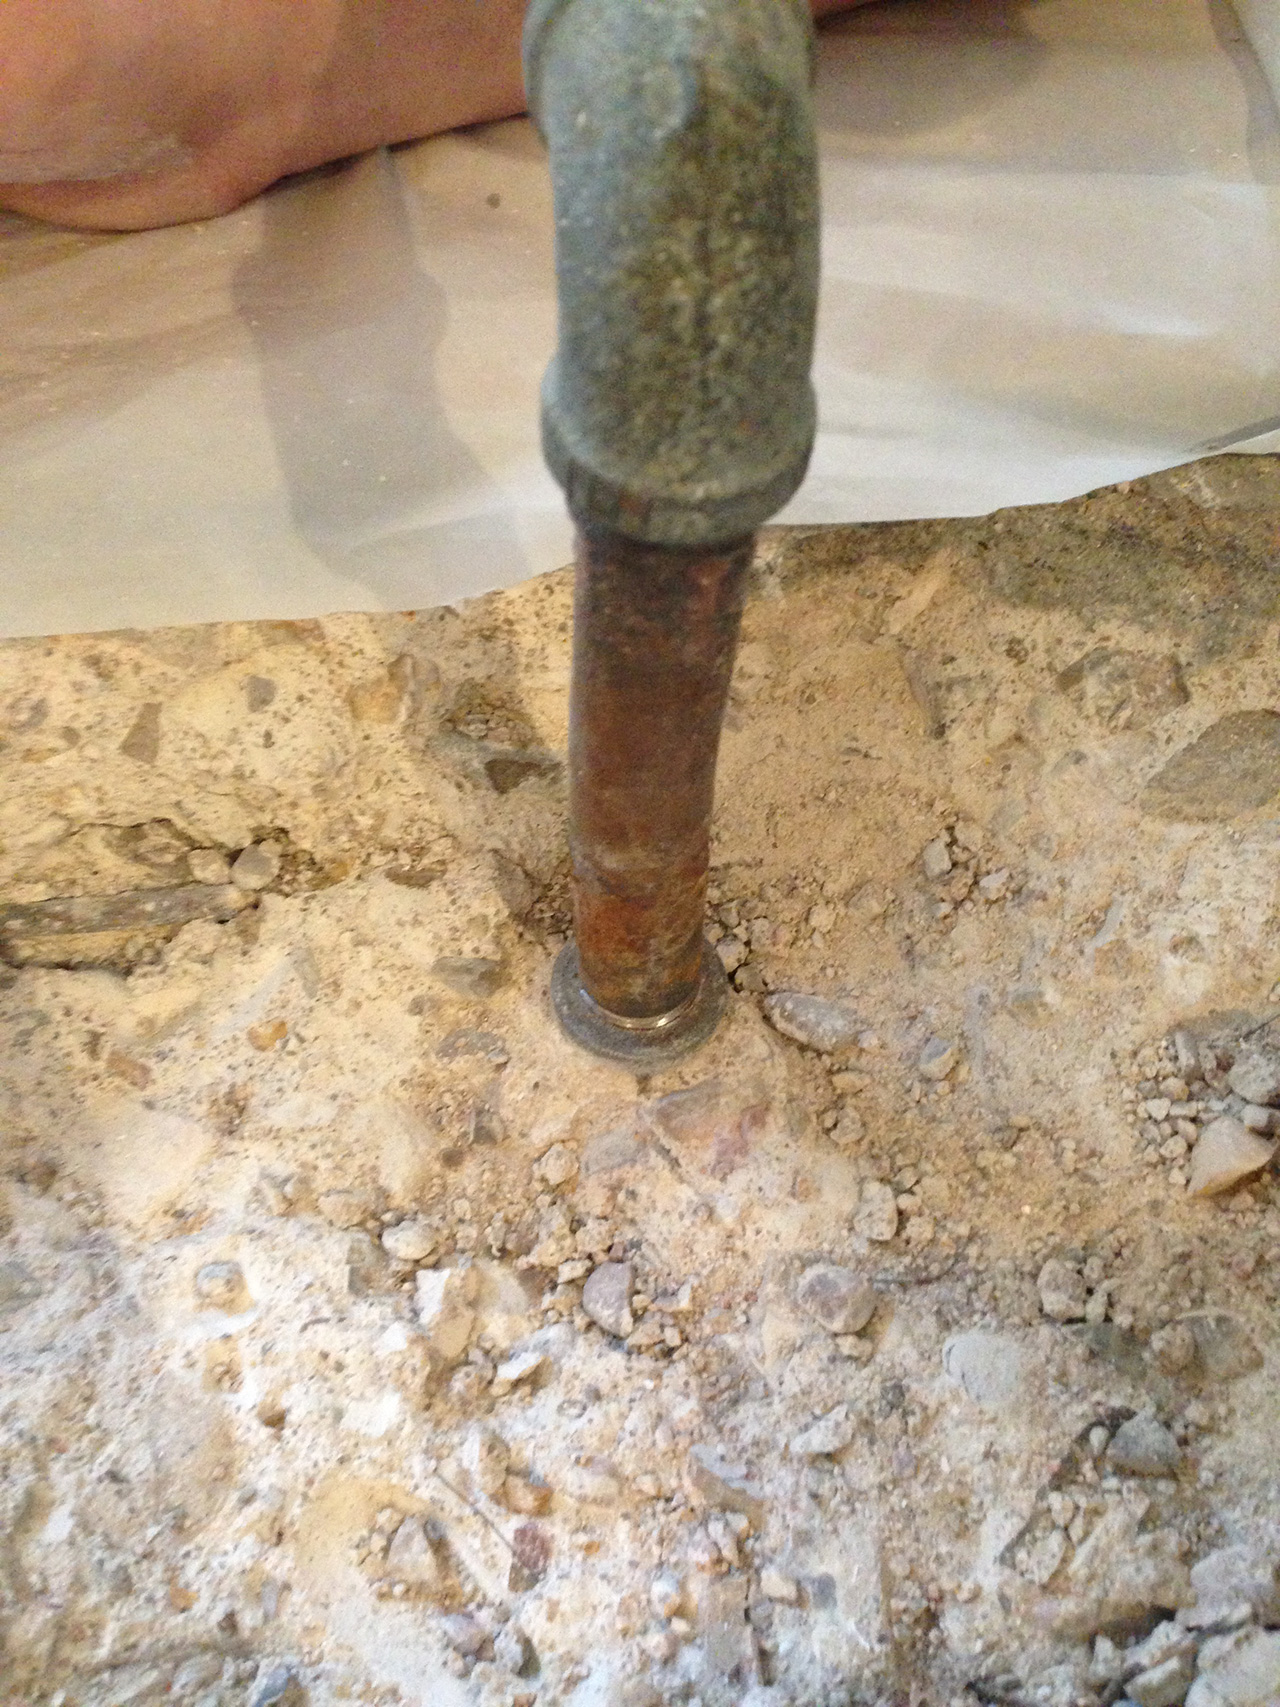 The connection was just a few inches down so he cold chiseled out around the pipe and was able to remove the offending pipe and plug it. Then cover it with cement… turns out the box of cement wasn’t quite enough to fill – mom and I at the exact same time suggested rocks from the backyard to fill it in – to which Marc scoffed. However, non-carpenter ingenuity prevailed.
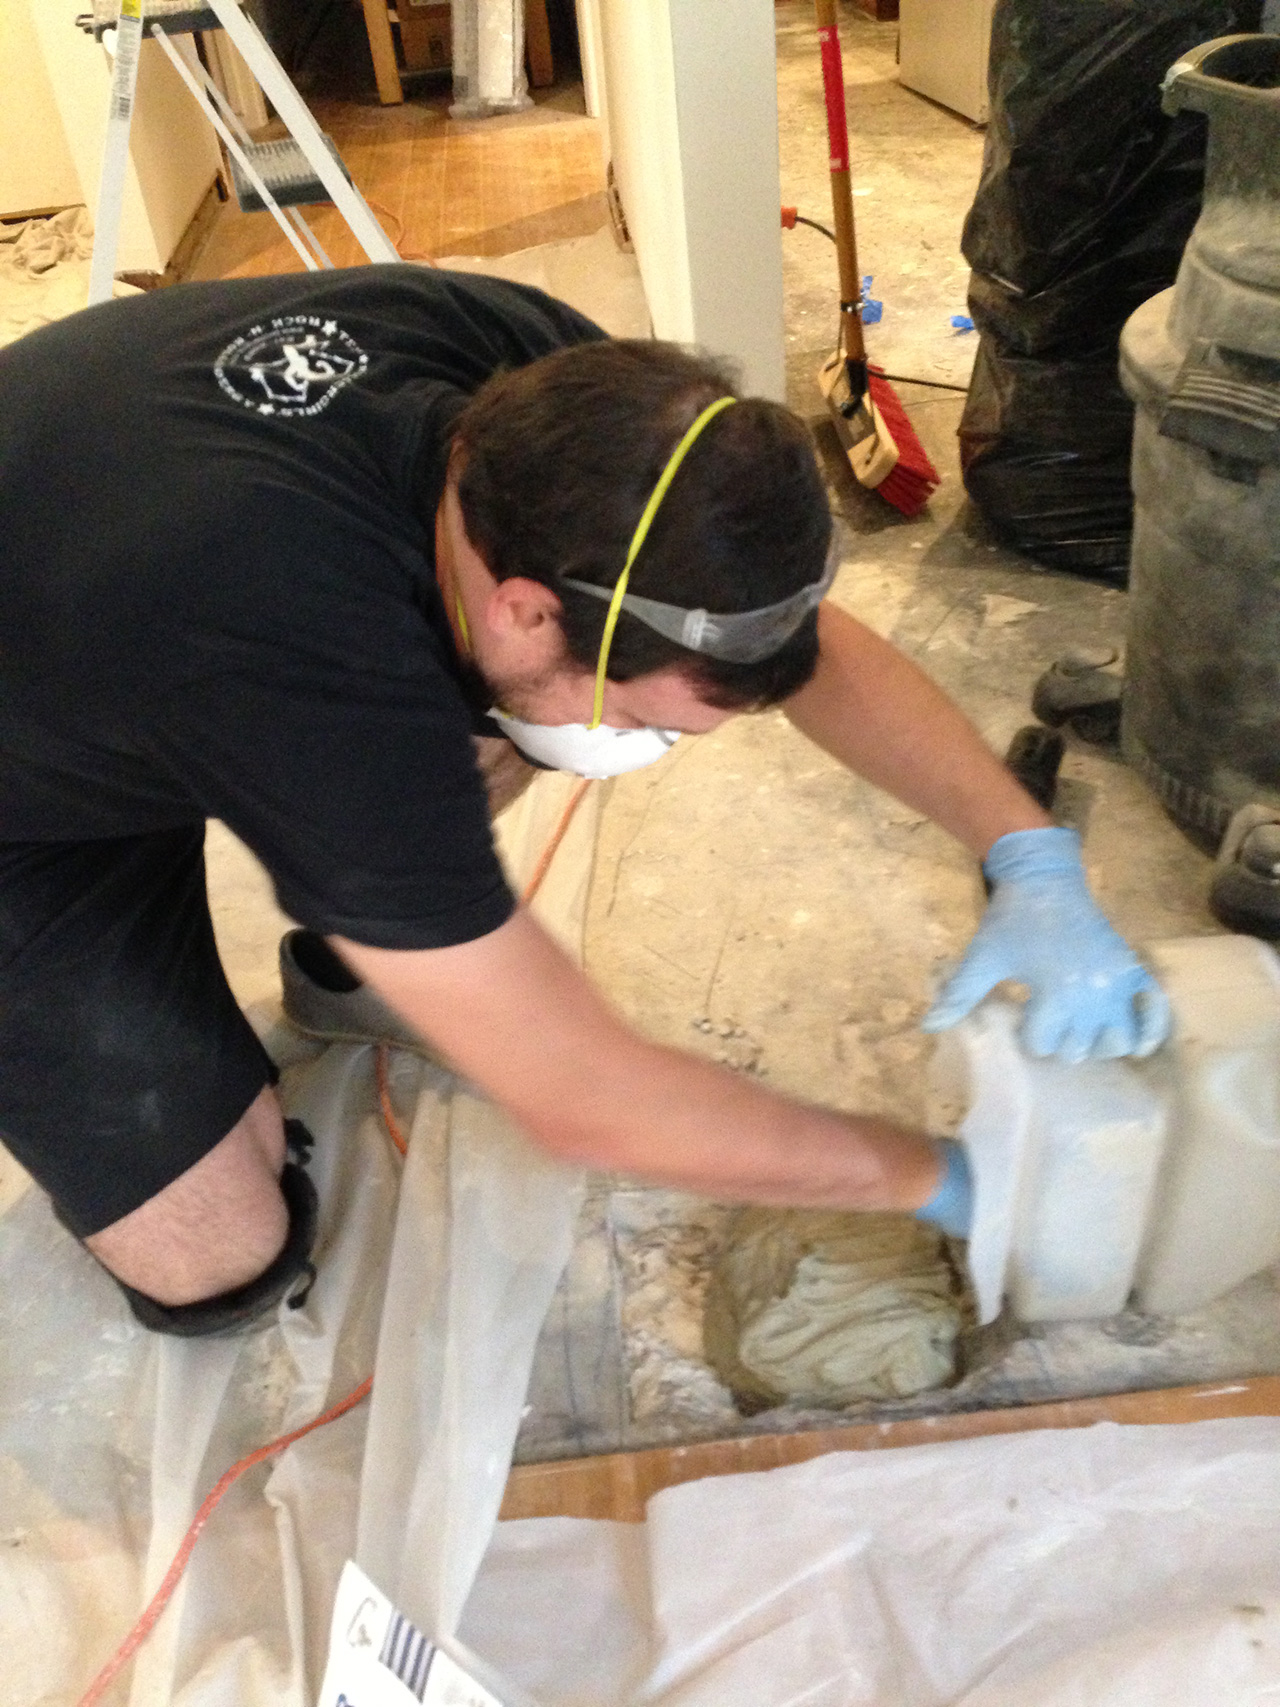

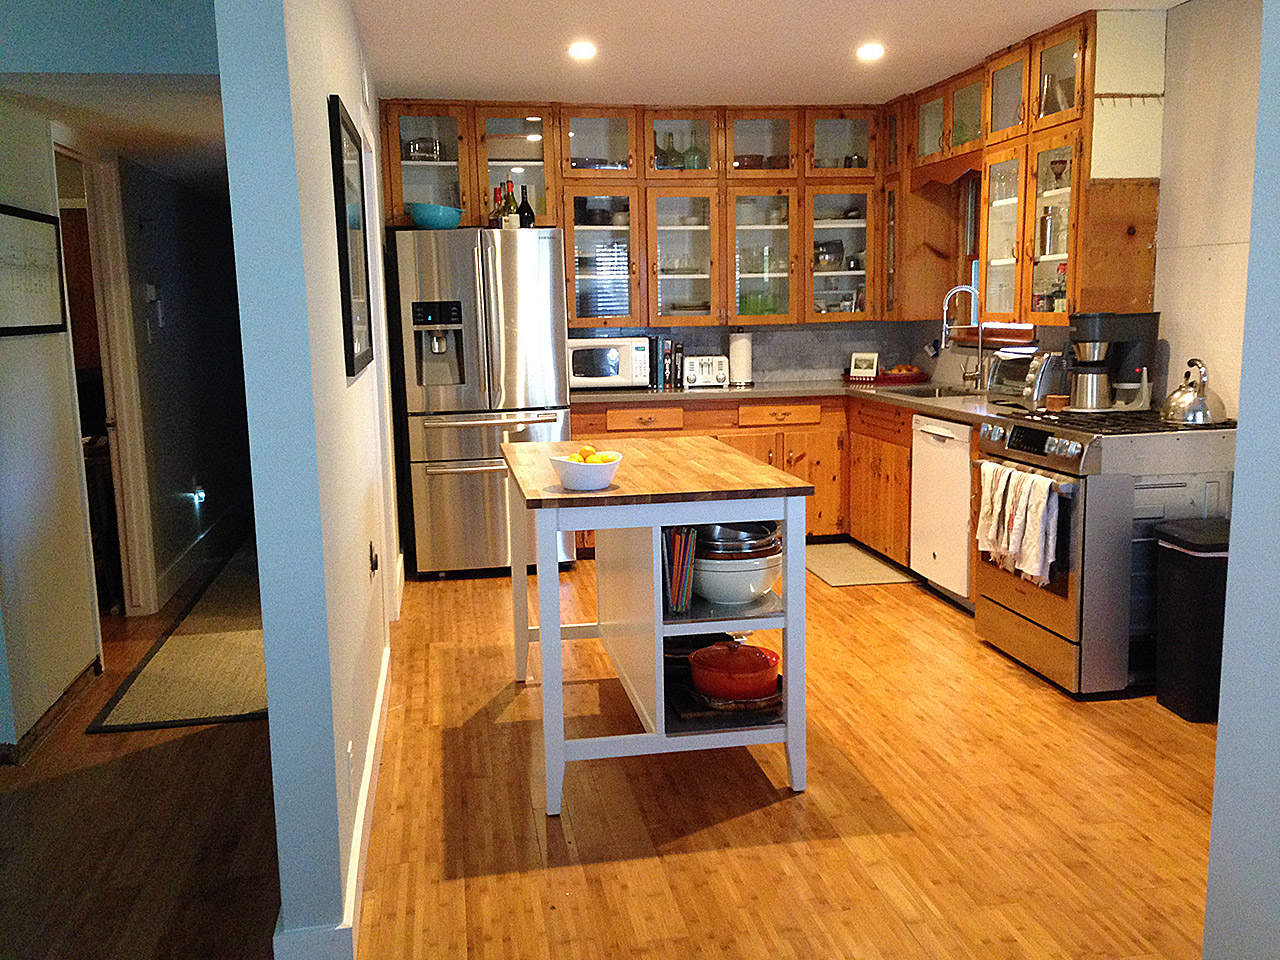
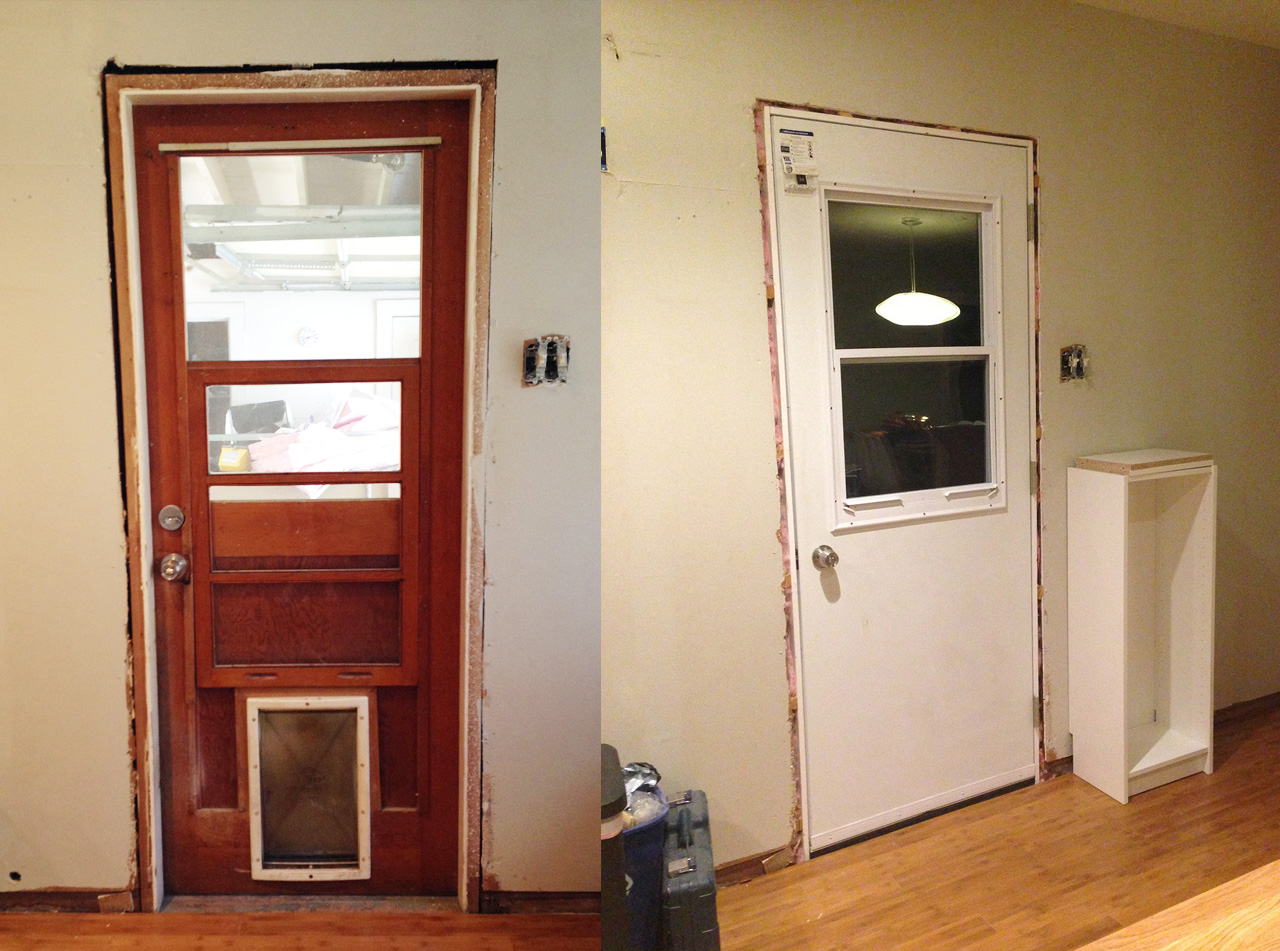
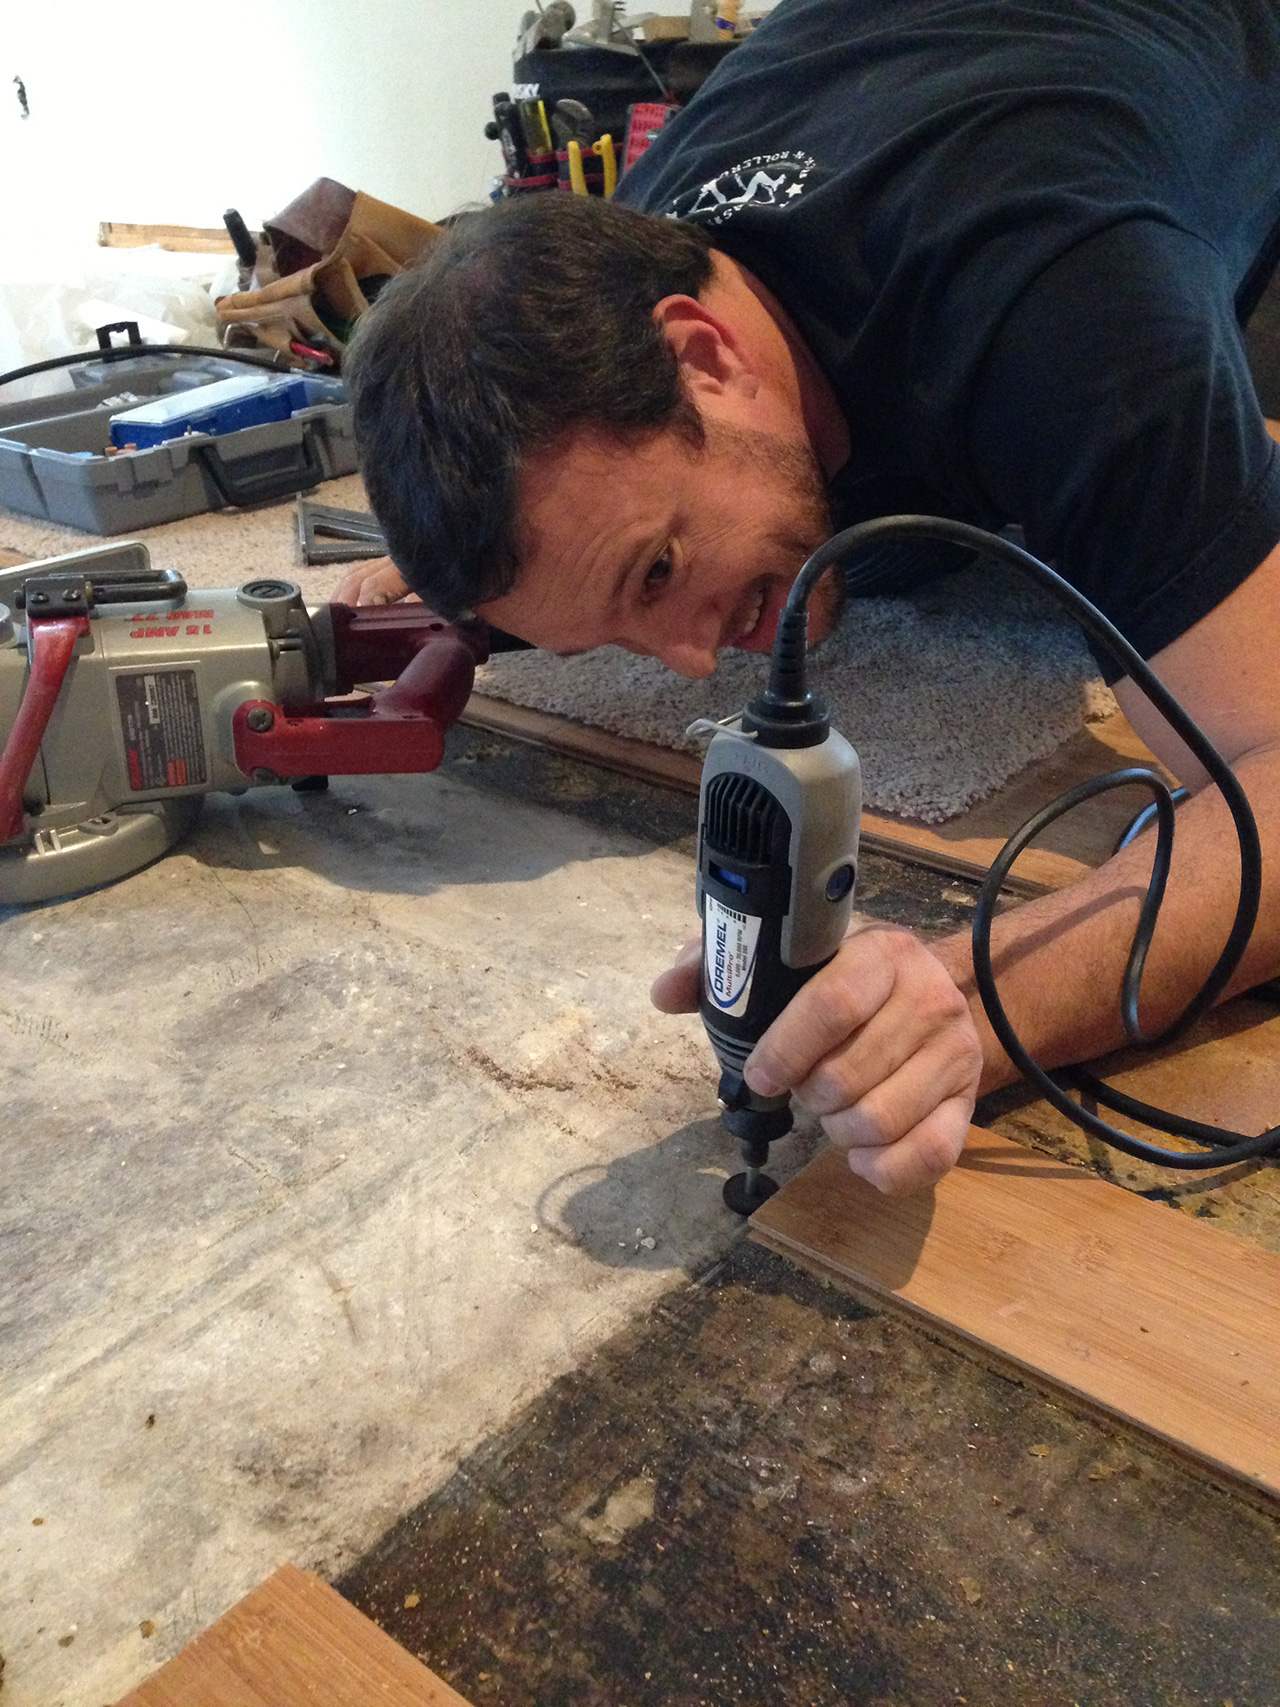
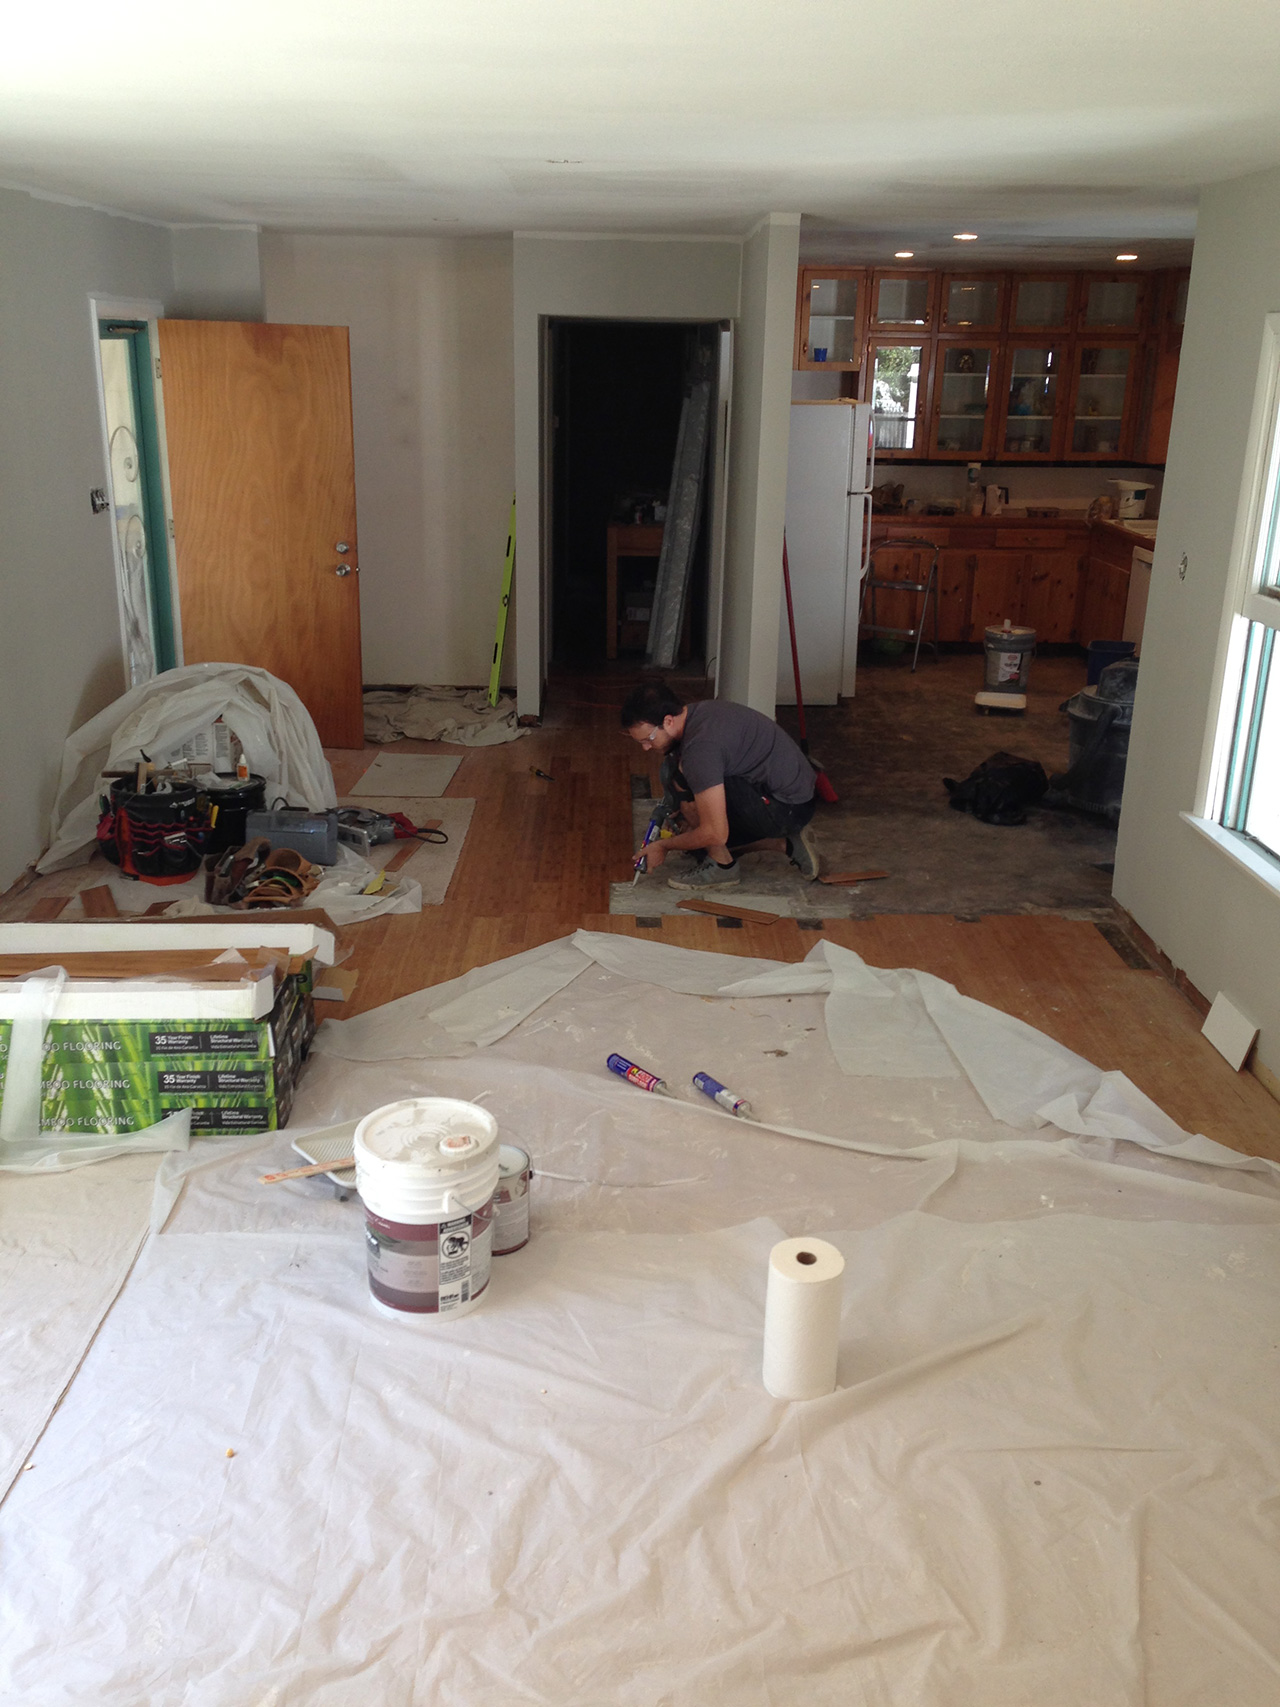
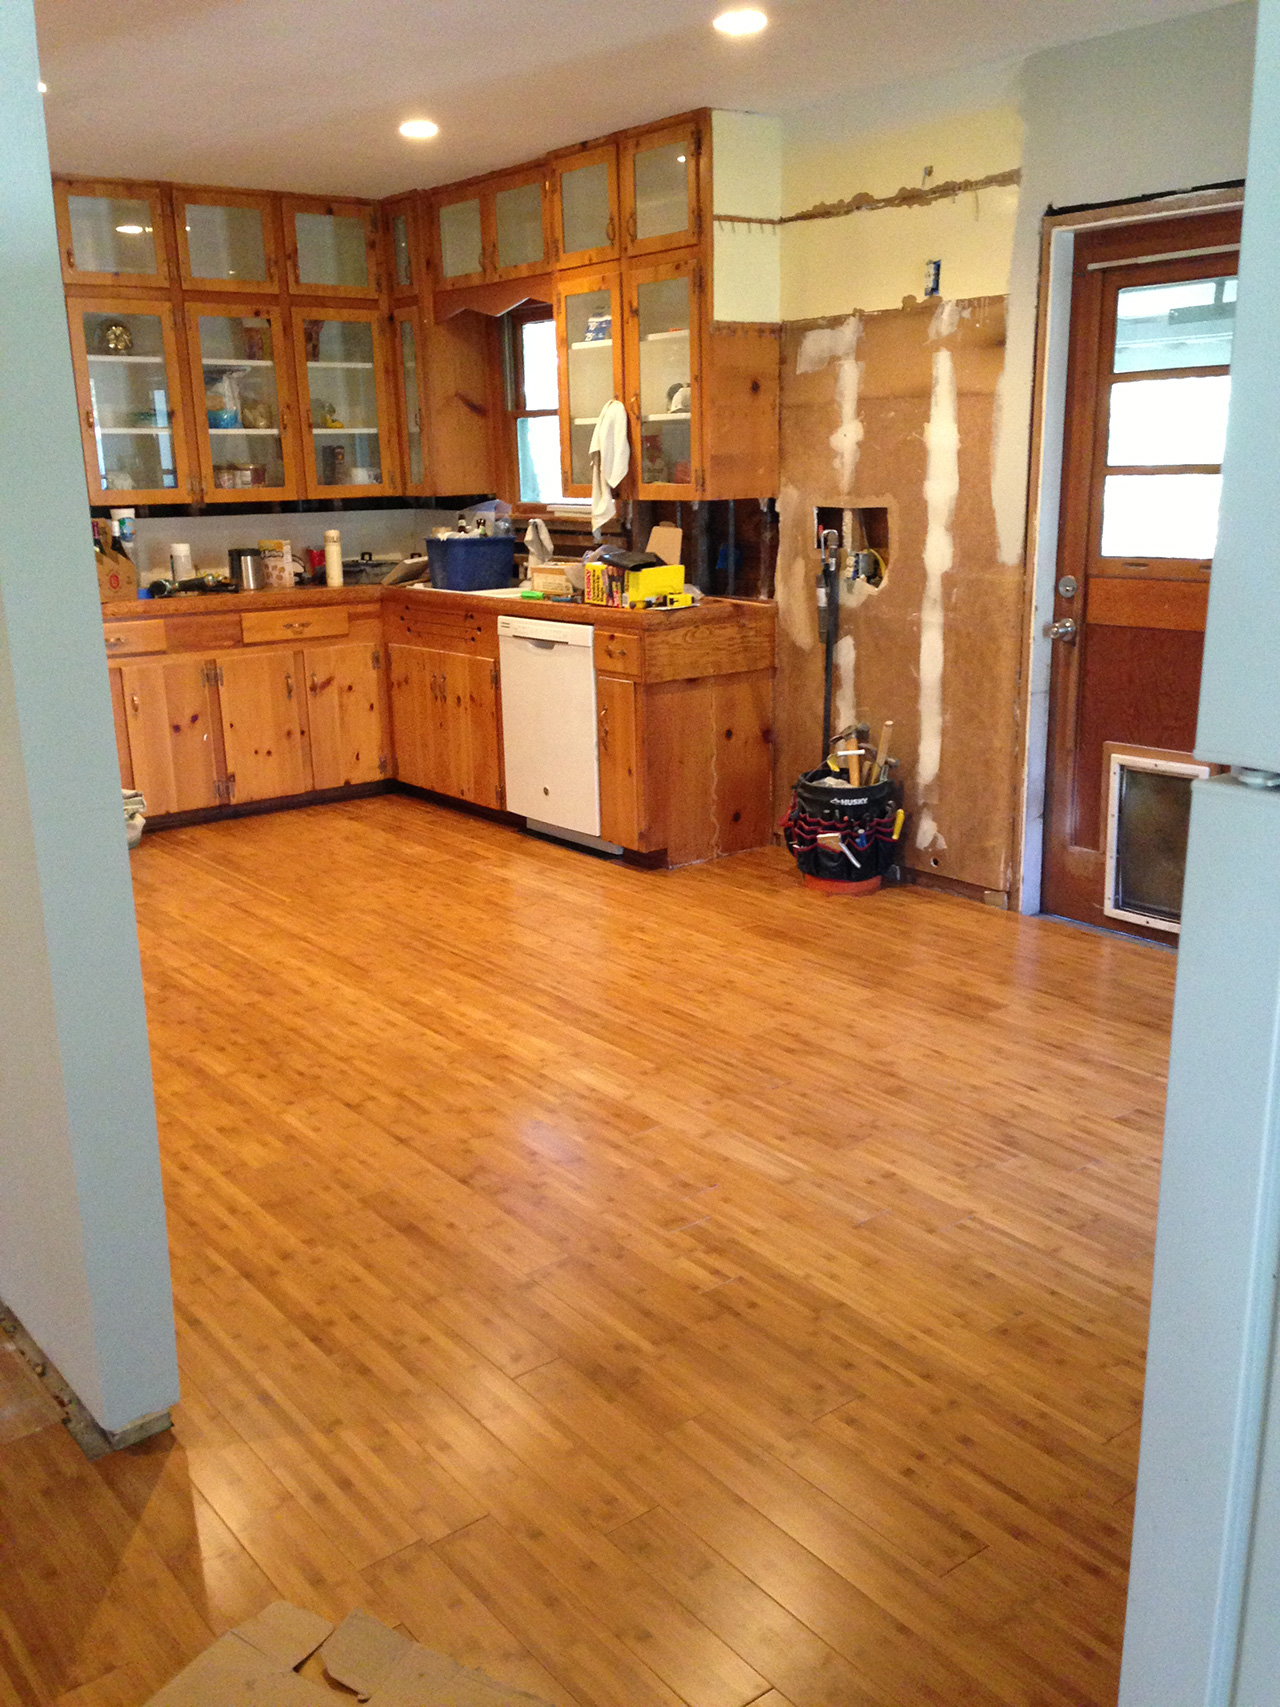
 Now we were ready for the floor – which is the last step before move-in and the last step to removing all memories of a poorly-designed entryway. Marc of course did it right and not fast – which is tough to do when you want to JUST GET IT DONE AND MOVE IN ALREADY! He pulled out alternating boards to feather in the new boards and had to router out new tongues and grooves so that the new pieces would join correctly. RAD I tell you.
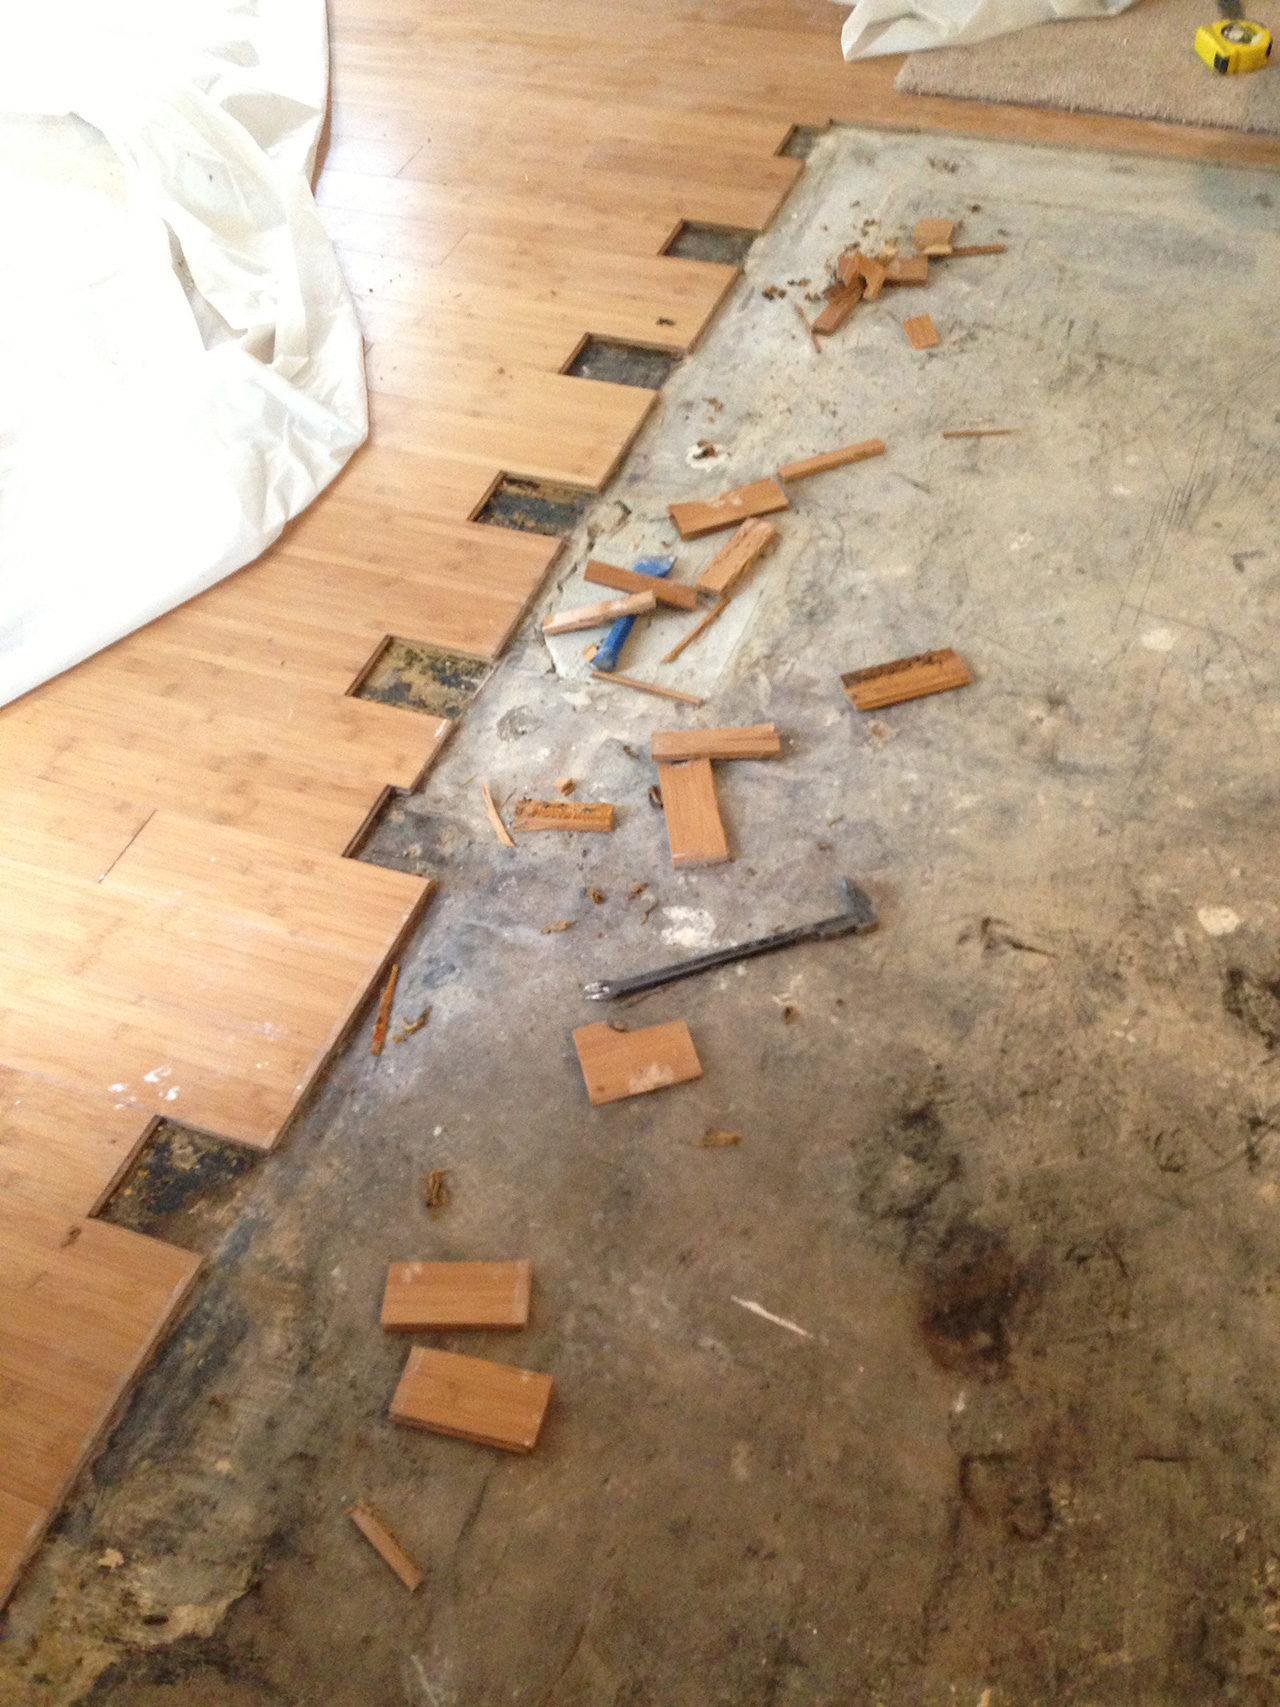
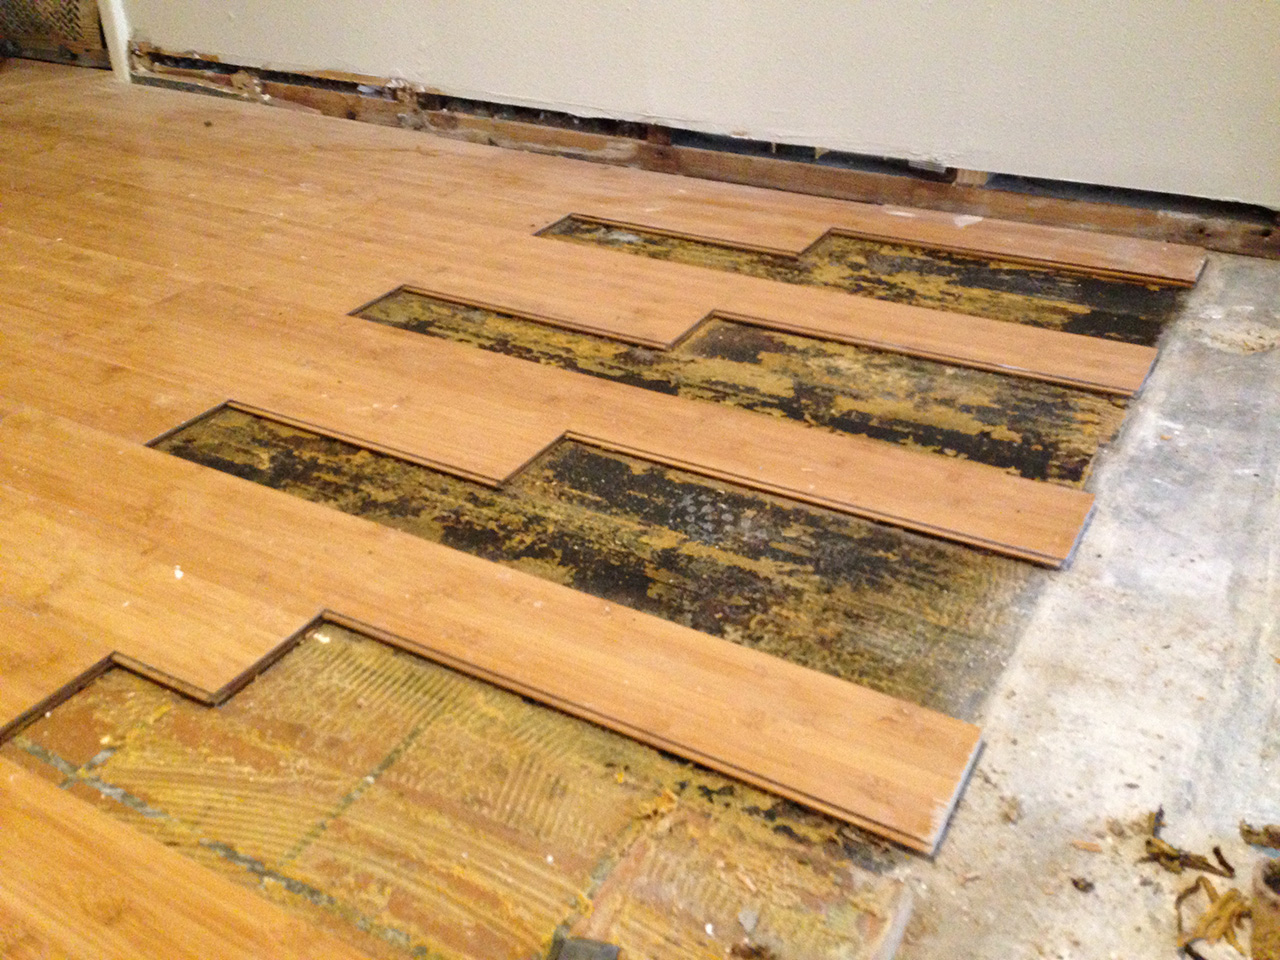
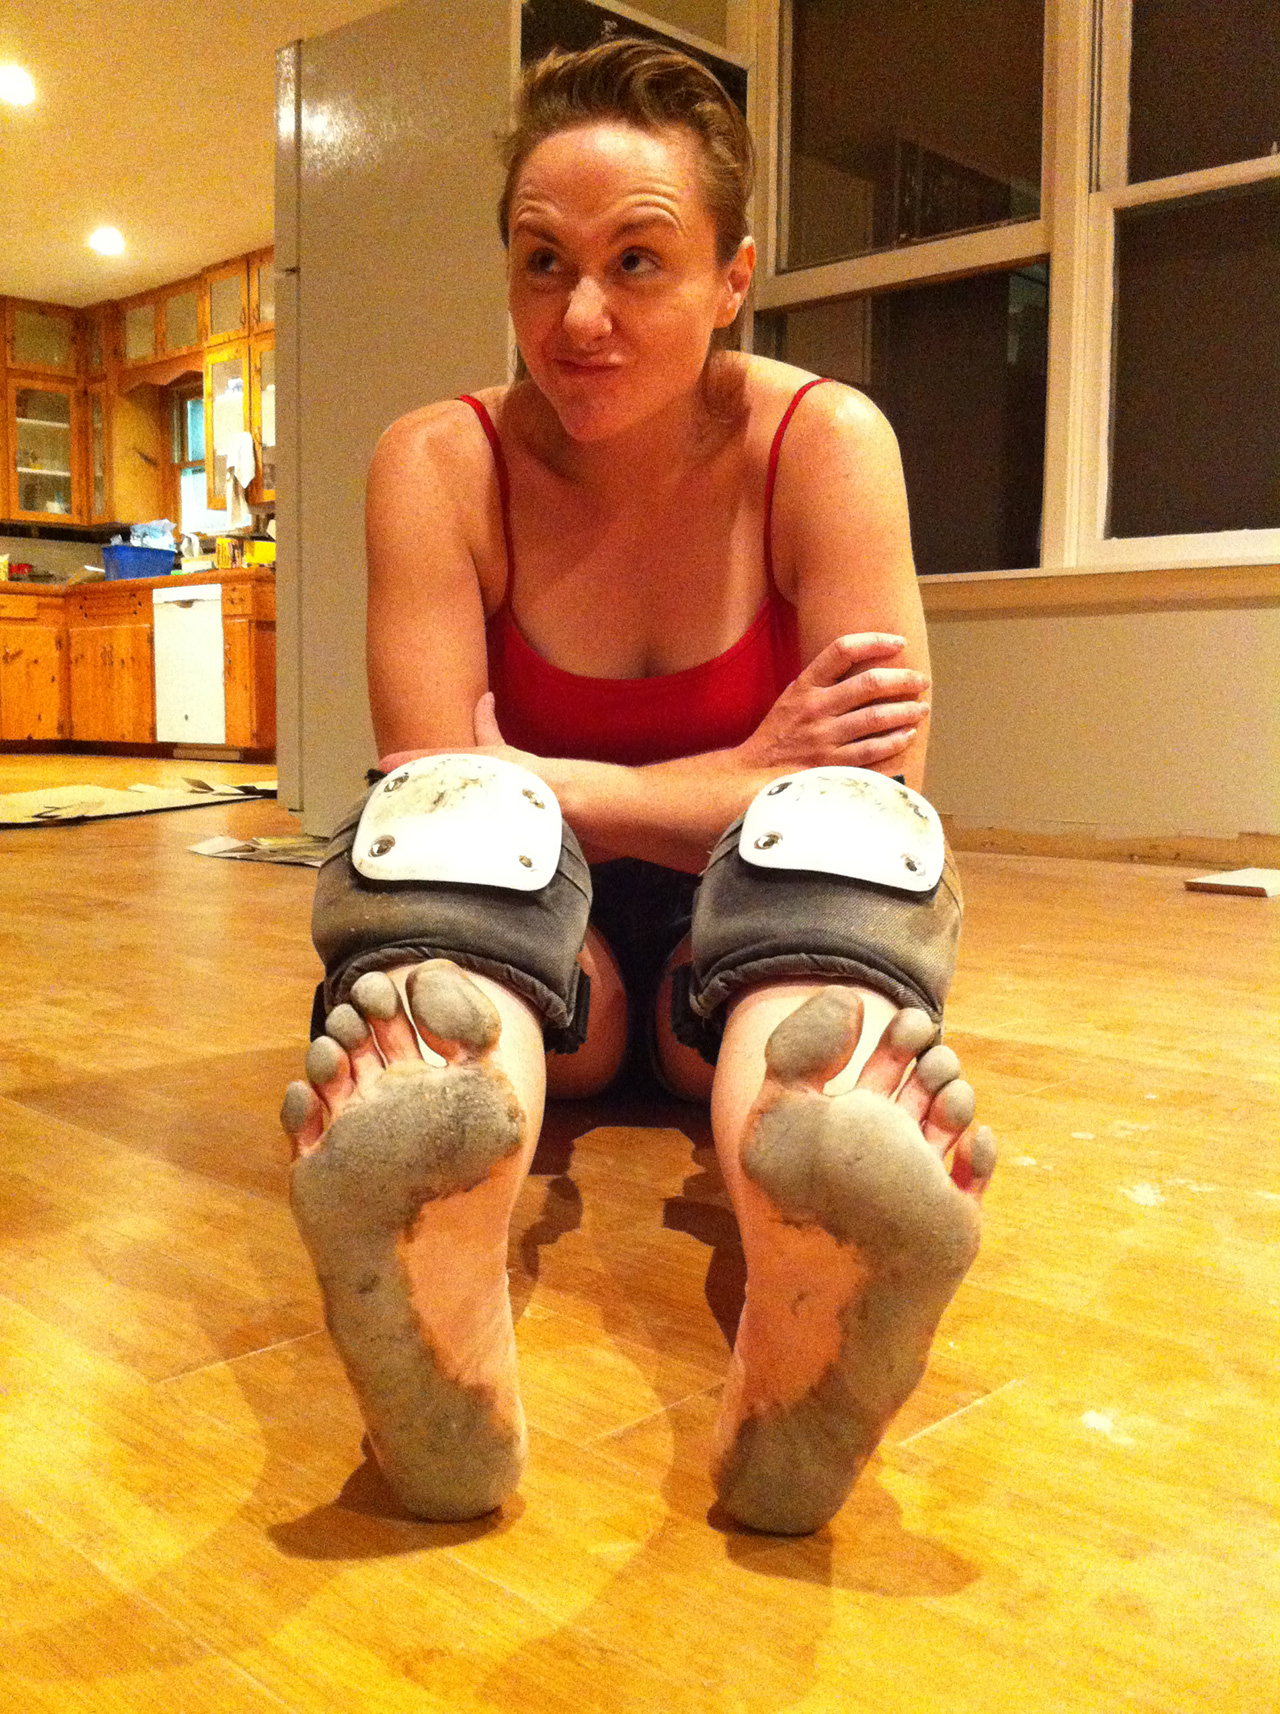

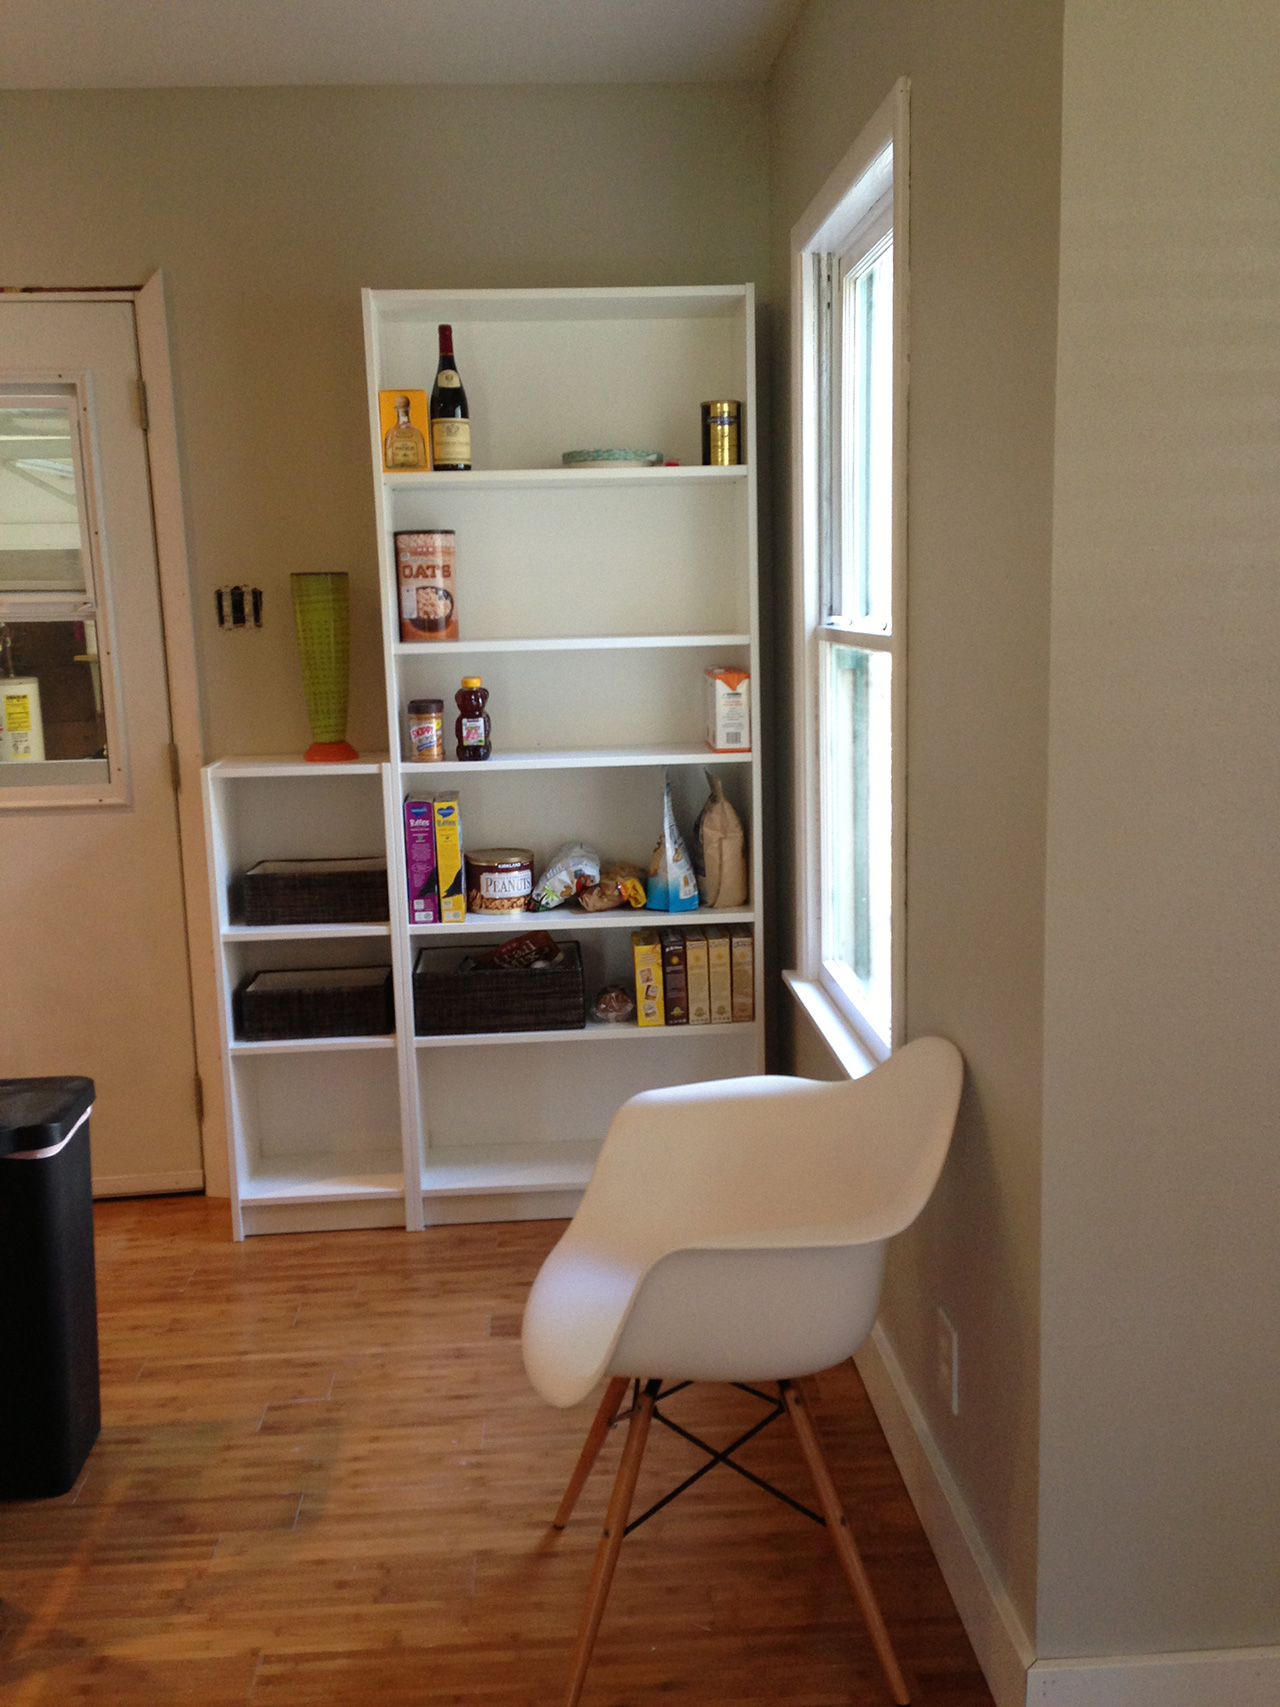
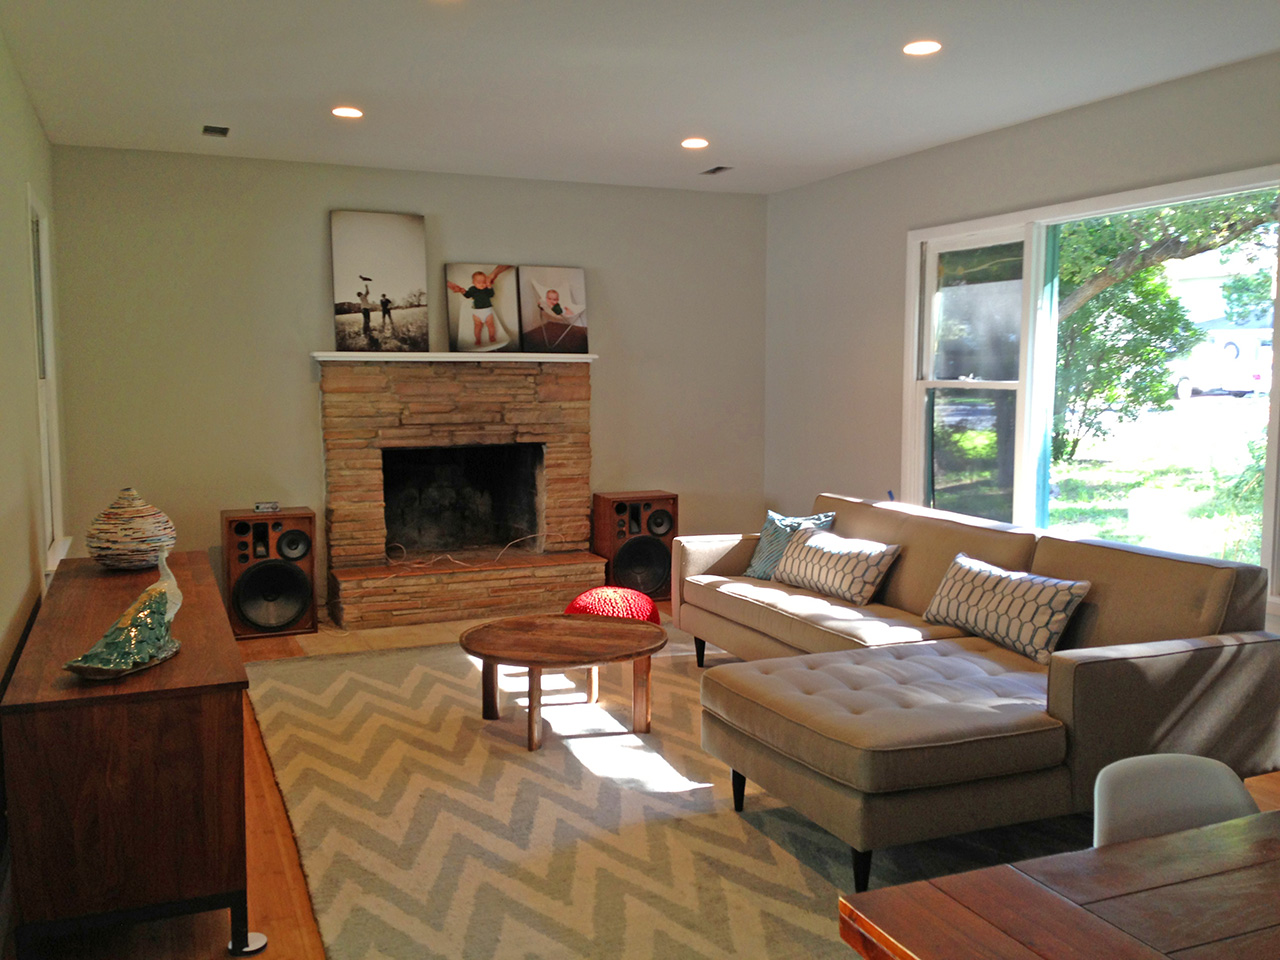
 But, we did it — completed just after midnight. To celebrate I laid my ex-derby, almost-forty year old body down in the middle of the room… I literally could have slept right there.
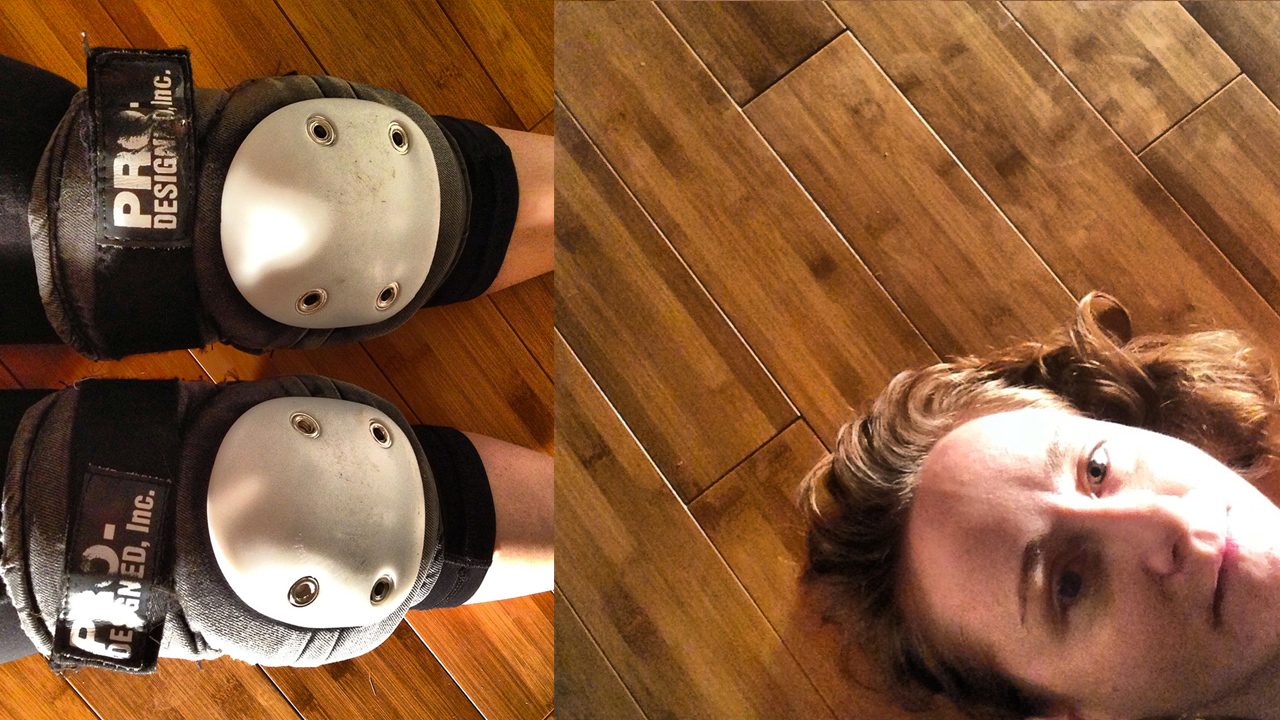
![DIY Sharpie Wallpaper Tutorial @ Vintage Revivals[7]](http://cousinleotx.com/wp-content/uploads/2014/10/DIY-Sharpie-Wallpaper-Tutorial-@-Vintage-Revivals7.jpg)